In this column, I’ll discuss some common examples of stray photons so you can recognize them in your images. In my next column, I’ll follow up with a technique that takes care of a particular family of scattered light effects.
I have been an imager long enough to collect hundreds of examples, but I can show only a handful here. (More are in the associated video below.)
Blackening the mirror’s edge is one way to address unwanted sparkle. A knife-edge-machined circular mask on the 32-inch Schulman Telescope on top of Mount Lemmon hovers over the mirror on standoffs and completely eliminates the scattered light from the TDE.

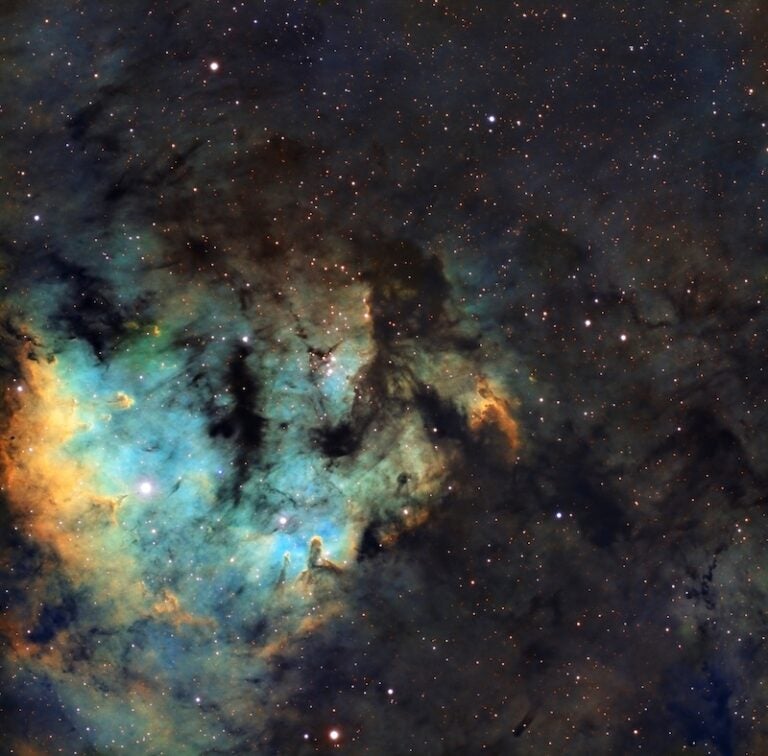
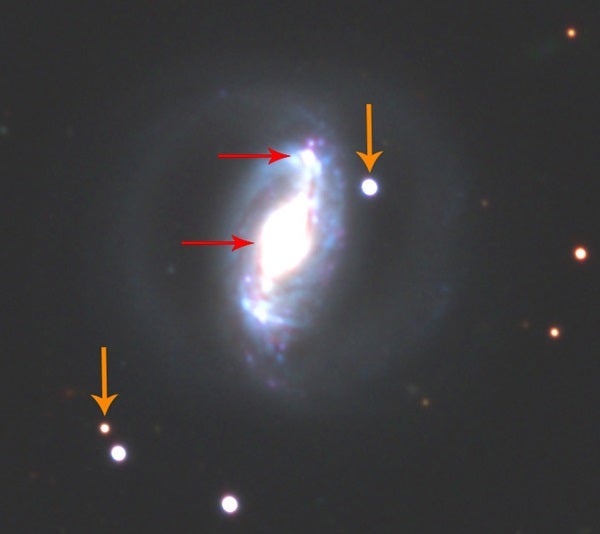
Images #4 and #5 demonstrate the difficulties of acquiring exposures near bright stars. It’s often best to have bright stars in the field of view rather than just outside it because the latter case causes glows and gradients. In these images, brilliant Alnitak (Zeta [ζ] Orionis) scatters textured rings of light across the Horsehead Nebula (B33) and creates a severe gradient in the field of the Flame Nebula (NGC 2024). In addition, one of Alnitak’s diffraction spikes runs through the field. I chose to remove this from the final image using a content-aware clone-type tool.
Warning … Image #6 is about as bad as it gets! It shows a nearby bright star ruining the field with this setup. Shiny structures at the chip’s edge cause specular reflections so complex that I have not found a good remedy for this case of scattered light. Sometimes rotating the camera and changing its orientation can help mitigate the reflections, but it isn’t always possible.
And with that I leave you somewhat on a low note by presenting you with an image that would take more time to repair than to create in the first place! However, my next column will look at another interesting example, and I will demonstrate a technique that fixes it as well as other similar problems.