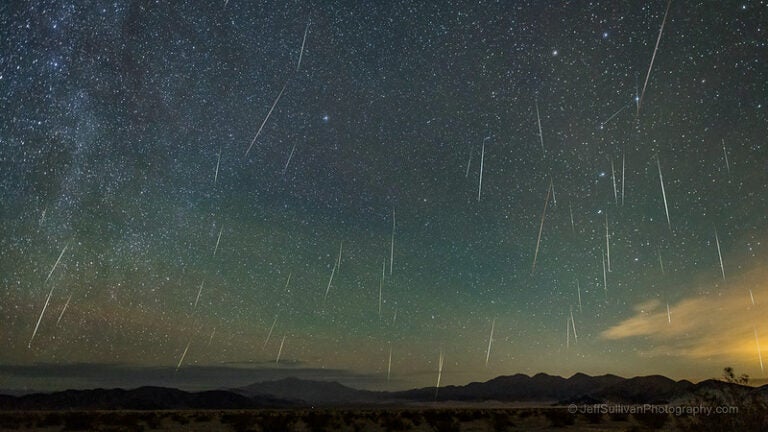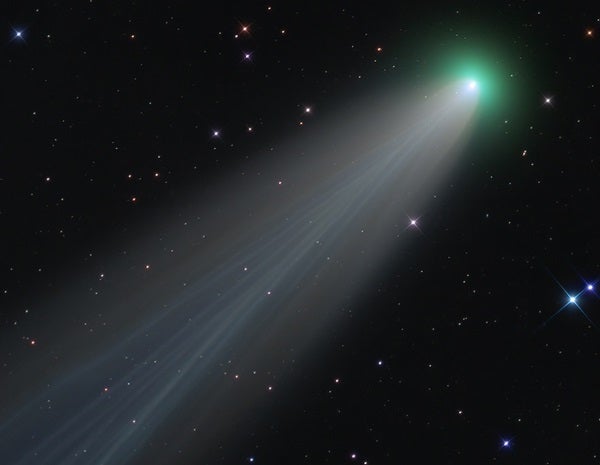
It’s been an exciting year with Comet PANSTARRS (C/2011 L4) reaching magnitude –1 in March and Comet ISON (C/2012 S1) having just passed perihelion (its closest approach to the Sun) November 28. Comets are a real treat to sketch as they journey near the Sun.
The approach to rendering them depends greatly on the optics, if any, that you use. Wide-field sketches work well for naked-eye and binocular observations, while preprinted star fields and observing templates work best with a telescope.
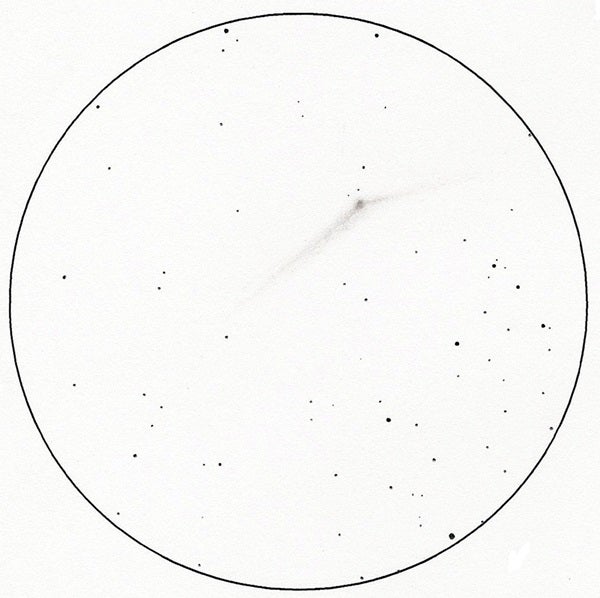
One of my May observations of PANSTARRS will illustrate how to sketch a comet telescopically. An observing template is available for your use on the PCW Memorial Observatory site at www.tinyurl.com/PCWsheet. You’ll also need a clipboard, a #2 pencil, a blending stump, and a red light. I use an LED light that I can vary in brightness with a piece of transparent tape placed over the lens to create a soft, even glow. For faint comets, keep your light as dim as possible to preserve your night vision.
Frame the comet in your eyepiece, and then begin adding the brightest stars to your sketch. Plotting the star field first provides reference points when adding the comet. Create your stars by holding the pencil straight up and down on your paper while twisting it with slight pressure. Establish star magnitudes by the amount of pressure you use.
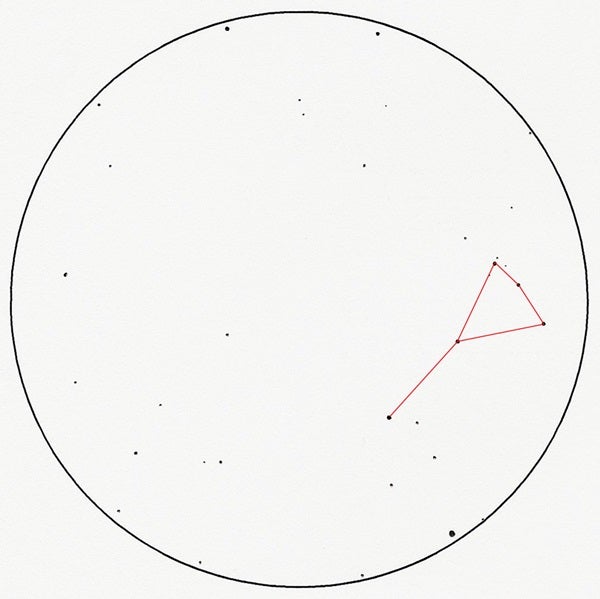
A super-fine black felt-tipped pen works great for the brightest stars. Simply press the tip on the paper — no need to twist. Working in small sections, use a pencil to add the remaining stars, visualizing geometric patterns or chains to help you accurately fill in the entire view.
Once the star field is complete, create a small graphite patch off to the side of your sketch with a pencil. Swirl the tip of your blending stump through the graphite to “load” it. Then use the blending stump to draw the comet. You can remove excess graphite on the tip by rubbing it on a clean section of paper. Reload the stump as needed.
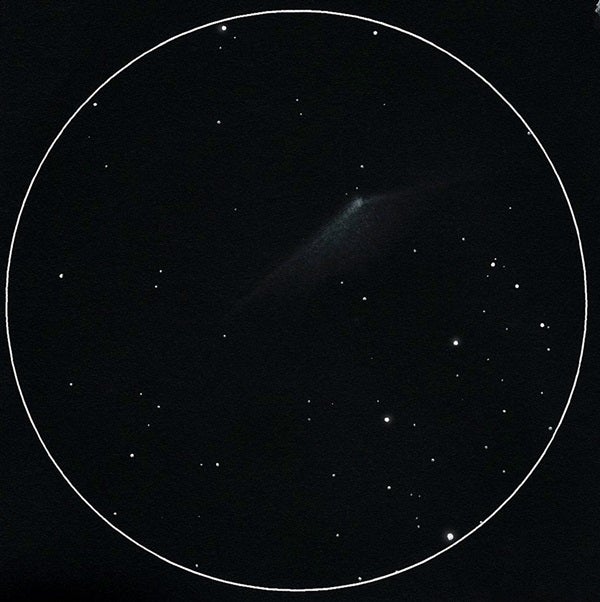
Switch off your light to study the comet. Averted vision (looking just to the side of the brightest part) and slight telescope movement (tap the tube lightly) will help pull out faint details. Look for variances in brightness or colors, an off-center coma (head), and the presence of multiple tails, as well as the comet’s size, position, and shape.
Then, with the light back on, plot the coma in your star field with the blending stump. Softly expand the coma with circular motions while comparing its size and distance from the surrounding stars. The coma of Comet PANSTARRS had a bright center, so I built up layers of graphite there. Use a pencil if the coma appears stellar, blending softly afterward. And be sure to record the time and the comet’s orientation.

If you observe tails, start at the coma and add the brightest areas first, using small strokes. Again, use the surrounding stars as reference points. Soften the pressure when transitioning to the faded edges. Comet PANSTARRS had a second bright “tail.” This wasn’t an actual tail, but rather an area of reflective dust particles that remained in the comet’s orbital plane. Often referred to as an “anti-tail,” it’s the bright spike we see stretching toward the Sun. I used averted vision to detect the dust tail between the wedge of the ion tail and the anti-tail. I added it by smudging graphite into that area with my blending stump.
End your sketch by adding relevant observing data such as the date, sky conditions, equipment used, and any notes. The more you sketch, the more changes you’ll see when tracking a comet — and best of all, you’ll have a personal record of the visit to remember it by.