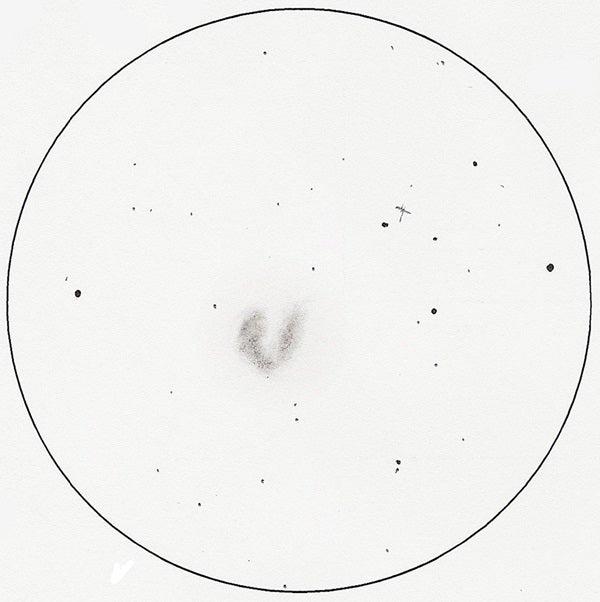
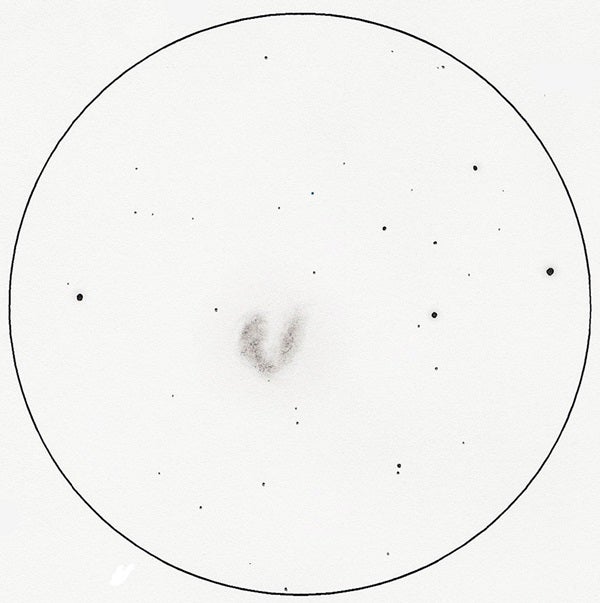
Elongated stars, stray markings, and uneven blending — sound familiar? After all, we frequently sketch in damp or cold conditions under dim lighting, often with stiff fingers — then throw fatigue into the mix.
So, this month I want to talk about cleaning up scanned sketches with simple photo-editing tools. I’ll use the interacting spiral galaxies called the Antennae (NGC 4038/9) to demonstrate how.
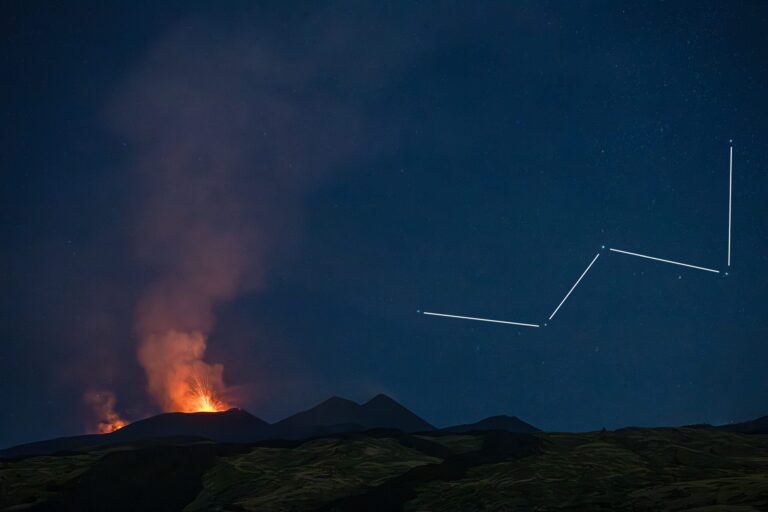
This pair lies in the constellation Corvus. To find them, draw a line from Algorab (Delta [δ] Corvi) to Gienah (Gamma [γ] Corvi) and extend it another 3.5°. The two galaxies began on a collision course a few hundred million years ago and got their collective name because of the filamentary extension uncurling from each nucleus.
The Antennae’s unique shape makes it an exceptional object to observe. In fact, it sheds some light on what may occur when our own Milky Way encounters and begins to merge with the Andromeda Galaxy (M31) some 4 billion years from now.
Through a 6-inch telescope, you’ll see only a faint puff of light with a V-shaped opening to the west-southwest. A 10-inch scope reveals NGC 4039 to be long and slender compared to its northern companion. NGC 4038 has a thick comma shape that curves southward. A bright loop that becomes nodular through a 16-inch scope surrounds a dark central patch within it. In larger telescopes, look for hints of the “antennae” extending from the eastern base.
OK, you’ve made a sketch of the Antennae (although the following steps will work for any deep-sky object). Create a high-resolution scan of your sketch, and then use your software’s “Clone” tool to remove unwanted markings (including any notes you made) from the scanned copy. Clone-stamp areas near the marks with a soft, round stylus so the background blends naturally.
Do the same to elongated stars so that you shorten them without changing their magnitudes. You can use the “Blur” tool for uneven blending within the bodies of galaxies or when working with nebulosity.
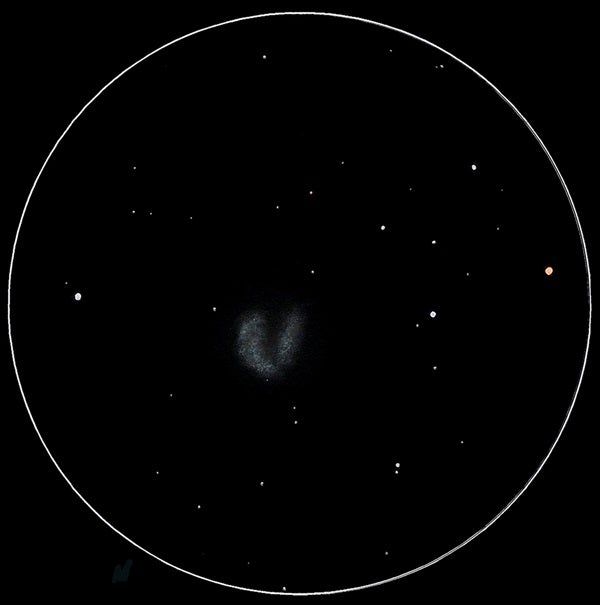
To softly illuminate the brighter stars, use the “Eyedropper” tool to match the stars’ colors. Then select a soft, round brush with minimal opacity to produce the star glow. The brush’s size should be slightly larger than the star.
Next, invert the sketch so the stars will appear white against a black background. If the contrast isn’t correct after inverting, you can adjust it with “Curves,” “Brightness/Contrast,” or the “Exposure” setting. Be careful that you don’t lose nebulosity or faint stars in the process. Finally, you can add star color with the “Color Replacement” tool.
In addition to Photoshop, you can choose from several photo-editing software packages, including freeware like GIMP. Others have trial versions, allowing you take them for test drives before committing to a comprehensive suite.
It’s important to check the calibration of your monitor for settings like “Gamma” and “Contrast” if you share your sketches electronically. You can find monitor tests at Han-Kwang Nienhuys’ website, http://www.lagom.nl/lcd-test.
The amount of processing you do — if any — depends on your personal preferences. Your sketch is an observational record, and you have to be careful not to add or take away from it during the editing process.
Do you have a sketching question? Send me an email at erikarix1@gmail.com.


