Now the bad news: Meteors tend to be camera shy. Don’t be surprised if you have to shoot dozens, if not hundreds, of frames for every meteor you record. Patience is a virtue in meteor imaging, and so is luck. You can increase the chances of success by following a few guidelines.
First, use common sense to choose a good time for shooting. You want a night when meteors will be running rampant and the Moon is either out of the sky or a slim crescent. And remember that you’ll see more meteors, and have better odds of capturing one, if you operate after midnight.
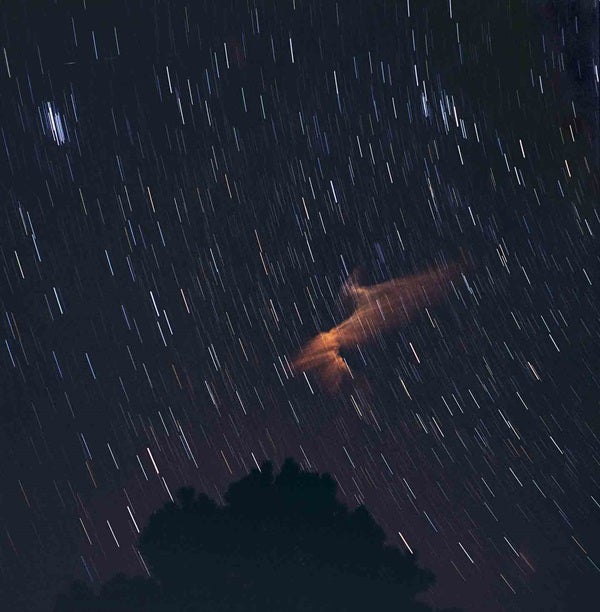
The key to meteor imaging is to aim the camera toward the sky’s “sweet spot.” This is a region approximately 50° above the horizon (a little more than halfway from horizon to zenith) and some 30° to 40° from the shower’s radiant. Aiming at an elevation of 50° allows you to image the widest wedge of atmosphere where meteors occur. Most meteors burn up between altitudes of 50 and 70 miles (85 and 115 kilometers). If you aim closer to the zenith, the camera’s field of view reveals a smaller volume of this layer. Aim lower and the camera has to peer through thicker layers of air, reducing the number of meteors it can record.
Pointing the camera 30° to 40° from the radiant yields pleasingly long meteor trails. A shot taken toward the radiant will reveal only short tracks that won’t look impressive. And shoot more than 60° from the radiant and the trails will be longer than a typical camera’s field of view. The result might look pleasing, but it likely won’t appear as spectacular as a trail contained within the picture’s border.
Experiment with different apertures and exposure times. As a general rule of thumb, start with a large aperture, say f/2.8. Large apertures let in more light so you can record fainter objects — or brighter objects in less time. Also try different exposure times. Meteor photos typically run 15 to 30 seconds, but you can go longer if your sky is dark enough. Let your sense of aesthetics determine the exposure needed to get a nice-looking sky.
Many DSLRs let you set an exposure time up to 30 seconds. If your camera does and you’re happy with the level of detail on the images, you’re set. But if you want to go longer than the camera allows in an automatic exposure, you’ll have to set the controls to “bulb” and use a cable release to trip the shutter. The exposure then lasts as long as you keep the button depressed.
Focusing is probably the trickiest part of shooting the sky. Autofocus doesn’t work on stars, and you shouldn’t blindly trust the infinity mark on a DSLR’s lens. Instead, use “live focusing” if your camera has it. Center the field of view on a bright star and magnify the image as much as possible to get the sharpest focus. If you can’t make that work, shoot some 5-second test exposures and find the best focus by trial and error.
On a cool night spent taking a hundred photos or more, you’ll likely run through batteries quickly. Have plenty of spares on hand. Or, better yet, consider using an external power supply. You don’t want to have to stop while the sky and meteors still beckon. It also helps if you keep dew off the camera lens. Occasionally run some warm air over it; a hair dryer set on low does the job.
Keep in mind that a meteor you see in the sky often will record much fainter in an image. Starlight builds up on the camera’s sensor throughout the entire exposure — it’s why you can record stars invisible to the naked eye. But a meteor spends just a fraction of a second on the sensor. It’s a good idea to observe the same area that you image so you can compare what your eye sees to what the camera records.
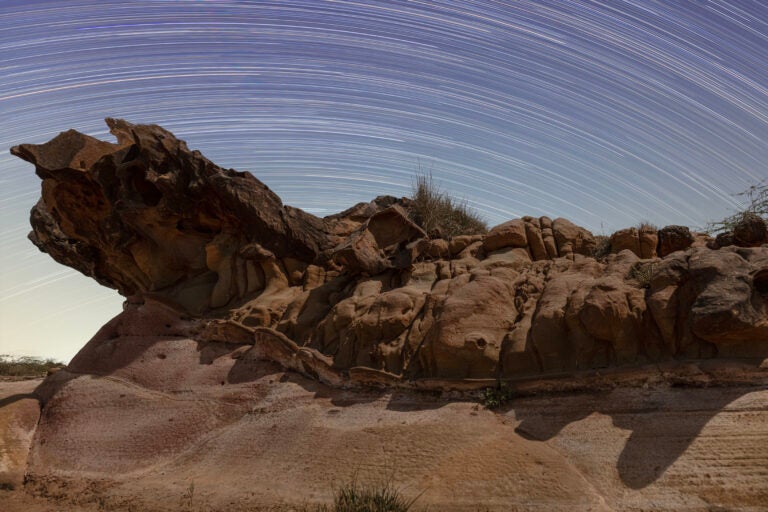
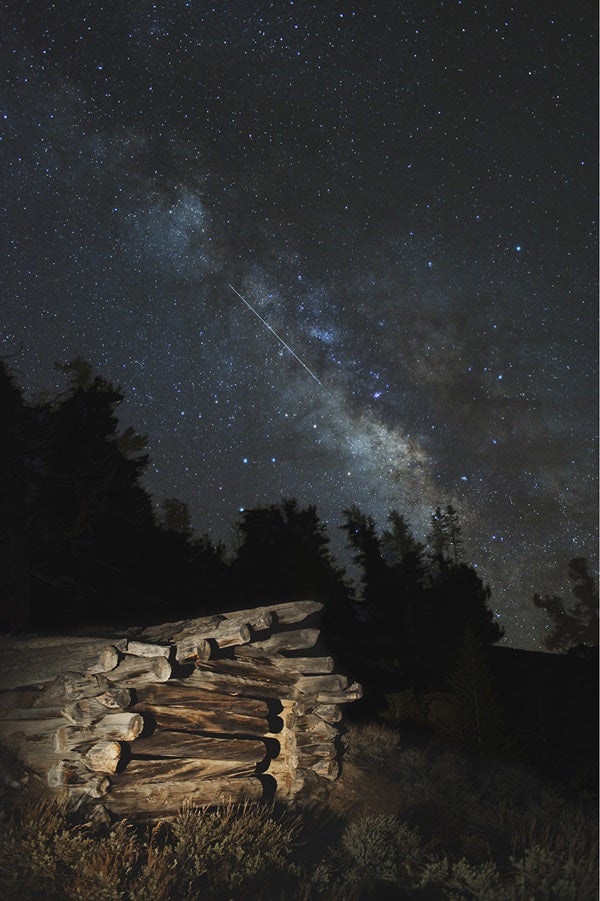
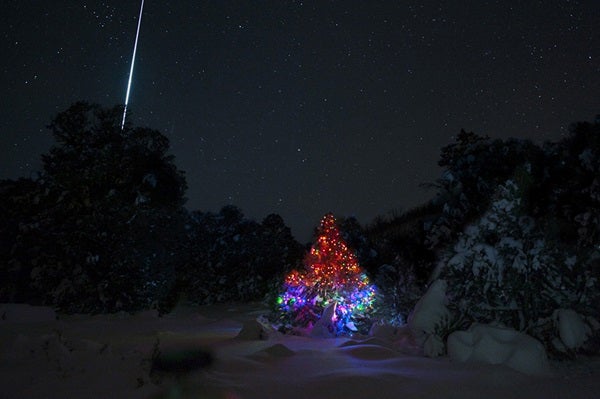
Finally, you’ll probably want to try at least a few photographs that take in some landscape as well as sky. Scout out different locations that offer stunning foregrounds.
In some cases, the earthly scenery will form a silhouette against the brighter sky. But you also might consider shining a flashlight to illuminate the nearby scene. Let your imagination be your guide, and best of luck.