high-dynamic-range-imageryhttps://www.astronomy.com/observing/high-dynamic-range-imagery/High dynamic range imagery | Astronomy.comAsroimager Adam Block demonstrates how to use masks to blend a sharpened image with the original.https://www.astronomy.com/uploads/2021/09/Image3-6.jpgInStockUSD1.001.00astrophotographyarticleASY2023-05-182015-11-2344010
Astroimager Adam Block demonstrates how to use masks to blend a sharpened image with the original.
By Adam Block |
Published: November 23, 2015 | Last updated on May 18, 2023
In 1954, Charles Wyckoff had a problem. He needed to freeze atomic bomb explosions on film. The initial flash of light, however, would fog the exposure, which prevented the recording of anything else.
His solution was to combine images using high-speed cameras with film emulsions of differing sensitivities. He also delayed the initial exposure by a fraction of a second. This allowed him to capture the emerging brilliant fireball as well as the surrounding scene.
Image #1. This screen shot shows some of the options of PixInsight’s HDRMT tool.
All images: Adam Block
Many photography historians point to his work as the birth of high dynamic range (HDR) imaging. Although our celestial scenes rarely require millisecond exposures, a similar problem often arises when we render our astronomical quarry.
In order to show the faintest and brightest features of a scene, specialized algorithms compress the dynamic range of images by making the values of faint and bright elements similar. For a given input, properly exposed portions of an image will not change. This processing, however, will dim overly bright areas to create contrast for features found there. The nature of the algorithm (and its parameters) determines the look of the result. PixInsight offers an easy way to adjust HDR images by using a tool called “HDR Multiscale Transform” (HDRMT).
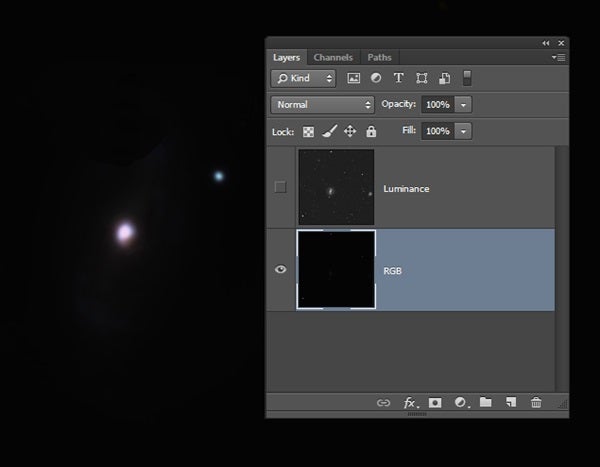
Image #2. The author aggressively brightened his luminance image to reveal faint details. Note that the brightest regions appear almost entirely white.
Examine Image #1 to see some of the parameters for this utility. Based on the information in my December column, we can make some good guesses about how HDRMT works. It deconstructs the image using a wavelet scaling function, and we can determine the number of layers it should probe. This tool uses a numbering scheme, so layer four will have features around eight pixels in size.
However, unlike a generalized wavelet transform, in HDRMT the layers correlate to one another so they enhance low-contrast features in bright objects. The “Median Transform” is a different algorithm that produces good results for more than six layers.
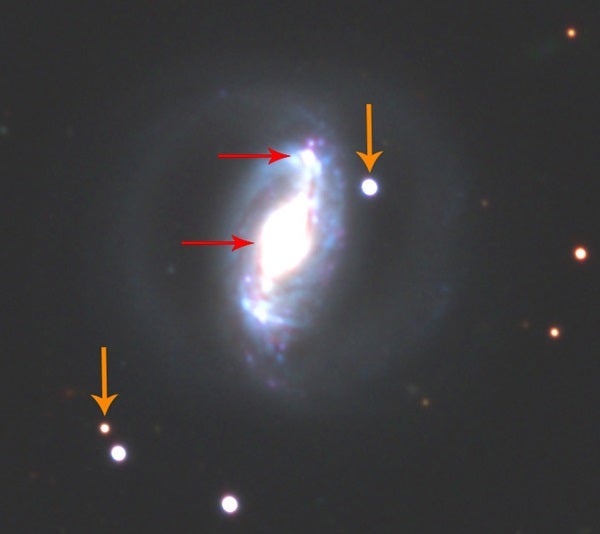
Image #3. After the author processed the luminance image in Image #2 with HDRMT, it looked like this.
PixInsight designed HDRMT for permanently stretched (nonlinear) images. What follows are settings I used on my luminance image of the Lagoon Nebula (Image #2). First brighten your image so that faint details are visible and bright regions are nearly blown out (completely white). Save this as a nonlinear image.
In PixInsight, put the “Screen Transfer Function” settings into the “Histogram Transformation” utility, and then apply it to the image. I used seven layers and the broad scaling function, called “B3 Spline (5),” which are good choices for working on large structures. I wanted to strongly affect the region around the hourglass part of the nebula.
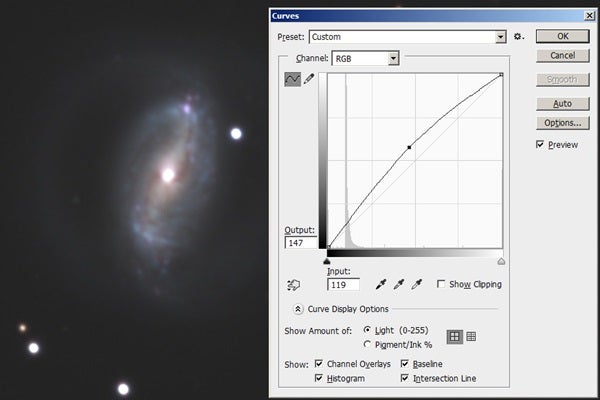
Image #4. This image shows the final result of part of the field of view. The author’s processing brought out great detail and color. You can find a full-resolution version of this image at http://skycenter.arizona.edu/gallery/Nebulae/M8_32in.
One iteration is plenty, and I also checked the “Lightness Mask” option to process only the brightest features and to moderate the result (Image #3). This new image has two benefits. First, the overall brightness profile is grayer than before, which makes it easier to blend in color. Second, the dust clouds, bright gaseous knots, and other low-contrast features are much more visible. This kind of tool — that features previewing adjustments with various settings — is the way to determine what works best with your data.