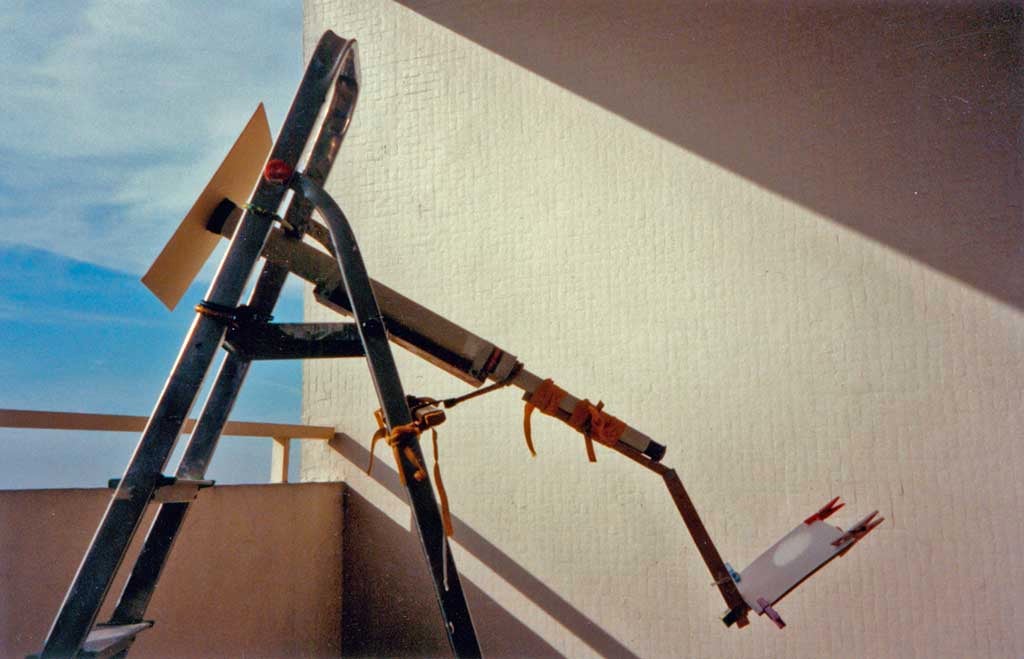
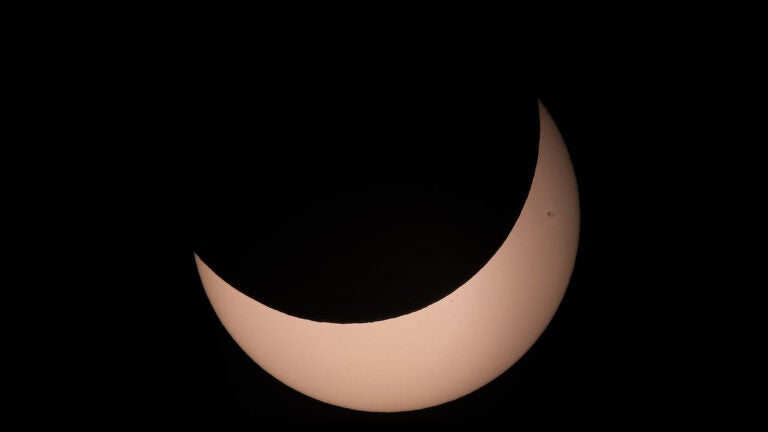
First, there’s solar projection — using a telescope to project the Sun’s image onto white cardboard or a sheet (see the photo above). With a low-power eyepiece in place, point your scope sunward; use the scope’s shadow — not the finder — to aim. You’ll know you’re on target when sunlight illuminates the eyepiece. Position the cardboard a foot or two from the eyepiece, and focus until the bright circle of light (the projected image of the solar disk) is sharp at the edges. If the Sun is active, as it currently is, sunspots will appear as dark blotches. Daily observations will reveal the spots’ ever-changing appearance and stately drift across the solar disk as the Sun rotates.
Solar projection doesn’t re-quire a large, expensive telescope — a big plus for the budget-minded astro-hobbyist. In fact, an ideal instrument for solar observing is a 60-millimeter refractor, available from many retailers for under $100.
If you want to see more detail (and who doesn’t?), consider an “aperture filter” that affixes to the front of the telescope and prevents most of the sunlight from entering. The method is slightly riskier than solar projection because an improperly secured filter can fall off with disastrous results. It’s also a bit more expensive, but not excessively so. Solar filters for small-aperture scopes typically run from $50 to $65. Using such a setup, you’ll see more intricate detail in sunspots, as well as the bright cloudlike features called plages that often accompany them. The Sun’s visible surface (the photosphere) will appear grainy — dramatic evidence of its turbulent nature.
For more information about safely viewing our nearest star, check out my Observing Basics articles “Good Sun behavior” (June 2005) and “Solar safety” (July 2009) in the archives at www.Astronomy.com/Chaple.
Contributing Editor and
longtime observer

