Because most planetary nebulae have strong emission lines at 495.9 and 500.7 nanometers — the two main wavelengths of doubly ionized oxygen — using an Oxygen-III (OIII) filter can improve your views. Some planetaries look better through Ultra High Contrast filters and, in a few instances, Hydrogen-beta filters. But an OIII filter is the first one you should try. Here’s a tip I use.
To locate especially small planetary nebulae, momentarily move the filter in and out of view between your eye and the eyepiece. Stars will dim when you view through the filter, while the planetary retains the same brightness. Then, once you find your target, attach the filter to the eyepiece for a detailed observation. In this context, “detailed” means you’ll be drawing.
NGC 6765
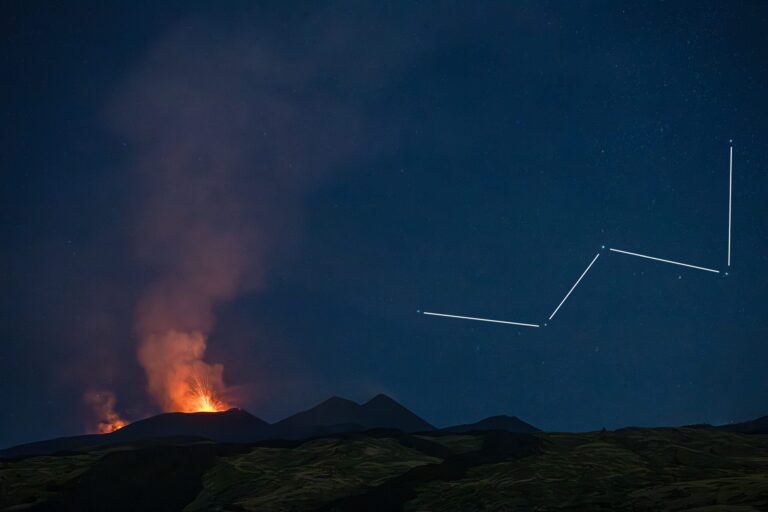
If you’re like me, you rarely visit the constellation Lyra without swinging over to the Ring Nebula (M57). Let’s face it, the odds of locating M57 when you hunt planetary nebulae are in your favor. On the other hand, if you’re after more of a challenge, take a stab at NGC 6765. It’s an irregular planetary with a diameter of 38″, or about half the size of M57. It glows softly at magnitude 12.9.
To find it, point your telescope 1¼° west-northwest of globular cluster M56 between Sulafat (Gamma [γ] Lyrae) and Albireo (Beta [β] Cygni). NGC 6765 lies in the center of a triangle formed by three stars — a magnitude 11 star to the northeast, a magnitude 11.5 star to the southeast, and one of magnitude 9.7 to the west.

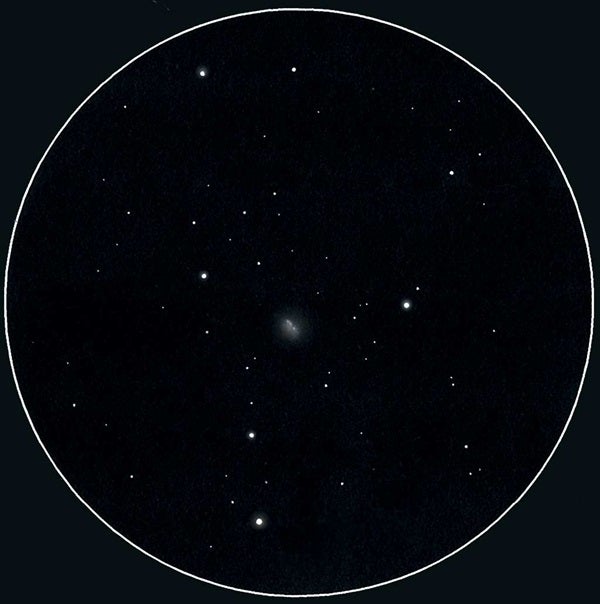
NGC 7354
It’s helpful when you can associate the location of a celestial object with specific star patterns. As an example, look for an ammonite pattern between Delta (δ) Cephei and Iota (ι) Cephei, which lie in the northern constellation Cepheus the King. You’ll find magnitude 12.2 NGC 7354, a 30″-wide planetary nebula, nestled at the pattern’s center.
You’ll want to use an OIII filter to locate this object. It appears as a faint circular disk with soft periphery through an 8-inch telescope. Through a 16-inch scope, its northwest and southeast edges are brighter and the center appears darker. A diffuse haze extends outward from its brightened edges at a magnification of 225x.
Above all, when you’re sketching small planetaries — which usually are faint as well — pay close attention to differences in contrast and the interplay between light and dark regions. Use the highest magnification the atmosphere will allow, and compare your finished sketch to what you see through the eyepiece, modifying if necessary. Have fun!