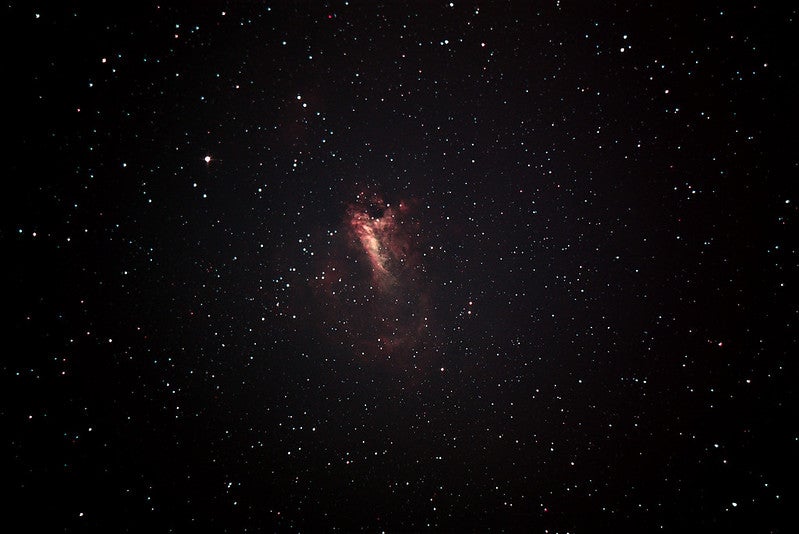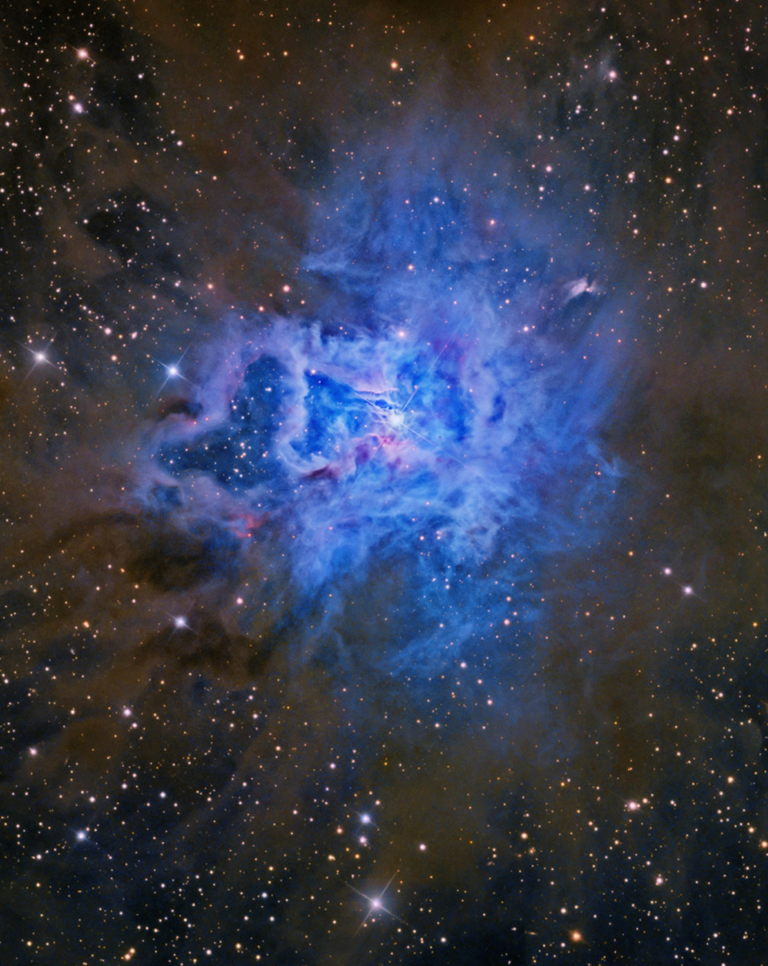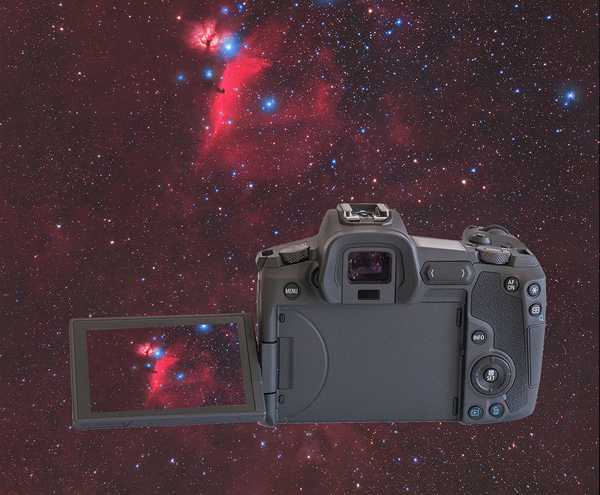
The camera is based on the company’s mirrorless R model, with two significant modifications. Instead of the usual 10x magnification, the latest Ra model can go to 30x, allowing you to obtain an extremely precise focus on stars, especially when using a wide-angle lens. Additionally, the Ra model sports a newly designed filter that lets the emission line of Hydrogen-alpha (Hα) at 656.3 nanometers really shine through. This leads to a roughly fourfold increase in the transmission sensitivity of Hα light — enabling you to capture deeper, more vivid reds — for the Ra compared to previous models, yet the window is so precise that the camera can still be used in daylight. Though Canon officials “do not recommend” using the Ra for daytime applications, after two months of daytime use, I have yet to see a bad picture.
The Canon Ra, like the R, has a full-frame, 30.3-megapixel CMOS sensor with an individual pixel size of 5.36 microns. The large pixel size helps it strike a good balance between resolution and light sensitivity, as each of the Ra’s pixels absorbs more photons than the smaller pixels found in many other camera sensors. The Ra’s electronics incorporate the latest DIGIC 8 image processor, which has powerful noise-suppression capabilities. Images taken in extremely low-light situations and then stretched to look normal show very low noise — on par with the best cameras currently available.
The Ra is a thoroughly modern camera, with most of its main controls accessible via touch screen. This makes adjustments at 2 a.m., when you are half-asleep, a breeze. The rear screen also articulates into any position, unlike many other screens that have limited or no movement. When you’re not using the camera, the screen can be folded so its glass face is on the inside, protecting it from damage. And, unique to the Canon R series, when the camera is turned off, the shutter closes, protecting the delicate sensor inside from dust and other contaminants. This also means that changing lenses while the camera is off does not expose the sensor to the environment.

Want to learn more about pulsars and other extreme objects in our universe? Check out our free downloadable eBook: Exotic objects: Black holes pulsars, and more.
As an added bonus, you can assign custom functions to most of the Ra’s buttons and its multi-function bar. There’s also a ring with click stops for the RF lenses and some EF adapters, which allows you to make additional adjustments. Being a nuts-and-bolts kind of person, I chose to turn the multi-function bar off. Because the ring can only be activated when another button is held down, this negates the chance of any accidental movement.
While I was at the Advanced Imaging Conference in 2019, I had the opportunity to see more of the latest RF lenses made specifically for Canon’s R-series cameras. These lenses are wider than a normal lens. And if they are fast, they are also quite heavy. Although they can handle being attached to a tripod or mount, I would not recommend going on a hike with them. For daytime use, my favorite lenses are the 24–70mm f/4 EF with macro and the 70–200mm f/4 IS EF. Both of these are used with an adapter to allow for internal filtering, as mentioned earlier.
The Ra does not come with a built-in intervalometer, so to automatically shoot continuous images, you’ll need to buy an external one that plugs into the camera. But if you are shooting three-minute, dithered exposures (by slightly shifting the camera between exposures), the exposure time in bulb mode can be set all the way to 60 minutes. No external timer needed.
I should also say something about how I prefer to image with the Ra. As previously noted, the Ra has very little noise. This means you can get by shooting just a single frame. But to get the most detail out of the sky, nothing beats shooting multiple frames. Through experimentation I’ve found that longer, low-ISO exposures are better than shorter, high-ISO shots. However, this means you’ll need some form of tracking with a small equatorial mount, for instance, or a star tracker like the Vixen Polarie. I typically shoot three- to five-minute exposures at an ISO of 800 to 1600 (depending on the target) and an f-ratio of f/3.5 to f/4. Shooting wide open records the worst the lens can perform and usually leads to heavy vignetting that must be dealt with after the fact.
I always shoot RAW images, taking anywhere from five to nine exposures, dithering between each. I then convert them to Digital Negative Image (DNG) files and import them into Adobe Camera Raw (ACR) for processing. Once I’ve processed the images in ACR, I save them as 16-bit TIFF files and import those into RegiStar, where the files are aligned and combined — or stacked — to create a master TIFF file. Finally, I import the master file into Photoshop for final adjustments and enhancements.
Better than a small step
The Canon EOS Ra is a giant leap forward in astronomical imaging. Its combination of high sensitivity, low noise, and good resolution in a modern architecture is a true winner. Plus, the touch-screen menus alone are worth the price of admission. All in all, the camera is a real joy to work with.