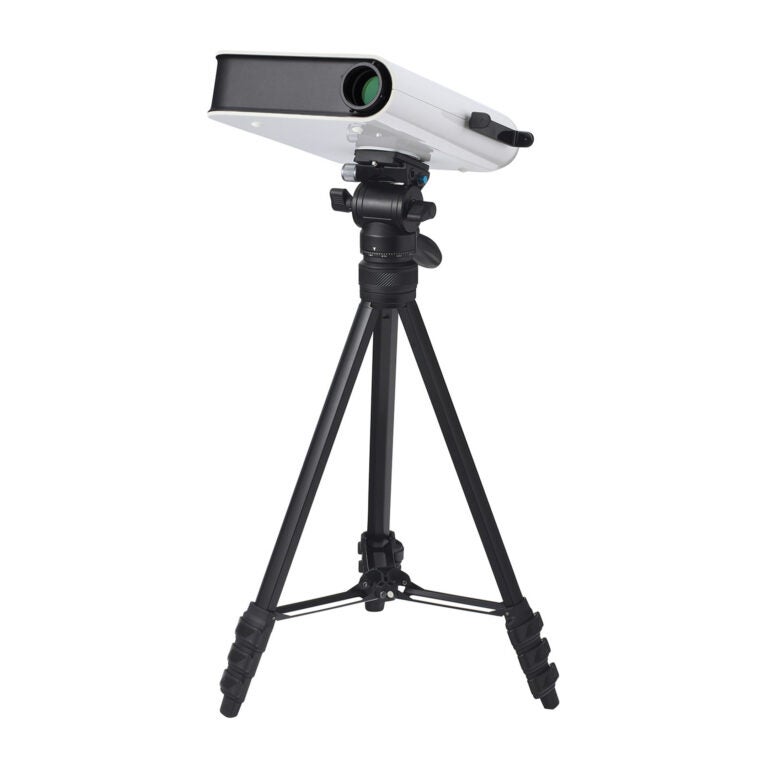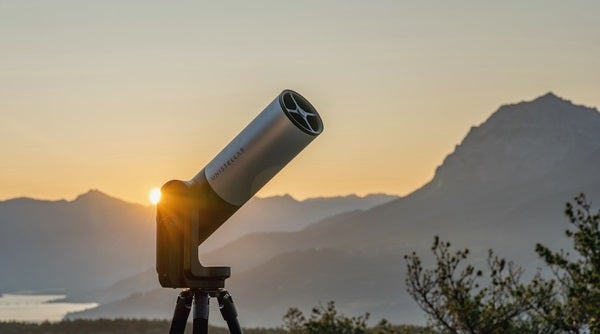
Unistellar shipped me the eVscope and its tripod in one large box. In it were two smaller packages: One held a well-padded backpack that protected the telescope — a 4.4-inch f/4 reflector with a mirror made of borosilicate-crown, a high-grade glass. The other box contained an aluminum tripod.
Setting up
The first step is to charge the battery of the eVscope. Make sure to do this several hours before your observing session, as Unistellar states that it takes seven hours to fully charge the battery. The company provides an adapter that plugs into any outlet within a range of 100 to 240 volts AC. The other end, which outputs 5.0 volts at 2.4 amps, connects to the bottom of the scope. Inside is a 15,000-milliamp-hour battery, which, the company claims, will run the scope for nine hours. If you aren’t sure the battery is full, you can use the scope while it’s charging.
Download Unistellar’s app from the Google Play Store or the Apple Store. On your phone, select “Settings” and then “Wi-Fi” and connect to evScope network. Its name consists of “eVscope” and six random characters. Once connected, you can move to the next steps.
When outdoors, your first task is to find a viewing location and level the tripod. Unistellar makes this easy by incorporating a bubble level at the top of the tripod. This is also the time to set the tripod’s height. Each leg has two locking extenders. I settled on a height where one of the extenders was all the way out. Also at the top of the tripod, you’ll find two knurled knobs. Loosen them so you can insert the scope’s round bottom into the tripod. Then tighten the screws.
Turn on the eVscope by pressing the button on its side for one second. In a few more seconds, the light changes from purple to red, and the scope is ready to go.
Focus and alignment
Launch the Unistellar app. Even with my old phone, it booted up and worked flawlessly.
Select the “eVscope” icon at the bottom (the leftmost of the five icons). From your phone, use the arrow buttons to move the scope to roughly 45°. The purpose here is to find some stars that will enable you to focus the scope. If you don’t see stars, play with the arrow buttons until you do. You’ll also find the large round focus knob at the bottom of the scope. For an initial focus, align the mark on the knob to the top screw. Then, either watching the display on your phone or looking through the eyepiece, adjust the knob to achieve the best focus.
To focus the non-interchangeable eyepiece, turn it clockwise or counterclockwise. Unistellar has built a Bahtinov mask into the main dust cap to help you achieve the best possible focus. First, twist the mask to separate it from the dust cap, and install it the same way you would the cap. Then, touch the “Explore” icon, the one that looks like Saturn with three stars (or moons?) around it. Scroll down to “Stars,” and select any bright star. Then hit the “Go to” button.
With the star centered and the Bahtinov mask on, you’ll see a pattern (called a diffraction pattern) that looks like an X with a central vertical line through it. Your job is to use the bottom knob to focus until the vertical line cuts through the center of the X. When that’s done, remove the mask.
Next, touch the “Automated Alignment” icon to the right of the joystick. It looks like a target. By doing this, you’ll engage one of the coolest features of the eVscope. The built-in computer will compare the star field you found to its database. When finished — it takes about 15 seconds — the scope will be aligned to the sky. At this point, you’ll see “Sky Tracking On” and you’re ready to observe.
Enhanced viewing
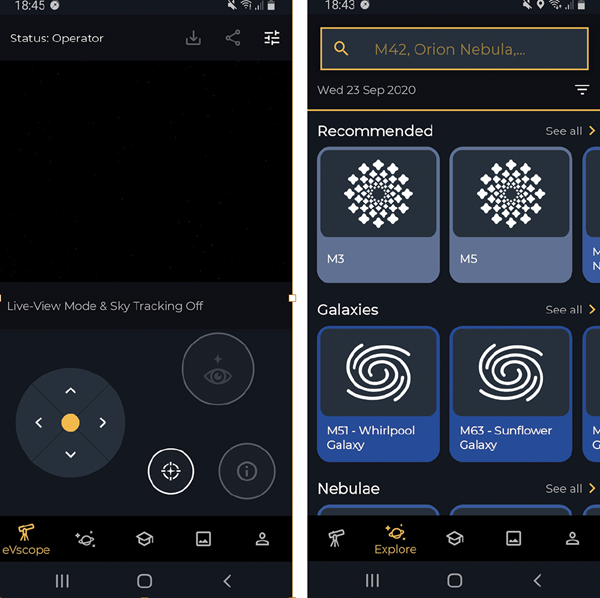
Touch the “Explore” icon at the bottom. You’ll find eight rows of objects on the display that the eVscope calculated are visible in your sky: “Recommended,” “Galaxies,” “Nebulae,” “Clusters,” “Stars,” “Planets,” “Transient Events,” and “Advanced.” You can scroll through each row to choose from 10 objects, or, in the case of the bottom three rows, as many as are visible. Each of the top seven rows has a “See all” option, which lists more. “Galaxies,” for example, had 92 entries at one point.
Touching one of the object buttons moves you to another screen. One of its windows shows the object’s altitude (in degrees) and azimuth (as a compass point, such as “NNE”). The window below that provides some additional info on the object. There’s also the “Go to” button.
When you touch “Go to,” the scope moves until your selected object is in the field of view, both through the eyepiece and on your phone. You’re in “Live View” mode. Try not to be disappointed by the view. Remember, it’s a 4.4-inch scope. In this mode, the icon at the upper right will allow you to adjust “Gain” and “Exposure time.” Have some fun playing with these controls. You’ll notice that the two sliders below, “Contrast” and “Brightness,” are locked.
But the coolest thing happens when you touch the icon that looks like an eye with a star and enter “Enhanced Vision Mode.” After a few minutes (it varies depending on your settings), during which the telescope is collecting light from the chosen object, the app will show nebulosity where none was visible before, arms of spiral galaxies where only a hazy core showed, and as many as a dozen times more stars within clusters — all with color.
If you like what you see, touch the “Download” icon at the top to save your image. You can view them later by tapping the “Gallery” icon at the bottom.
When you finish observing, touch “User,” and then hit “Park My eVscope” to send the unit to its home position. Replace the caps, and you’re done.
Evaluation
Even during Tucson’s monsoon season, many nights are clear, so clouds weren’t a problem. But, I was testing the eVscope during the height of the West Coast wildfires. There were days that meteorologically were “sunny,” but I could not see the Sun. The night sky was just as bleak.
I did, however, enjoy extended views of more than a dozen objects. They included the Dumbbell Nebula (M27), which revealed its characteristic shape, the Hercules Cluster (M13), which filled the eyepiece with sharp points of light, and the Wild Duck Cluster (M11), which abounded with colorful stars. And every object looked much better in Enhanced Vision mode than in Live View.
Unistellar has created a nearly foolproof instrument that even novice skywatchers will have a blast with. And by the time you read this, version 1.1 of the software, which incorporated some requests by users, should be installed. Have fun!