In this case, my base image is an arch in Arches National Park near Moab, Utah. I photographed it many different ways. In one of the shots, I positioned the Sun at the bottom right corner of the arch to create a “starburst” effect. Months went by. Then one day I looked at the image, and the idea occurred to me to fill the sky with something. But what?
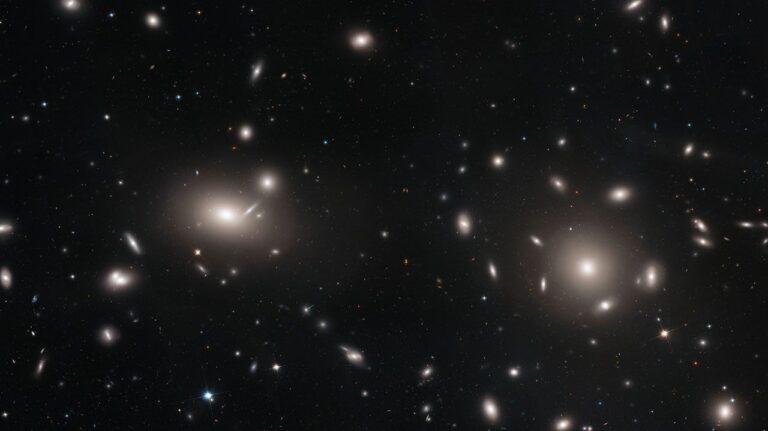
The image at bottom left shows the arch as I shot it. Note that most of the background is blue sky. Blue sky can act like the green screen that television and movie studios use to drop out a background and replace it with something else. After trying out various backgrounds to substitute for the sky, I came upon my image of the Andromeda Galaxy (M31). Immediately, I imagined the possibility of creating an out-of-this-world image.
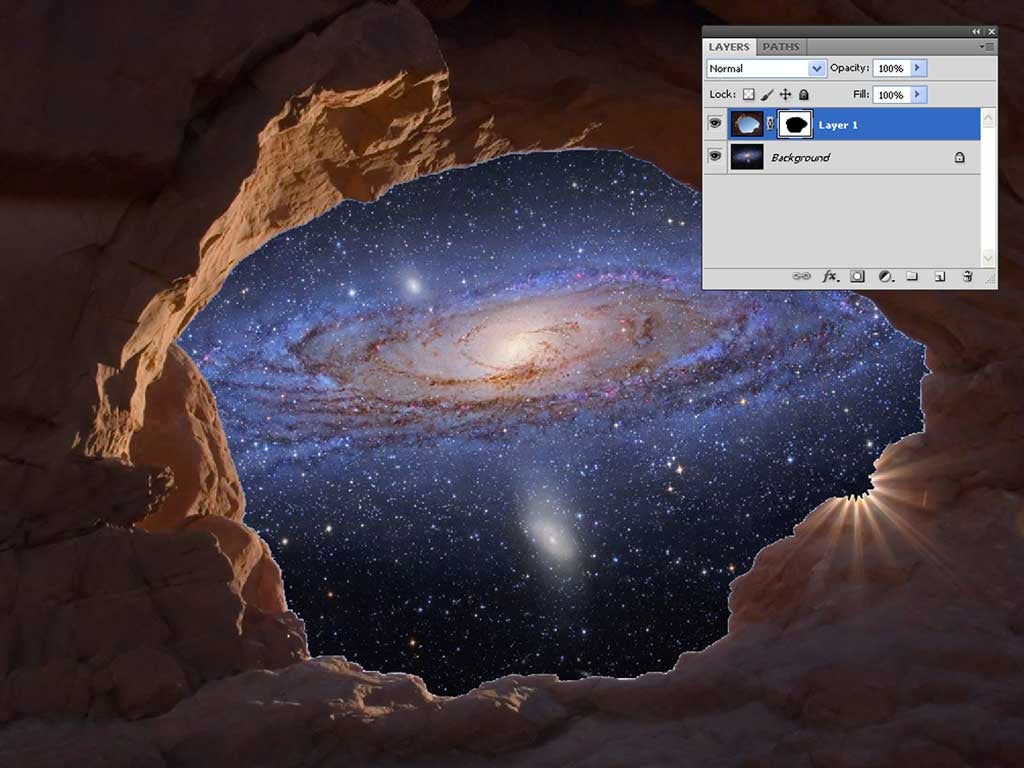
The other is to put the arch on top as before but turn a selection into a mask that blocks the open sky, letting the glorious galaxy show through.
The first step is to use Photoshop to open both images on your desktop and scale them to approximately the same size. Make them the same width (in pixels) and the same resolution. Be sure to check the “Constrain Proportions” box.
Next, make the arch image a layer on top of M31 by pressing F7, and with the arch image active, drag the icon of the arch on top of the galaxy image. This automatically turns the arch into the layer you want. Close the single image of the arch. It now has duplicated itself, so you don’t need it anymore.
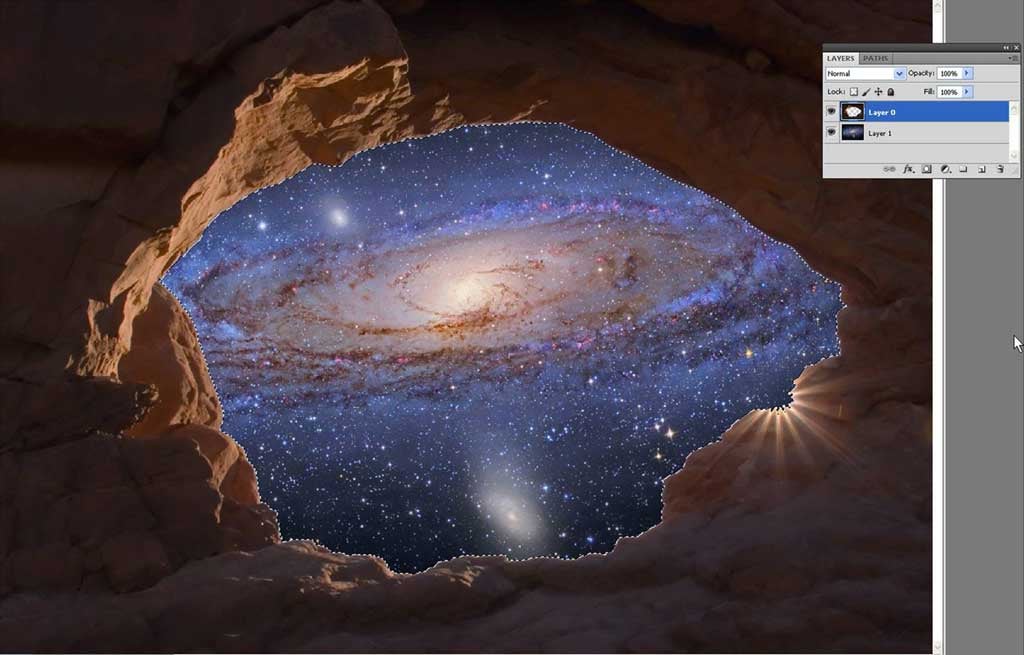
Now, go to “Select,” then “Modify,” and then “Expand.” Enter “2” to expand by two pixels, and click “OK.” Usually when you select an area, a tiny bit remains along the edge. By expanding (by two pixels), we make sure the edge is into rock.
With the arch layer still active, go to “Edit” and then “Clear,” and Photoshop will clear the sky you have carefully selected, revealing the galaxy underneath (the right image).
Next month, I’ll show you how to do this with a mask and continue to the final image. Our goal will be to make the arch seem like it’s giving us a view of M31 from an alien world.


