The Moon offers something for everyone. It’s visible most nights, its everchanging face has features one night not seen the previous night, and it doesn’t take an expensive setup to enjoy it. To help you get the most out of viewing the Moon, follow these 10 tips, and you’ll be on your way to a lifetime of lunar observing.
To start, don’t use optics
The best way to begin your journey as a lunar observer is to learn the Moon’s major features. Head out with a simple Moon map, and use just your eyes to identify our only natural satellite’s top attributes. Once you know a few, you can add binoculars.
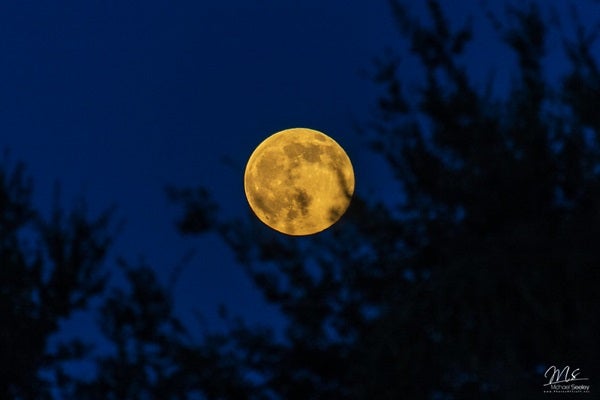
The Full Moon is bright
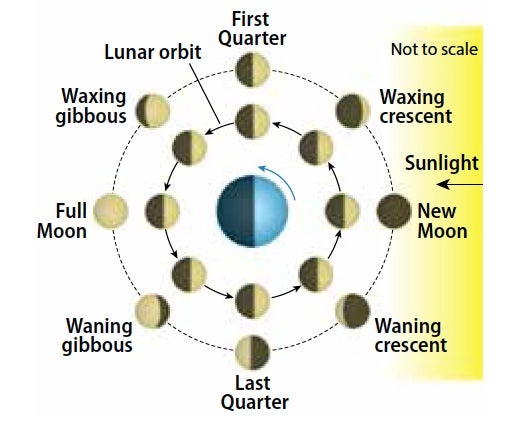
Contrary to what you might think, Full Moon is not the best time to observe our natural satellite. When the Moon is Full, the Sun lies behind Earth (as we face the Moon), shining directly down on the lunar surface. Shadows are at their minimum lengths, so you can’t see much detail.
View at “prime time”
Two intervals during the lunar “month” (from one New Moon to the next) are best for observers. The first begins shortly after New Moon and continues until two days past First Quarter. On these days, the Moon lies in the evening sky.
An equally good observing period starts about two days before Last Quarter and ends when the Moon lies so close to the Sun that it’s lost in morning twilight. During both intervals, shadows are longer and features stand out in sharp relief.
The terminator is great
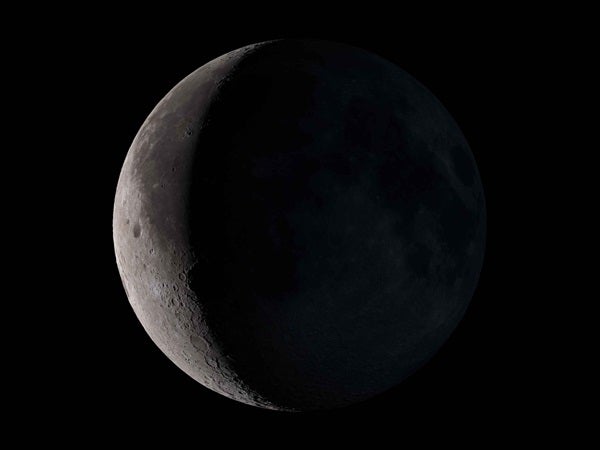
During the two primetime periods, aim your scope along the line that divides the Moon’s light and dark parts. Astronomers call this line the terminator. It’s where sunrise (or sunset) is happening.
You’ll see the tops of mountains protruding just high enough to catch the Sun’s light while surrounded by lower terrain that remains in shadow. Features along the terminator change in real time, and during a night’s observing, the differences you’ll see through your telescope are striking.
The best Moon scope?
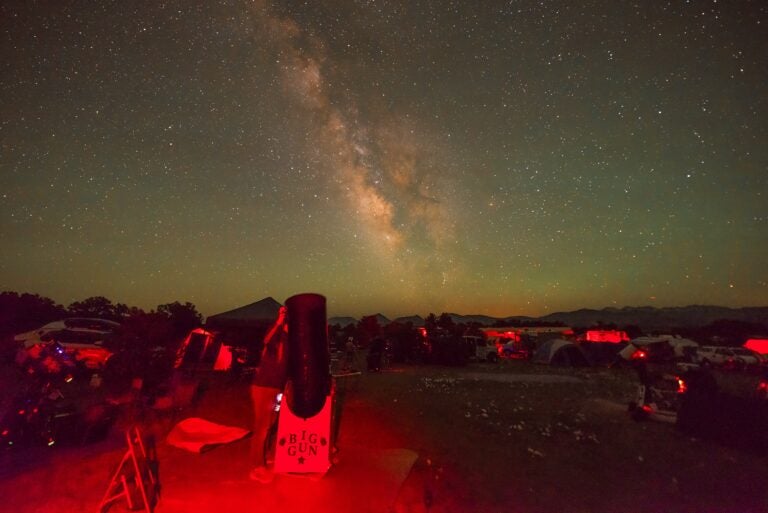
Nearly any telescope will do to observe lunar details. Observers with several options (but not a permanent observatory) usually pick a scope they can set up many nights in a row. Observing on successive nights makes it easier to follow the terminator’s progress.
Cut down the moonlight
Many observers use either neutral density filters or variable polarizing filters to reduce the Moon’s light. The latter lets you change how much light the filter transmits.
Two other methods to reduce the Moon’s brightness are high magnification and an aperture mask. High powers restrict the field of view, thereby reducing light throughput. An aperture mask causes your telescope to act like a much smaller instrument, but at the same focal length.
Turn on your best vision
Some years ago, an observer found a better way of observing the Moon: Turn on a white light behind you when you observe between Quarter and Full phases. The light should be moderately bright (in the 60-watt range), but neither your eyes nor the eyepiece should be in direct view of the fixture.
The addition of white light suppresses the eyes’ tendency to dark adapt at night. Not dark adapting causes the eye to use normal daytime vision, which is of higher quality than dark-adapted night vision. So, you’ll see more detail because you’re viewing with a better part of your eye.
Work from a list
A great way to learn the Moon is to undertake an observing project. In the United States, the Astronomical League offers one such project, the Lunar Observing Club. You’ll learn a lot about our satellite as you work through a list of 100 lunar features. To receive a certificate, you must be a member of the league, either individually or through an astronomy club. For details about the club, see www.astroleague.org/al/obsclubs/lunar/lunar1.html.
Dig for the details
Of the 1,940 named lunar features, 1,545 are craters. Challenge yourself to see either how small a crater you can detect or how many you can observe in a given area. You’ll need a Moon map for this project.
For the second challenge, you can choose a lunar sea, but usually a large, flat bottomed crater works best. For example, if you search the large crater Plato, you’ll find four small craters on its floor. Lunar observers consider seeing these craters a test for a 6-inch telescope.
Shoot the Moon
How can a celestial object that’s so easy to photograph be so difficult to photograph well? The Moon is large and bright, and you can use any camera connected to any size telescope to image it. That’s the easy part.
But the Moon also contains vast areas of low contrast that have little color differential. Recording those regions so they look like what your eyes see is the hard part. Luckily, we live in the digital age. It costs nothing extra to take 200 images instead of just one. Examine them, delete what you don’t like, change one or more parameters (including the techniques you used to process the images) each time, and shoot some more as you perfect your techniques.

