Few technological advances have impacted astronomy as much as the digital revolution. That’s been true in the professional realm since the 1980s, and it’s been true for amateur astrophotographers like us since the turn of the millennium. Perhaps nothing illustrates this seismic shift more vividly than comparing historic photographs of the Moon with their more modern counterparts.
For instance, take the great lunar crater Clavius, imaged in the 1950s with what was then the world’s largest telescope, the 200-inch Hale telescope at Palomar Observatory. If you compare that shot with a corresponding image taken in 2005 using a standard 14-inch consumer scope and one of the first commercially available CCD cameras, the differences in resolution, sharpness, and dynamic range between the two are striking.
So, what are some of the tools and methods for cutting-edge lunar imaging now available to those with telescopes suitable for amateurs (6 to 14 inches)? Apart from good optics and a solid mount, most practitioners can employ any number of excellent webcam models or laptop computers (with appropriate image-capture software), as well as sophisticated image-stacking and processing software. In addition, for close-up, high-resolution imaging of select lunar features, quality Barlow lenses or Powermates — which both extend focal lengths — are essential, as are atmospheric dispersion correctors and, typically, near-infrared filters to minimize the effects of less-than-perfect seeing conditions.
Shooting from his home near Brussels, Belgium, one of this article’s authors, Leo Aerts, routinely uses a custom-built Opticon 10-inch f/15 “planetary” Schmidt-Cassegrain (with only a 25 percent central obstruction) and a Celestron 14-inch f/11 scope, both on movable Losmandy G-11 equatorial mounts. The telescopes are stored in his home garage and wrapped in thermal insulating material to prevent overheating during daytime hours.
Although Aerts has used many older model webcams, including several DMK CCD models, they operated at relatively low capture rates of 30 to 60 frames per second (fps). His current favorite cameras are ZWO CMOS models, an ASI 178MM with a 2.4 micrometer (µm) pixel size, and an ASI 290MM with 2.9 µm pixels. These models perform very well up to 150 to 250 fps, with low levels of noise and high infrared sensitivity. Aerts also routinely uses an AstroTechniek atmospheric dispersion corrector, especially when his target is below 40° high in the humid Belgian skies. These handy optical devices have two rotatable prisms made of silicate glass, which can be adjusted to introduce a degree of native chromatic aberration that counteracts that of our atmosphere.
In short, a typical imaging run for Aerts varies depending on his webcam’s field of view and seeing conditions. He’ll collect anywhere between 4,000 and 5,000 frames for a full shot of the Moon and 15,000 to 20,000 frames for a close-up of a lunar region of interest. Of those, about 800 to 900 of the best frames are combined with his preferred stacking software, AutoStakkert. If seeing conditions are excellent, he caps the number of selected frames at about 10 percent of the total shot, provided the noise level allows it. Aerts uses FireCapture for image capture and Photoshop 10 for final processing. Any refining or elimination of noise levels is done with the unsharp masking application or the wavelets function of Astra Image.
One common misstep for new imagers is not monitoring seeing conditions throughout observing. During an extended imaging run, conditions can vary considerably, which can ruin a good portion of your session. Limit your image capture to periods of favorable seeing, pausing when necessary, and only resuming once seeing stabilizes again. It may be overwhelming at first, but, as with any new endeavor, consistency, patience, and persistence are essential.
Digital technology has reached a level of precision that allows amateur practitioners to generate pictures rivaling those produced by early space probes, and even some of the lower-resolution images taken by NASA’s Lunar Reconnaissance Orbiter (LRO). To bring that point home, we have put together a sort of virtual tour of the lunar landscape, featuring some of its highlights, as well as the more captivating aspects of familiar regions across the Moon’s spectacular surface. Except where otherwise indicated, all images were taken by Aerts with a standard 14-inch Celestron.
Flying over the Moon
Who among us hasn’t imagined what an incredible experience it must have been for the Apollo astronauts to approach and circle the Moon just a few miles above its surface? Seeing that otherworldly panorama of craters, mountains, smooth lava plains, and endless horizons in brilliant detail must have been an incomparable adventure. And while few of us are likely to experience that in person, we can accomplish it virtually thanks to the magic of digital imaging.
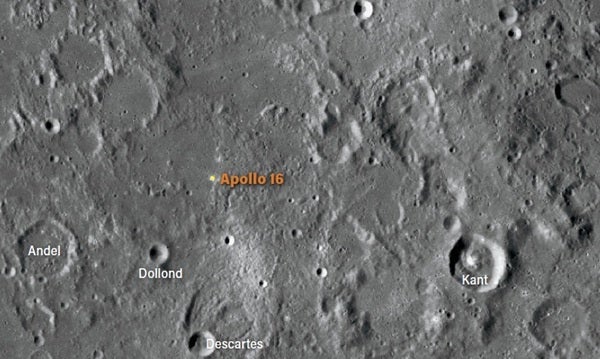
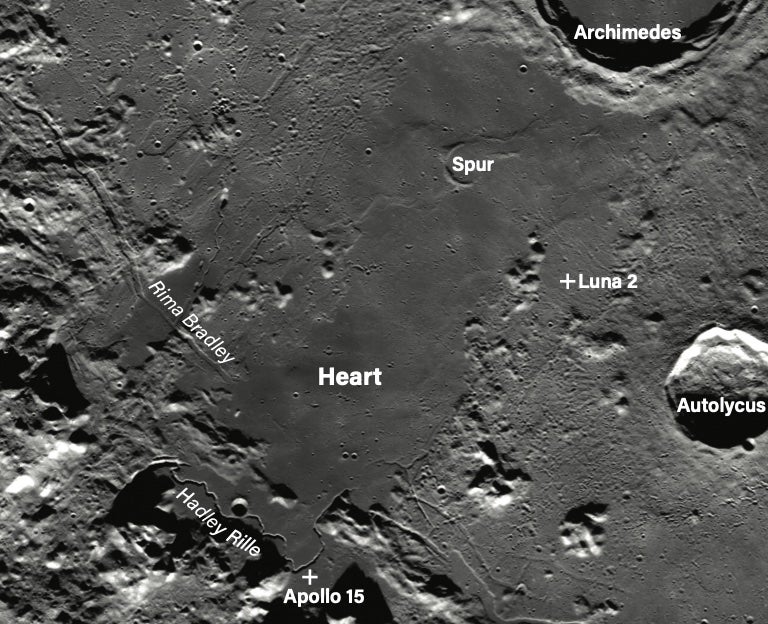
The first stop on our lunar tour is the path of one of the most scientifically productive Apollo missions: Apollo 15. In 1971, the astronauts landed in the Hadley–Apennine region near the Montes Apenninus (Apennine Mountains), in the northern hemisphere of the Moon bordering Mare Imbrium (Sea of Rains). Their assignment was to investigate and collect samples in the area around Rima Hadley (Hadley Rille), a volcanic channel likely formed during the Moon’s early history. To accomplish this, David Scott and James Irwin were equipped with the first Lunar Roving Vehicle, allowing them to roam and explore a sizeable area near their landing site.
With consumer equipment, the snaking valley of Rima Hadley, only roughly 1 mile (1.6 kilometers) wide, is easily visible, as well as both Mons Hadley and Mons Hadley Delta, the massive mountains that surround their landing site.
Chasing shadows
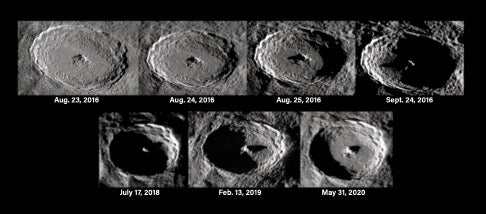
One of the most absorbing activities seasoned observers can undertake is following the gradual changes in the shadow patterns of selective lunar features. These can reveal unusual forms, as well as terrain features that are not readily apparent in other lighting conditions.
At approximately 108 million years old, the prominent and distinctive Tycho Crater is among the youngest impact features on the Moon. Its bright interior is particularly evident when the Sun is overhead, and its distinctive pattern of ejecta rays extends up to 930 miles (1,500 km) across the lunar surface.
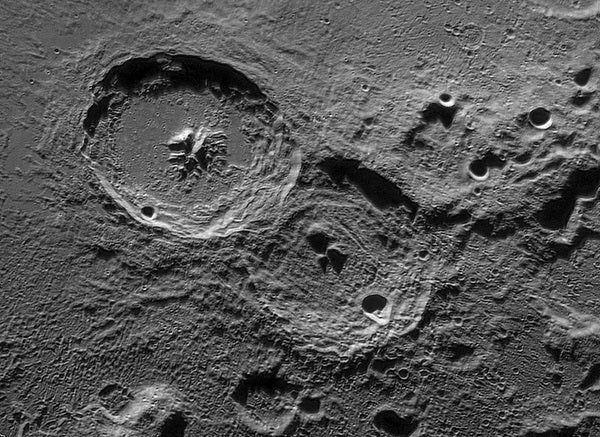
The well-known trio of craters Ptolemaeus, Alphonsus, and Arzachel provides a good example of relative dating of lunar features. Of the three, only Arzachel has a well-defined, walled rim and prominent central peak. Alphonsus’ wall and central peak are comparatively less well defined, and the interior of Ptolemaeus is almost fully lava filled and lacks any evidence of a central peak. Based on these morphologies, it is clear that Ptolemaeus is the oldest and Arzachel the youngest of the three. And digital photography is helping amateurs finally explore that lunar history for themselves.
Ramping up the resolution
In the past, astrophotography using film or photographic plates had major limitations. The silver halide crystals these methods used were inherently grainy and not very sensitive to light. To top it off, because exposures tended to require several seconds, they were also seriously affected by atmospheric turbulence or seeing. As a result, it was almost impossible to obtain diffraction-limited images — those with resolutions limited only by optics — with any telescope, large or small.
However, most of these limitations do not apply to digital photography. Because only the very best frames are combined and processed, a final digital image can approach the full resolution potential of the scope used to obtain it.
Pushing the envelope
Most astrophotographers like to experiment with their avocation in an effort to squeeze every last bit of information out of their digital data, providing as detailed a view as possible. We are no exception.
One such method to get the most out of your data is to use processing techniques like high dynamic range (HDR). However, this will only work effectively with top-quality stacked images containing several hundred frames.
At this point, one might reasonably ask: Are there no limits to what amateur lunar imagers can hope to achieve in the future, or have we reached a pinnacle? Clearly, larger aperture telescopes will help you capture more impressive results by having a higher angular resolution. But will continuing improvements in digital cameras and data-processing applications expand those horizons even more? Only time will tell.
But then again, does it really matter? As expert imager Robert Reeves so nicely put it in his compelling 2016 Astronomy.com article, “Lunar landscapes love affair”: “So why do I keep imaging the Moon after half a century? Simply said, I haven’t done my best yet. I haven’t finished exploring. There is more to see. The future holds better images for me and everyone who puts their heart into pushing deeper into the heavens, and I am going to enjoy the ride while I can!”
We could not agree more.

