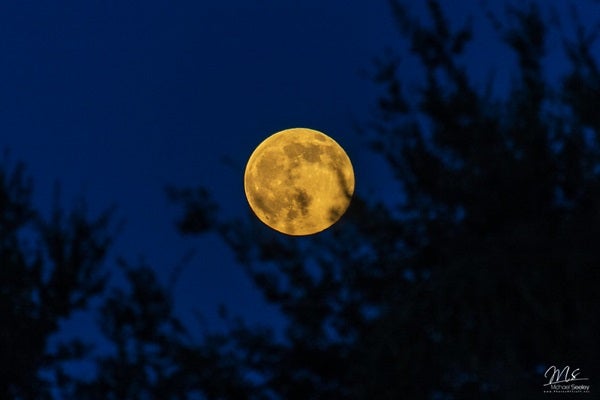
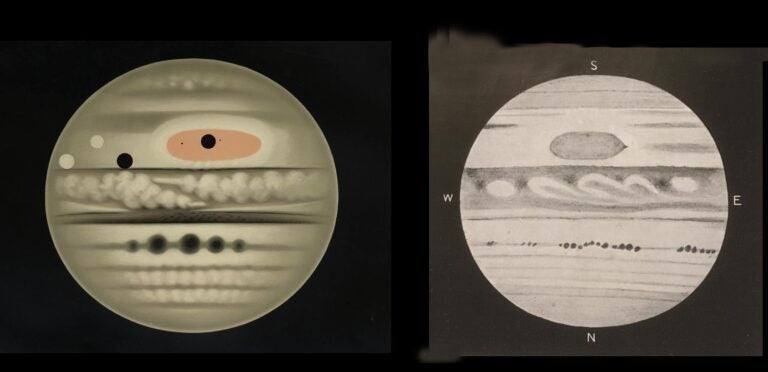
Truth be told, here the urban stargazer is at a disadvantage. While the Moon and brighter planets show little affect from light pollution, and double and variable stars also punch through pretty well, many deep-sky objects are not so fortunate. It is a sad fact that the faint, vague forms of most galaxies and diffuse nebulae, which can be tough enough to see under pristine conditions, succumb to the overpowering brutality of city lights.
Does this mean our cosmic journey stops here? No, not at all! While urban stargazers should probably wait until they are able to escape their immediate environs when hunting for most galaxies and diffuse nebulae, other types of deep-sky objects are certainly visible under less than ideal conditions. These objects possess the same qualities that help double and variable stars find their way through the sky’s urban sprawl: high surface brightness.
Observers who are new to deep-sky observing often judge whether or not a particular object will be visible in their telescope based on that object’s listed magnitude. This is a common, but understandable, mistake because we usually judge how dark a sky is by the faintest stars visible by eye or through a telescope. It would seem perfectly reasonable that if I can see an 11th-magnitude star through my telescope, then I should be able to see an 11th-magnitude galaxy as well. But when I aim toward the galaxy, it is nowhere to be found, even though the 11th-magnitude star is visible. What’s going on here?
The problem is in the way we traditionally express the brightness of sky objects. The magnitude system, created in about 120 b.c. by the Greek astronomer Hipparchus, was originally designed to rate the apparent brightness of stars and other point sources of light, such as planets, seen by eye alone. After the invention of the telescope, it became clear the system had to be expanded.
Today, when astronomers talk about the magnitude of, say, a galaxy or star cluster, they are really referring to the object’s integrated magnitude. In other words, a globular star cluster listed as 7th magnitude would appear as bright as a 7th-magnitude star if the cluster could somehow be magically condensed into a starlike point. But of course, the cluster is not condensed into a point; its light is spread across a visible diameter. As light spreads out, its intensity drops off precipitously, causing the object to become fainter. Therefore, the 7th-magnitude cluster may appear considerably dimmer than a 7th-magnitude star.
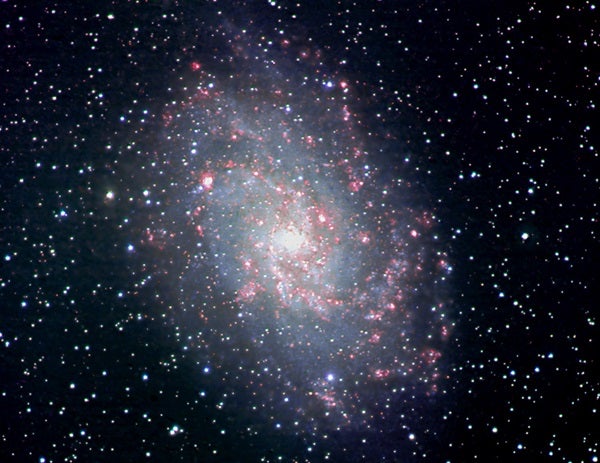
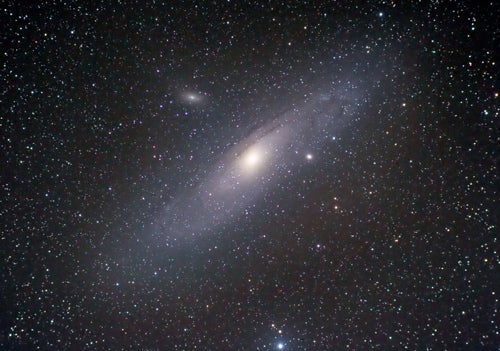
But unless the sky is absolutely, perfectly pristine, seeing M33 with the eye alone is an impossible task. In fact, back home, spotting it using binoculars through light-polluted suburban skies is challenging enough. The problem is that M33 is big … too big. Although rated at magnitude 6.3, its light covers an area equal to two Full Moons stacked end to end. That causes M33 to have a very low surface brightness. Many people searching for M33 pass right over it unawares. The trick to seeing it, whether with the naked eye, binoculars — or a telescope for that matter — is to use averted vision and scan the area very slowly.
Therefore, urban deep-sky observers should stick with high-surface-brightness objects and hold off looking for others until they are able to escape the city and head out to a dark, countryside observing site.
At least a few examples of each type of deep-sky object — star clusters, nebulae, and galaxies — are able to penetrate the pall of light pollution. In general, however, galaxies and bright nebulae suffer the most. On the other hand, many open star clusters, globular star clusters, and planetary nebulae enjoy relatively high surface brightnesses, making them targets of choice when peering through light pollution.
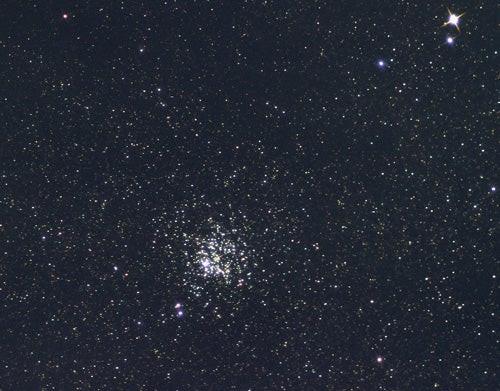
When judging whether a particular open star cluster is attainable from a city environment, consider not just its overall magnitude, but also the magnitudes of its brightest member stars as well as their concentration. For instance, M11, the Wild Duck Cluster in Scutum, has an overall magnitude of 6.3. Although one of M11’s stars shines at about 8th magnitude, the vast majority are between 3 and 6 magnitudes fainter. They are so tightly concentrated, however, that their light pools to a high surface brightness. Other open star clusters that enjoy a high surface brightness include NGC 869 and 884 (the Double Cluster), the Pleiades, M36, M44, M6, and M7.
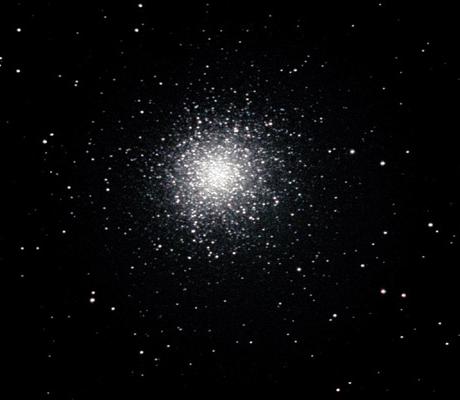
Like open cluster M11, the individual stars in globular star clusters are quite faint. But because there are so many of them — estimated between 100,000 and 1,000,000 in a single globular — their combined strength creates a high surface brightness. Once again, the surface brightness depends on the number of stars and how tightly packed they are. For example, the globular cluster M13 in Hercules is rated magnitude 5.8, although its stars are no brighter than 11th magnitude. Compare this with M55 in Sagittarius. M55 collectively measures magnitude 6.3, only a half magnitude fainter. But because its stars are much more loosely packed than M13, M55 is a far more challenging object to see through light pollution.
Star clusters, like individual stars, shine over the entire visible spectrum, from red to violet and all points in between; but globulars tend to be redder, and open clusters, bluer. As a result, broadband light-pollution filters, which suppress the orange-yellow wavelengths where many roadway and building lights concentrate their emissions, can effectively increase contrast between open star clusters and the surrounding sky. Although these filters will not make an invisible object suddenly visible, they will help improve the aesthetics of what is in view by darkening the surrounding sky.
Planetary nebulae, the expanding shells of gas that surround aging stars, also enjoy high surface brightnesses. Planetaries typically appear as tiny disks measuring only a few arcminutes across or less. As the expanding gas is heated by its progenitor star, a planetary nebula often glows with a greenish or bluish hue, the result of its gases being excited into fluorescence. Its distinctive color often makes a planetary easy to identify amid a field of stars, despite its small size.
To help make planetary nebulae even more obvious, many observers use narrowband nebula filters. These filters suppress all wavelengths of light save select wavelengths where these fascinating objects emit most of their visible energy. Rather than screw a filter into an eyepiece, however, many observers prefer to hold them between two fingers, alternately placing the filter between their eye and the eyepiece as they search for a challenging planetary. Going back and forth quickly makes the planetary easier to spot, since the filter dims stars more than the nebula. This method, sometimes called the “in-and-out technique” or the “blinking technique,” works surprisingly well.
In addition to filters, city observers should use every trick in the book when looking for deep-sky objects regardless of type. First and foremost, make sure you give your eyes enough time to become accustomed to the dark before searching for faint objects. While most people’s eyes achieve partial dark adaptation in about 20 to 30 minutes, the entire process can take an hour or more. Plan your night’s observing program so brighter objects are viewed first. Wait at least an hour until you begin to search out those faint fuzzies that are just on the brink of visibility. And remember, the sky is usually darker after midnight than before.
Next, take a deep breath and slow down! Just because an object doesn’t reveal itself immediately doesn’t mean that it won’t after a few minutes of concentrated searching. If eye fatigue sets in, move away from the eyepiece and take a short break before returning to the hunt.
This leads to the next point: Any discomfort will detract from your concentration and introduce “noise” between your eye and your brain. There is nothing more uncomfortable than bending over to look through an eyepiece. Many observers sit on chairs and stools when looking through the eyepiece.
If a faint object is still not visible, use averted vision (that is, look to one side or the other of the target). This way, its weak light will fall on a more sensitive part of the eye’s retina. Frequently, this will do the trick, but some objects still refuse to show themselves. In such instances, try to center the object as best you can and tap lightly on the side of the telescope. Often, marginal objects may actually reveal themselves if the field is jiggled very gently from side to side. Your touch must be soft, just enough to shake the telescope slightly.
For this tour, you will need a 4- to 6-inch telescope, a couple of quality eyepieces, and a star atlas showing each target. I’ve indicated the map where you’ll find each object in Astronomy’s Atlas of the Stars.
South of M44 lies M67 (Map 12), another open star cluster. Although M67 appears smaller than M44, its higher stellar density may actually make it easier to see, especially if your telescope’s field wasn’t large enough to include all of M44.
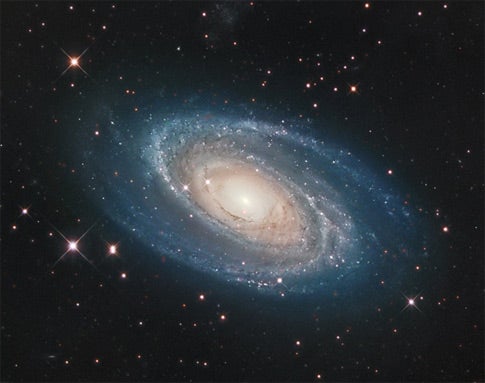
Although only a few galaxies are bright enough to be visible through light pollution, two of those exceptions lie near the Big Dipper. The first, M81 (Map 2), is found northwest of the Dipper’s bowl, while the second, M51 (Map 7), is just south of Alkaid, the star at the end of its handle. Although a low-power eyepiece is best for zeroing in on each location, a medium magnification, around 80x to 100x, will probably deliver the best views.
Finally, follow the arc of the Dipper’s handle to Arcturus, the bright orange star that dominates the constellation Boötes. Northwest of Arcturus, across the border in the faint constellation of Canes Venatici lies the globular cluster M3 (Map 7). M3 looks like a tiny ball of cotton near a 6th-magnitude field star through small telescopes. Six-inch and larger instruments may be able to resolve a few individual points of light, even from inside a city.
For this tour, you will need a 4- to 6-inch telescope, a couple of quality eyepieces, and a star atlas showing each target. I’ve indicated the map where you’ll find each object in Astronomy’s Atlas of the Stars.
Move on to Vega and its tiny constellation of Lyra the Harp. Lyra is home to M57 (Map 7), the Ring Nebula, the sky’s most famous planetary nebula. M57’s characteristics smoke-ring shape might be difficult to confirm in extreme light pollution, but its grayish, oval disk should be visible in 3- and 4-inch telescopes using 80x to 100x.
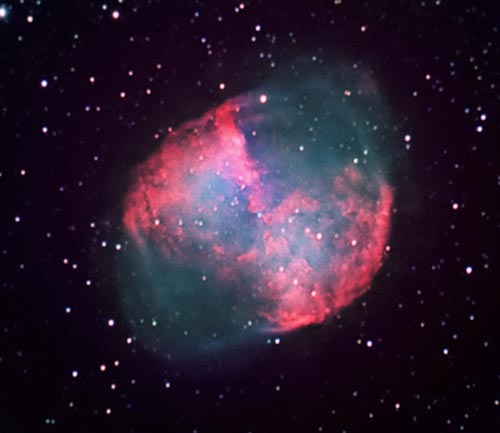
The sky’s most prominent planetary resides to the southeast of M57. M27 (Map 8), the Dumbbell Nebula, is in Vulpecula the Fox, a constellation that is vague even under the best conditions. Instead, most observers find it by starting at Albireo in Cygnus the Swan. M27 is about a finder scope field to its southeast. Use a low-power eyepiece to find the field, and then switch to about 100x to see its apple-core shape. Cygnus also holds the open cluster M39 (Map 39) to the north of Deneb. It is also well worth a visit, but use low power for the best view.
Moving south, be sure to visit M11 (Map 14) in Scutum, which was mentioned earlier. Other highlights in the southern sky include globular clusters M22 (Map 20) in Sagittarius and M4 in Scorpius, and open clusters M6 and M7 (Map 20) also in Scorpius, as well as M23 and M25 (Map 20) in Sagittarius. Also be sure to try your luck with M8 (Map 20), the Lagoon Nebula, which is bright enough to spot even through light pollution. A narrowband light-pollution filter will make a big difference.
For this tour, you will need a 4- to 6-inch telescope, a couple of quality eyepieces, and a star atlas showing each target. I’ve indicated the map where you’ll find each object in Astronomy’s Atlas of the Stars.
Farther north, there are many open clusters in and around Cassiopeia and Perseus that are readily visible from city skies. Among the best are M52, NGC 457, NGC 7789, (all Map 3) and the Double Cluster (NGC 864 and NGC 884) (Map 1).
To the south lies a pair of globular clusters that are worth visiting. M15 (Map 15) is in Pegasus to the west of the Great Square, while M2 (Map 15) is in Aquarius. The latter’s sparse surroundings will likely make this a difficult catch from a city, even though the cluster itself is quite bright.
For this tour, you will need a 4- to 6-inch telescope, a couple of quality eyepieces, and a star atlas showing each target. I’ve indicated the map where you’ll find each object in Astronomy’s Atlas of the Stars.
The winter sky holds more bright stars than any other season, and with those stars come some favorite deep-sky objects. The first target on everyone’s winter list should be M42 (Map 11), the Orion Nebula.
Unlike most other bright nebulae, which really aren’t all that bright, M42 pierces light pollution. Look for the four buried stars known as the Trapezium as well as the fainter tendrils of the nebula itself. Like summer’s M8, M42 benefits greatly from using a narrowband filter.
Travel next to the Pleiades star cluster (M45) (Map 4). Here, binoculars and finder scopes are the instruments of choice because the Pleiades covers such a wide swatch of sky.
Next, it’s north to Auriga and the open clusters M36, M37, and M38 (all Map 5). M37 is made up of many faint stars, which could make it tough to find under severe conditions. The other two should be a bit easier to find thanks to their brighter stars. M35 (Map 5), to the east in Gemini, is also a bright open cluster that is worth a visit, as is M41 (Map 17), far to the south in Canis Major.
These are just a few of the sights that await urban stargazers. There are many more out there awaiting your visit. Once you’ve conquered our short list here, try your luck with the Astronomical League’s Urban Club. Their inventory includes more than 80 deep-sky targets visible through city skies.
- Video: How to use a star chart — Senior Editor Rich Talcott helps you navigate the night sky using Astronomy magazine’s pullout star chart, located in the center of each monthly issue.
- StarDome — Astronomy.com’s interactive star chart lets you construct an accurate map of your sky and find your favorite constellations, planets, galaxies, and more. [Related video: How to use Astronomy.com’s interactive star chart StarDome]
- ABCs of observing — Sharpen your scope skills with these 26 tips
- Constellation observing — Downloadable articles that highlight all 88 constellations in the sky and explain how to observe each constellation’s deep-sky targets.
- Weekly observing podcast highlights three objects you can see in the night sky

