Perhaps you have always wanted to try astroimaging, but were intimidated by the technical aspects, the equipment requirements, the level of expertise needed — you know, the works. The hardware requirements alone can be daunting for the novice. Luckily, Celestron has now made leaping into this endeavor a lot easier for a beginner with their StarSense Autoguider (SSAG).
Celestron has integrated their highly successful StarSense technology into a small telescope and digital camera. It’s a compact and powerful piece of equipment that performs two essential functions for successful imaging: precise alignment and accurate tracking using a guide star (referred to as autoguiding).
With this equipment plugged into your Celestron mount or computerized telescope, you can easily polar align or star align your mount and precisely slew to any object in the supplied database. (You can check compatibility at www.celestron.com/products/starsense-autoguider.) You can then command the telescope to center on any desired star in your field of view, thus making your telescope ready for imaging.
Alignment: Smooth sailing
The SSAG comes ready for installation. All you need are the two provided Phillips screws to attach the bracket base to your scope. The bracket — which is pre-installed on the SSAG — can simply slide into the base. Plug one end of the auxiliary cable into the back of the SSAG unit and the other into the AUX port of your mount, and you are ready to go.
Once I installed the SSAG, it was time to delve into the manual to understand how to operate the SSAG’s functions and how they work. I admit, I was left a tad confused; perhaps in the future, Celestron could include a one-page quick-start guide for an easier setup.
Fortunately, it turns out that either the hand control or Celestron’s PlaneWave Instruments (CPWI) Telescope Control Software (available as a free download for Windows PCs) will walk you through the process of configuring the SSAG settings. And if you have prior experience with a Celestron mount, you will find the setup very easy. I still do recommend a good read through the manual, just to gain the basic understanding of the functions.
Before starting up your system, you should check the firmware version you are running and follow the manual’s instructions for any future updates. The SSAG can be used in one of three ways: 1) with the Celestron hand control; 2) with the CPWI software; or 3) if you have a SkyPortal Wi-Fi module, you can also use the SkyPortal app for operation.
When using the hand control, you will need some basic information before starting the initial alignment procedure: your location in latitude and longitude, and the current time. The hand control will store it so you don’t need to enter it again, unless you change locations.
Next, simply follow the controller’s suggestions. The polar-align process is next, and is optional. This step slightly improves the overall pointing accuracy by a few arcminutes. The SSAG does not require accurate polar alignment to function, thanks to the StarSense technology (a plate-solving software). But if you do choose to polar align, the mount will automatically select several stars near the pole and perform the method of plate solving required to determine exactly where the scope’s line of sight is pointing to in the sky. If a star is blocked or otherwise not visible, the routine will automatically choose another. I really appreciate this ability, which holds for star alignment as well.
Once the pole position has been determined, the hand control displays the mount’s offset in altitude and azimuth and allows you to adjust each in turn by displaying an easy-to-follow linear baseline with a zero point in the center and +/- values to the right and left. If you are correcting for azimuth, simply turn the azimuth knobs and watch the real-time offset values change. When the azimuth adjustment is complete, the hand control will prompt you to do the same with altitude. It’s highly convenient — there’s no need to crane your neck trying to peer through a polar scope!
Once polar alignment is complete, the hand control will prompt you to do a sky align — I recommend choosing the autoalign process and letting the telescope do the work for you. When that’s complete, the hand control will ask if you want to do a center calibration so SSAG can accurately place objects in your field of view.
With alignment done, you can begin one of the most exciting parts of astroimaging: choosing your target. Simply type and select the object’s name, and the mount will slew to center on it. Then, go to the SSAG menu on the controller screen and turn the “Autoguide” setting on; you can now image. I should note that autoguide stays on until you either turn it off manually using the controller, or you slew to a different object, which will turn it off automatically.
Imaging with the SSAG
Imaging with the hand control only and no computer (not needed for operation) is perhaps best suited to using a DSLR or mirrorless camera. However, If you are using a computer to control a CCD or CMOS astroimaging camera, you will want to use the CPWI software instead of the hand control. Aligning the mount through CPWI is easier than using the controller. If it’s the first setup, you’ll still need your latitude, longitude, and time. CPWI will prompt you through the steps for alignment and center calibration.
The CPWI program is more advantageous in that it provides you with several things the controller cannot, such as a fullscreen star map showing the current pointing position of the telescope. To change targets, simply use the cursor on the map and click on that object. In addition, CPWI also provides a graph showing the guiding corrections the SSAG is sending to the mount — a nice feature to monitor while imaging.
CPWI is also Astronomy Common Object Model (ASCOM) compliant. This means the program can bridge the mount to other ASCOM-compliant programs. I had my Celestron Advanced Vector Extensions (AVX) mount simultaneously connected to both CPWI and another CMOS program for camera control.
The reasoning behind controlling a mount from two different apps is that some imaging functions, such as dithering (automatically shifting the frame a pixel or two between exposures so that when you stack the photos, the stars will align but the background noise will not), are only performed by camera control software. Alas, when the mount slews a pixel or two for dithering, CPWI shuts off the SSAG autoguider function, so dithering is not yet supported. (At the time of this writing, dithering functionality for CPWI is in beta testing.)
Testing it out
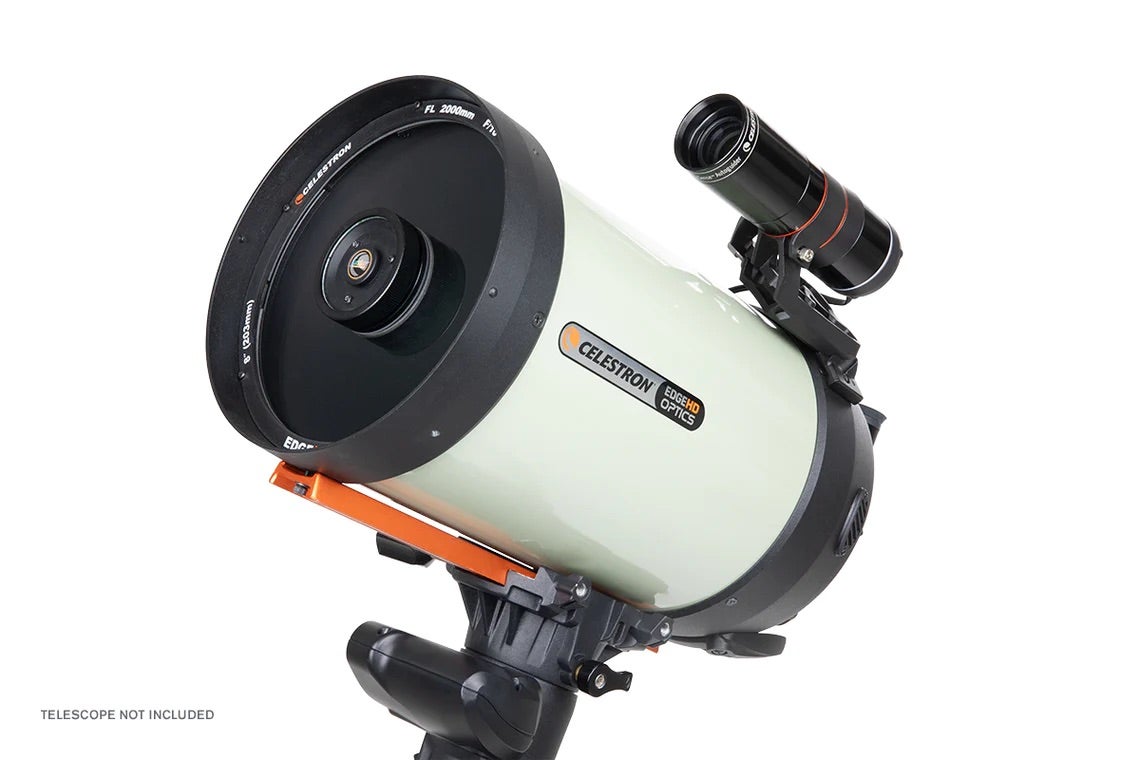
I tested the SSAG on a small platform that a novice imager might own: a Celestron AVX mount and a Celestron C6 Schmidt-Cassegrain telescope. Setting the system up in my backyard, which contains enough trees to give the polar and star alignment procedures a good test, I used the hand control to polar align. Several stars it chose were blocked by my house, but it continued selecting alternates until it had enough.
Then I did the automatic sky alignment. Again, several stars were blocked, but the system selected alternate stars and successfully completed its task. The controller then suggested a center calibration (which aligns SSAG’s field of view with that of your scope), which I did. After only 10 minutes, I was ready to image.
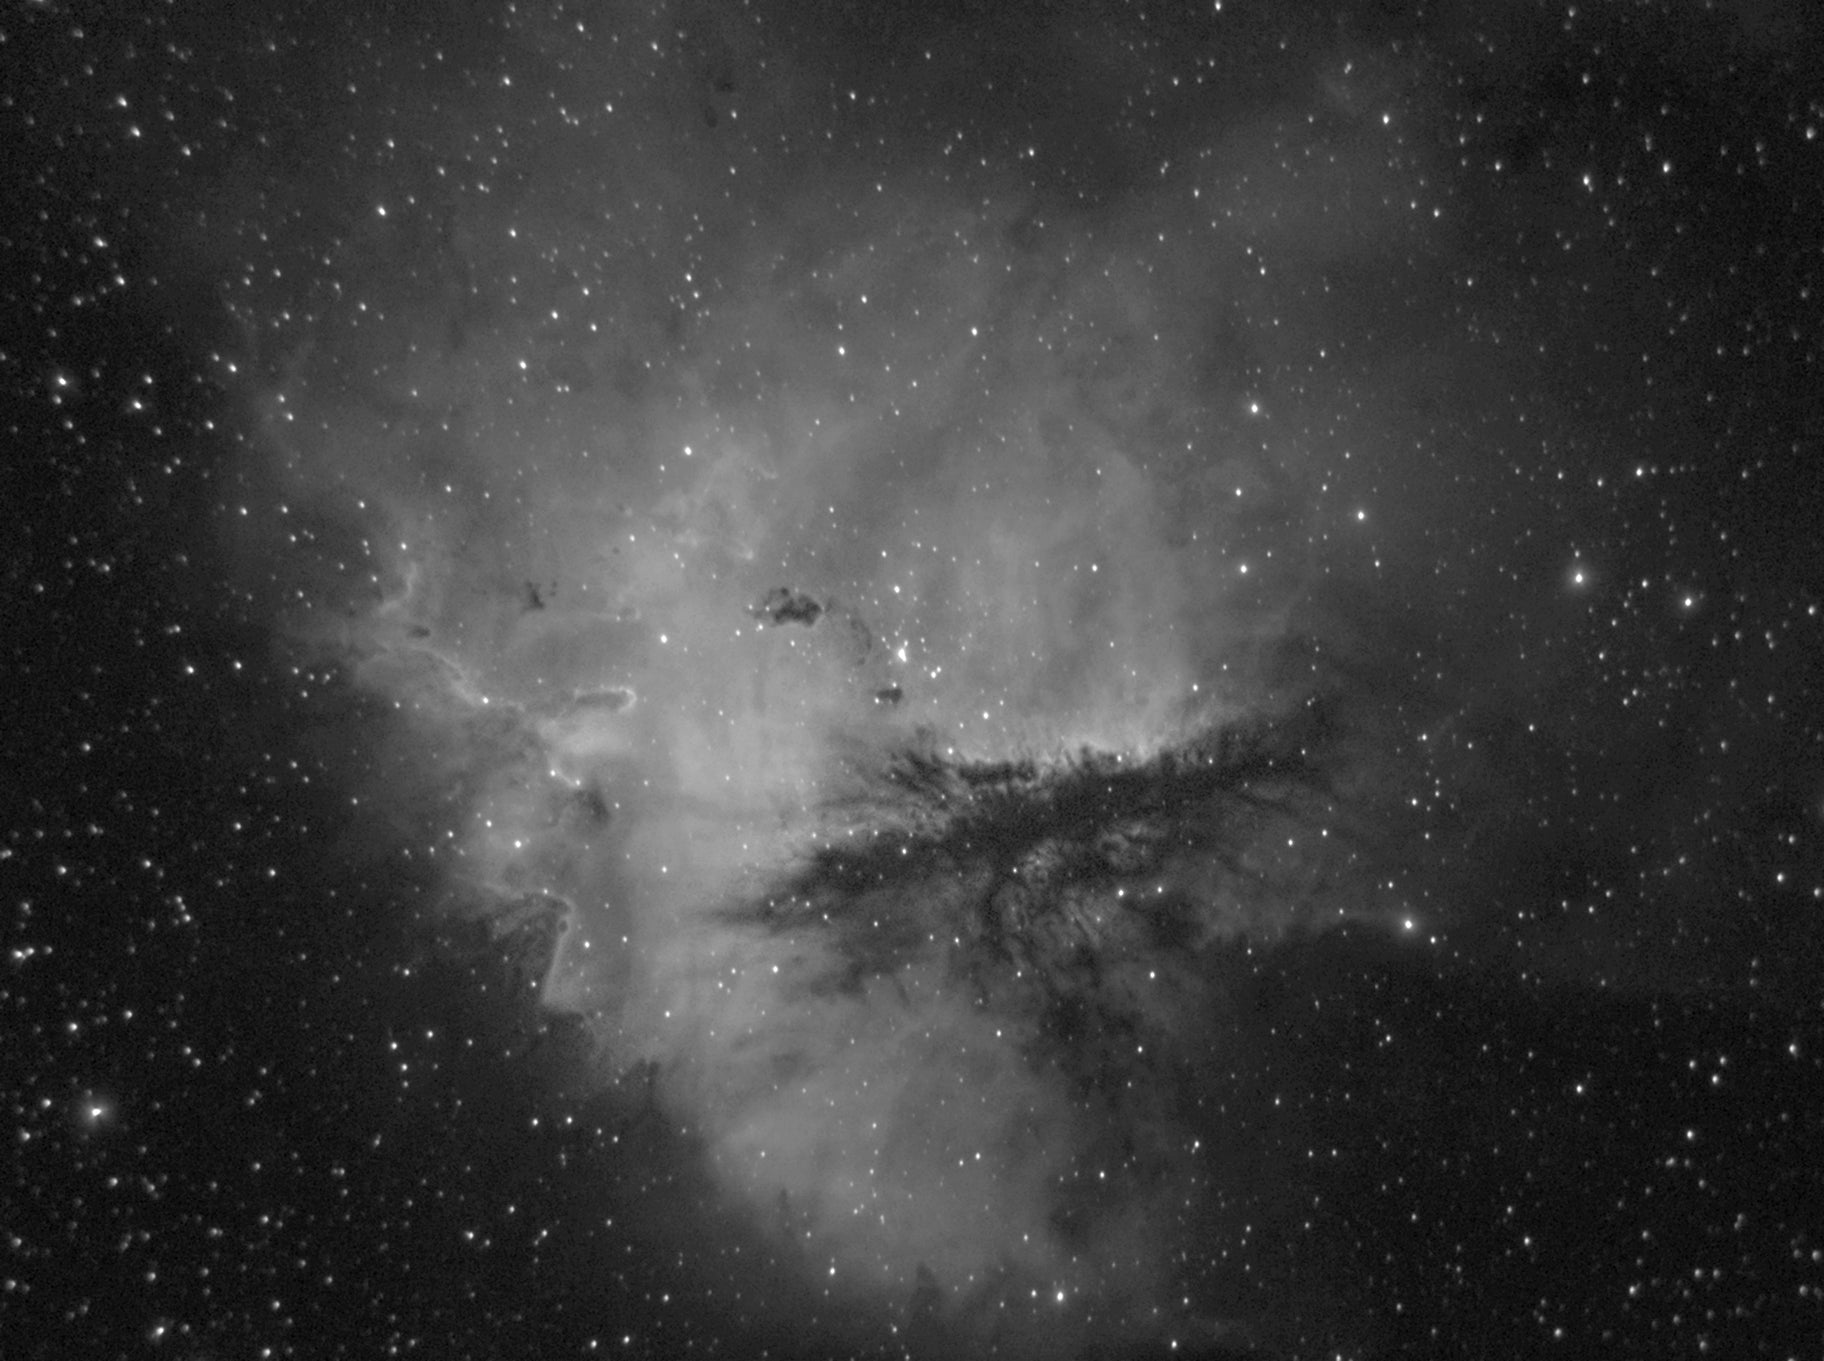
I chose the Pacman Nebula (NGC 281), as it was high in the sky and not obstructed. The mount veered and centered on the object. I went to the SSAG menu, turned autoguiding on, and ran a series of 10-minute exposures with a Hydrogen-alpha (Hα) filter on my CMOS camera. The C6 has a focal length of 1,500mm; that’s probably a good deal longer than a novice imager should take on, but was a good test for the SSAG.
I was very pleased with its performance over a two-hour session where I captured 12 exposures. The slight differential flexure over each 10-minute exposure did result in a several-pixel shift between images, thus providing me with the dithering I needed without unduly affecting the star geometry.
I am confident that the Celestron StarSense Autoguider is a superb, state-of-the-art tool for bringing ease to an otherwise complex task and encouraging astrophotography newcomers. Even if you’re a more seasoned imager, I still recommend the SSAG for its simplicity when it comes to field setups. Autoguiding is now as effortless as the push of a button or the tap of a screen.

