But how do you start observing the sky?
What do you need to know?
Next, learn why the sky is the celestial sphere. It has a north pole, an equator, and a south pole. Two sky coordinates exist: Right ascension is like earthly longitude, and declination mimics latitude.
Read up on Moon phases. The Moon first becomes visible as a thin crescent low in the western evening sky. Each night thereafter, it appears to grow and move eastward until Full Moon, after which its lit part shrinks to invisibility. When you again spot the thin crescent low in the west, roughly 30 days have passed. You’ll want to know the Moon’s phase because its light can prevent you from seeing faint objects.
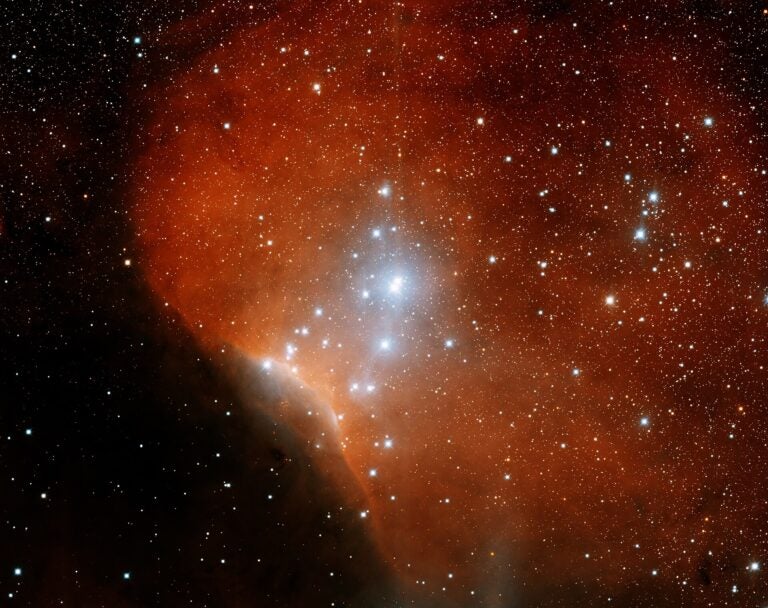
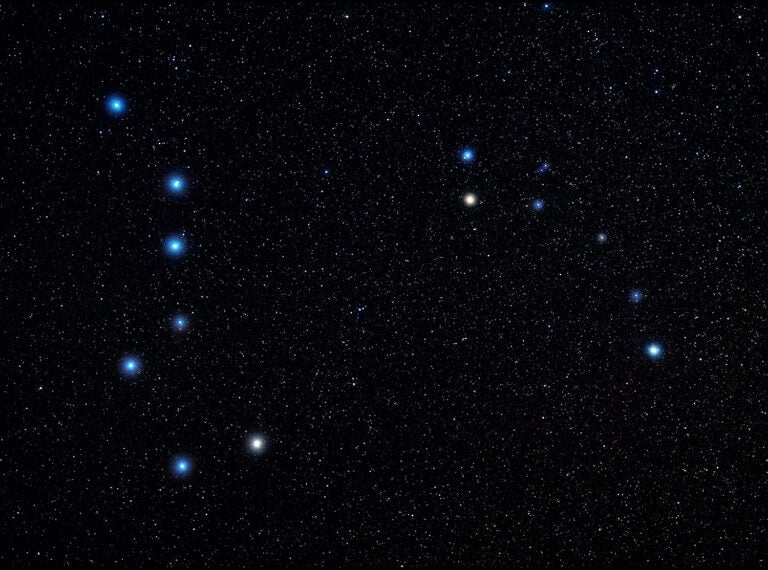
Finally, become familiar with bright seasonal constellations. Start with just a couple per season: Taurus the Bull and Orion the Hunter in winter; Scorpius the Scorpion and Cygnus the Swan in summer; and so on. Don’t worry about the faint ones. If you haven’t heard of them — for example, Lacerta and Serpens — there’s probably a good reason why.
2. Immerse yourself in the subject
You’ve made a good start. In each issue, Astronomy magazine features a combination of science- and hobby-related articles. “The Sky this Month” is an up-to-date guide to the current sky. But there’s so much more out there. Your public library and bookshops offer many observing guides. Except for where you’ll find the planets, such texts don’t go out of date.
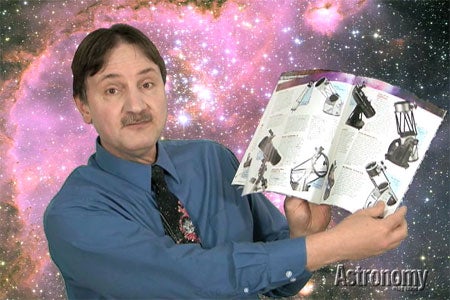
You wouldn’t buy a car without first getting behind the wheel, so don’t purchase a telescope without first viewing through it. Some astronomy shops will set up equipment for you, and a few even will walk you through its operation.
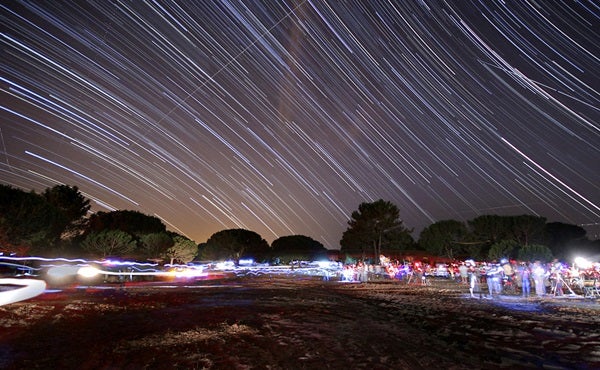
Another way to test-drive a scope is to attend an observing session or a regional star party hosted by an astronomy club. Take your time, visit manufacturer websites, ask lots of questions, and you’ll soon enjoy a lifetime of viewing pleasure through your very own scope.
Related: How to Buy Your First Telescope
Some things to consider are how light-polluted the location is, the driving distance, how portable your telescope is, safety (do you get cell phone service?), and weather factors. The last point includes how generally clear the sky is and how steady the air is.
5. Double your observing time with the Sun
Night isn’t the only time you can sky watch. The Sun beckons beginning observers because it’s big, bright, and full of features that change daily. Put safety first by using a filter, and even a small scope will deliver high-quality views.
After several years of quiescence, when few sunspots appeared across its face, our nearby star has begun offering observers lots to see again. Be sure to get a filter that fits correctly over the front end of your telescope. A good solar filter — many retailers sell such accessories — will not transmit harmful ultraviolet or infrared radiation. It will also drop the brightness of the Sun to a viewable level.
6. Comfort is everything
Comfort means a lot more than just staying warm during the winter. In particular, I see many observers who use various gyrations while looking through an eyepiece. The one my late observing buddy Jeff Medkeff labeled the “monkey squat” is pretty hard on the back and requires keeping all kinds of muscles tense to hold your eye at the eyepiece.
So, sit. I find that when I am seated comfortably at the eyepiece, I spend more time observing (and see a great deal more) than I do while standing. Many amateurs use adjustable chairs sold specifically for observing. You will want an observing chair.
7. Photography is rewarding but time-consuming
Here’s the good news: You can take pictures of astronomical objects. Here’s the other side: Astroimaging takes practice, and there is a learning curve. The higher the quality of the final image, the steeper the curve. Remember that producing a high-quality picture involves two stages. First you acquire the data through your camera, and then you process that image with appropriate software.
Lots of resources exist to help you learn the art of astrophotography. Read all you can, take lots of images, and eventually you’ll proudly show off your results to family and friends.
8. Keep a log
You will want to remember what you’ve seen. A simple log contains the date and time of your observation, what object(s) you looked at, and a brief description, like, “Saw spiral arms!” or “Really blue, but no details visible.”
More-detailed logs might contain information about the telescope you used, what eyepiece(s) and magnification(s), sky conditions (percent of cloud cover, amount of light pollution, steadiness of stars), and the faintest star you could see with your naked eye. Observers call that quantity the sky’s “limiting magnitude.”
Visit a planetarium. Attend a star party. Observe with other amateur astronomers. Get on the Internet and chat on forums like those found on Cloudy Nights.
Without question, the best step you can take is to join a local astronomy club. Attend its meetings and observing sessions. This will place you with a group of like-minded individuals who can either answer your questions or help you figure out where to get them answered.
Most astronomy clubs have members who look for opportunities to share information about the hobby we all love. Get involved, volunteer to help out at events, and before long you’ll be the one answering the questions.
10. Observe everything!
I’ve heard it a million times. “I’m a lunar observer,” or “I only observe galaxies.” Really? Are these amateur astronomers in fact saying they’d pass up watching a total lunar eclipse, a bright comet, or a rich meteor shower?
While your telescope may be best suited for a particular type of celestial object, you can view any object through any scope. So why not view them all?
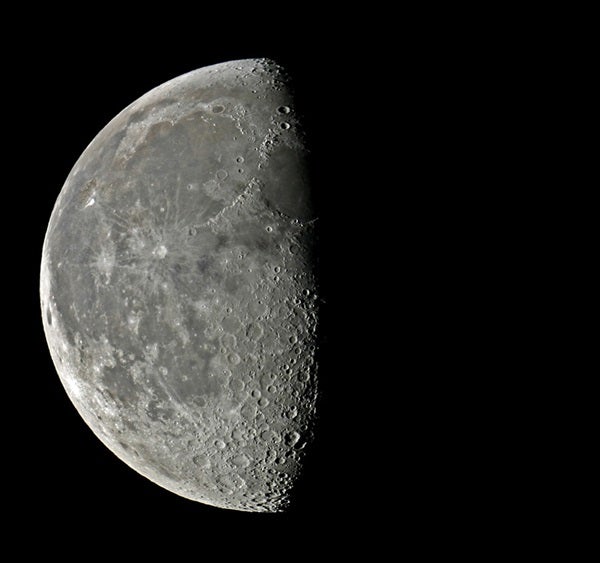
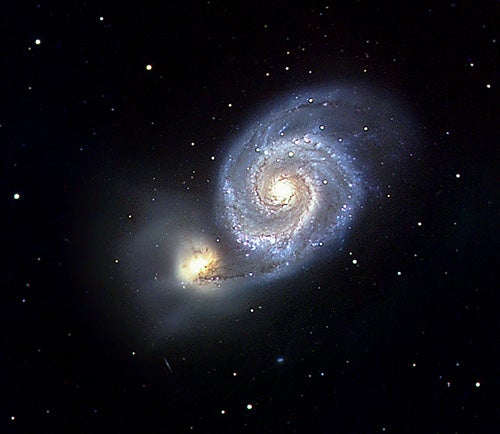
The Moon has hundreds of targets on its ever-changing face, and even a small instrument will show most of them. The planets spend lots of time in the early evening sky. A short drive each month during the dark of the Moon may yield dozens of galaxies. While you take them all in, you’ll surely marvel at the magnificent universe above and the richness of the hobby you have chosen.