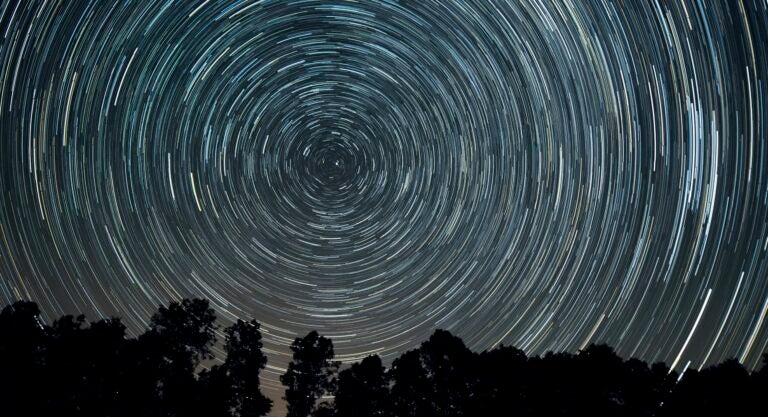
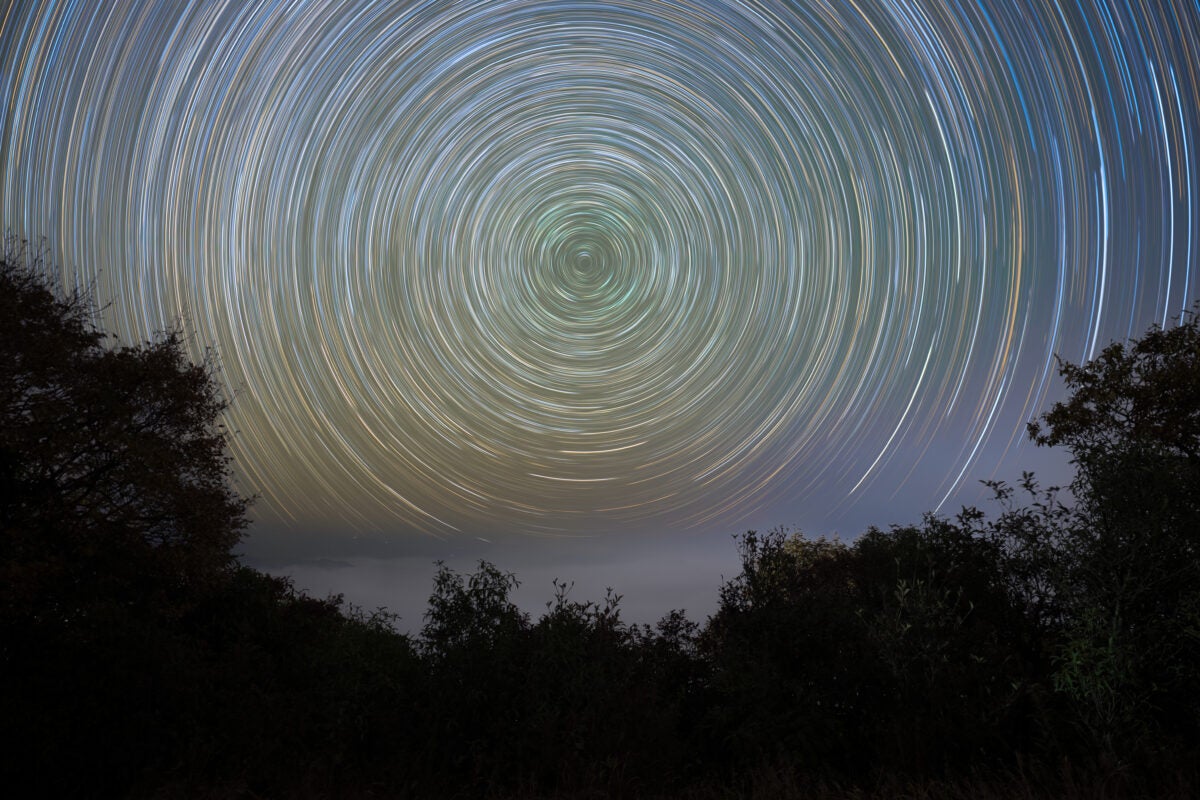
Star trail photography documents the movement of the stars over a certain period. As the stars appear to move from east to west (due to Earth’s rotation), a long-exposure photograph of them will produce trails. While theoretically this type of photography is considered beginner-friendly and not technical, not all images turn out to be stunning. Here are five techniques that will help you improve your star trail images.
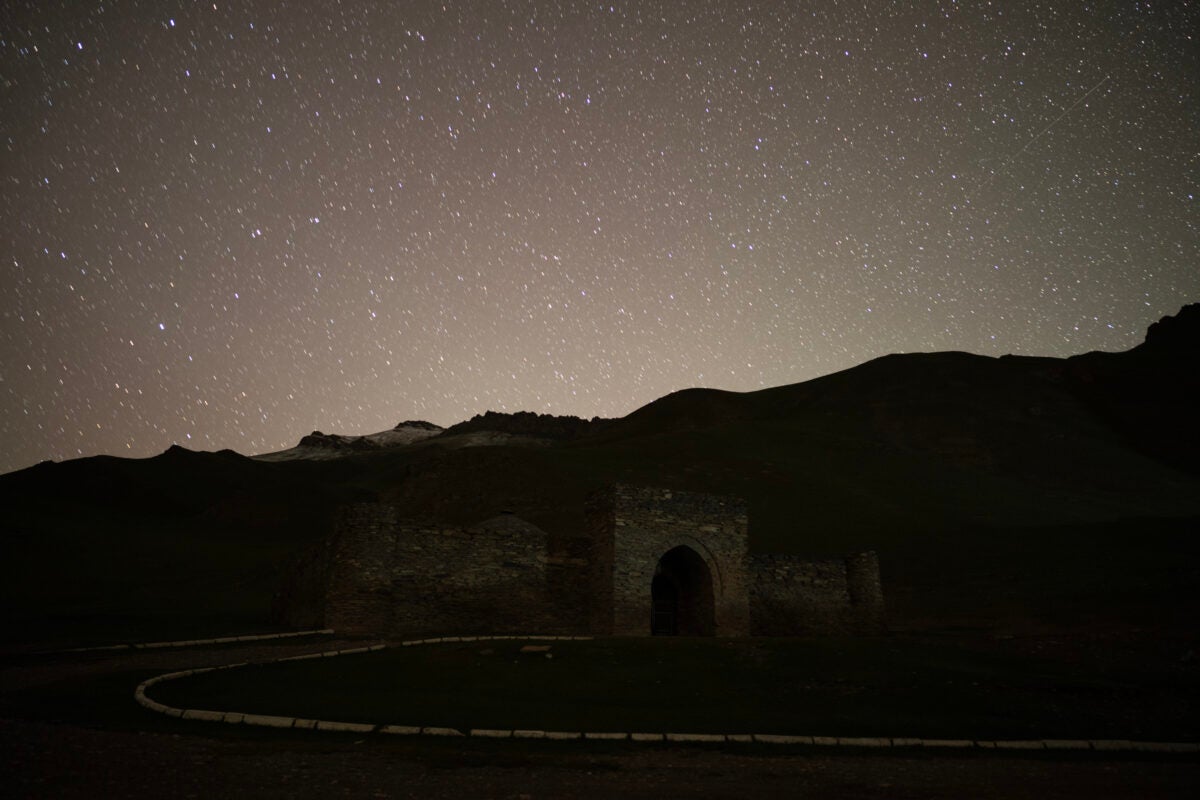
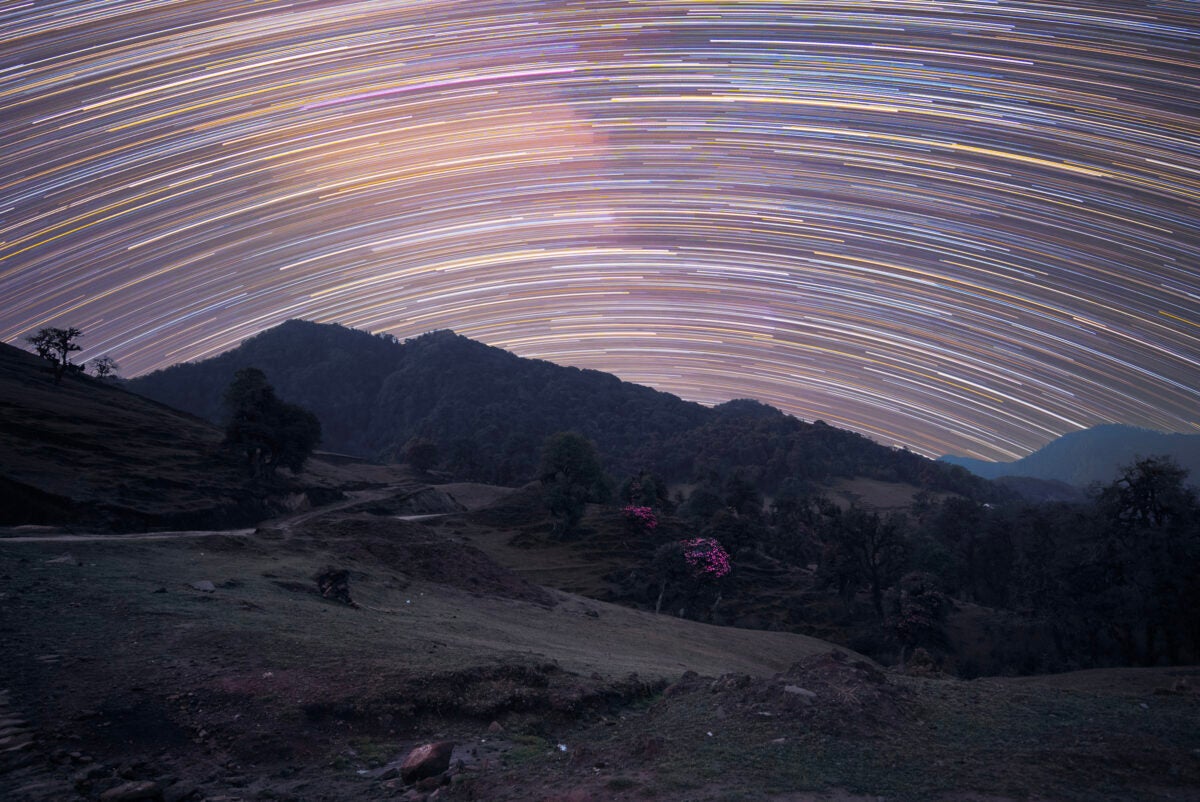
Separate exposures for the foreground
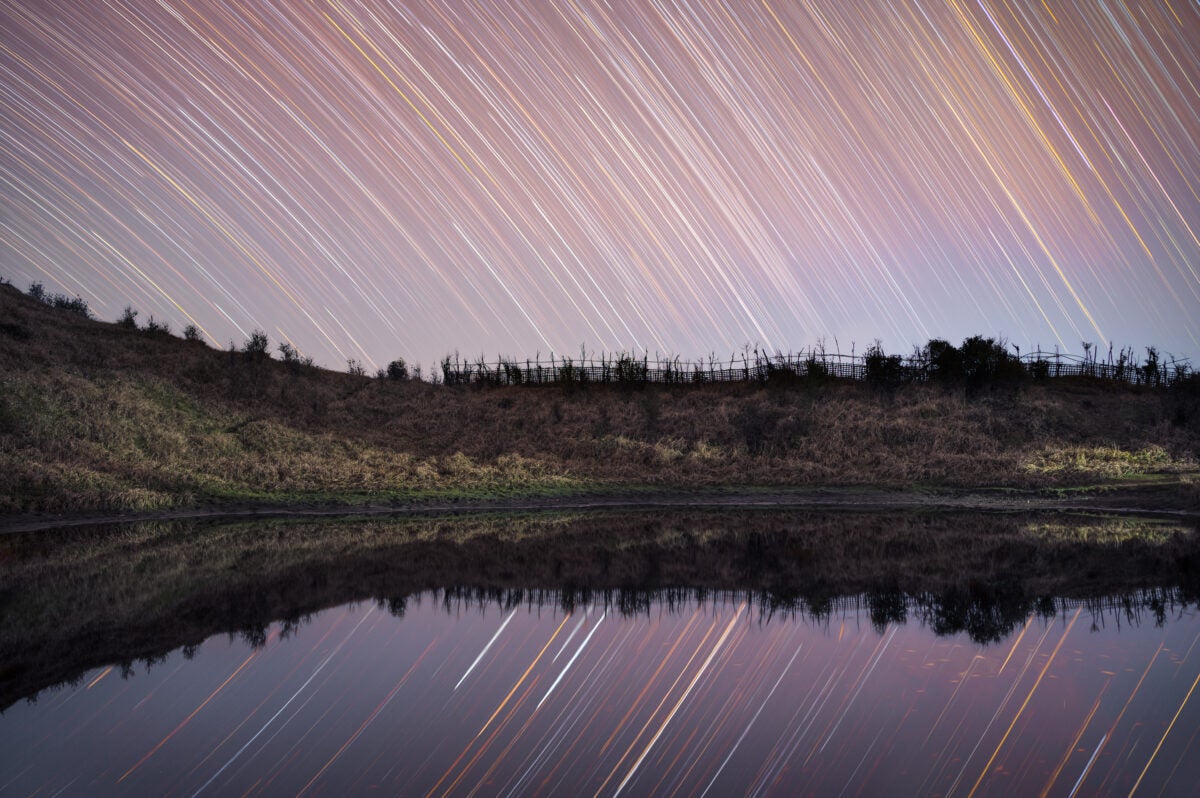
Traditionally, photographers produce star trail images by taking multiple 30-second exposures. Then they blend the exposures to create the final image. This is nightscape photography, images that have both a sky section and a foreground section.
At a dark location, however, the foreground is comparatively much darker than the sky. Because there are no lights in such areas, the foreground is mostly lit by starlight. While taking star trail images, we often focus on the sky, adjusting our exposures to be sure it’s properly exposed. While this is necessary, it makes the foreground underexposed. To deal with this, one could brighten the foreground in the processing stage. However, this inevitably introduces noise in the foreground and a lack of detail.
The way to solve this problem is to take separate exposures of the foreground. Keep your tripod at the same position, and take your exposure(s) either before or after the star trail image sequence. This is similar to a high dynamic range technique where different exposures are captured for differently lit portions of the frame. You can use a longer shutter speed, a wider aperture, or a higher ISO, or a combination of these. The foreground can be then masked and combined with the sky image during processing.
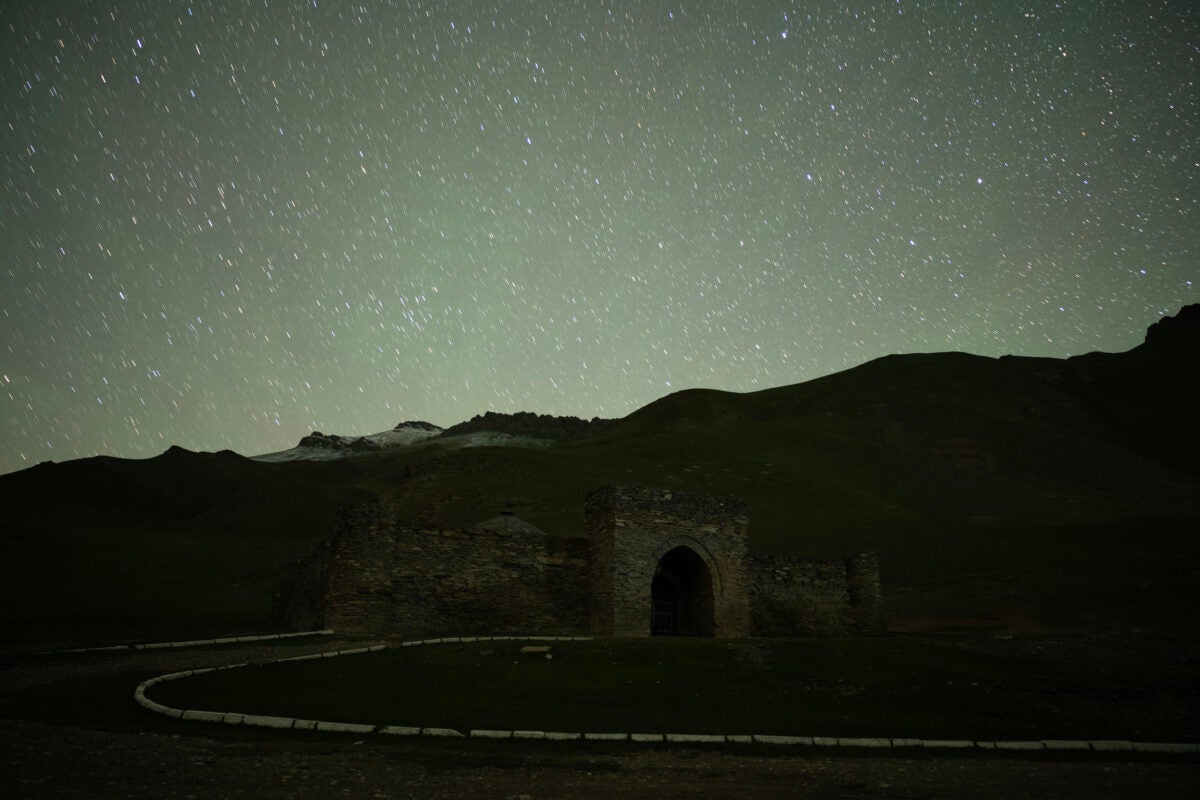
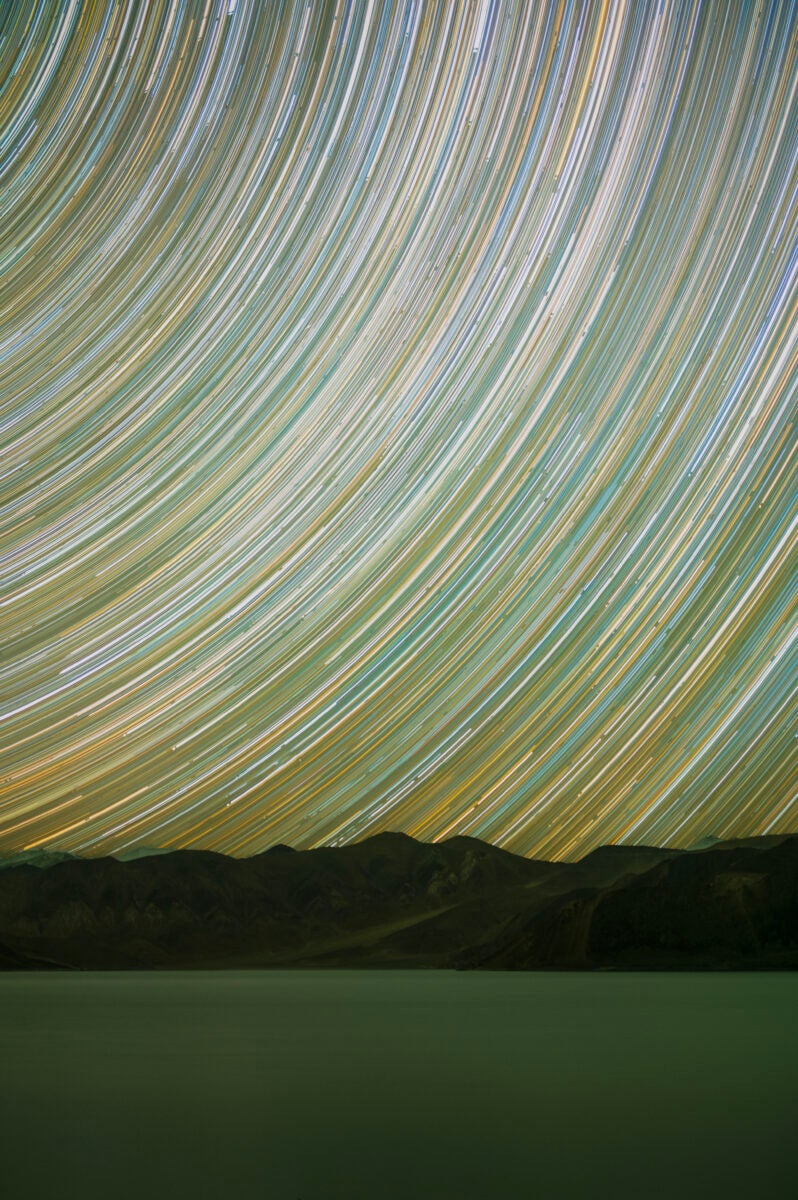
Longer exposures for the sky
As mentioned, most star trail images are made by combining multiple 30-second exposures. This results in hundreds of images to cover a couple of hours’ worth of star trails. Although this is not a big issue in itself, choosing longer exposures like 60 or 120 seconds can help your star trail photography in three ways:
- It will drastically reduce the number of exposures. For example, if you take two hours of star trails, with 30-second exposures you’ll have 240 images. With 60-second exposures, that number drops in half. And it drops in half again, to only 60, if you shoot 2-minute exposures. This not only makes it easier on your computer, but it may also reduce the processing time.
- Because there are fewer exposures, the gaps between them introduced by the recovery interval of your camera are also reduced.
- Because your camera has to take fewer exposures, its battery will last longer and you can shoot for a longer period.
If you’re using a Nikon mirrorless camera, use the “Extended Shutter Speed” to take images longer than 30 seconds. If your camera doesn’t allow this option, an external intervalometer can let you shoot longer exposures.

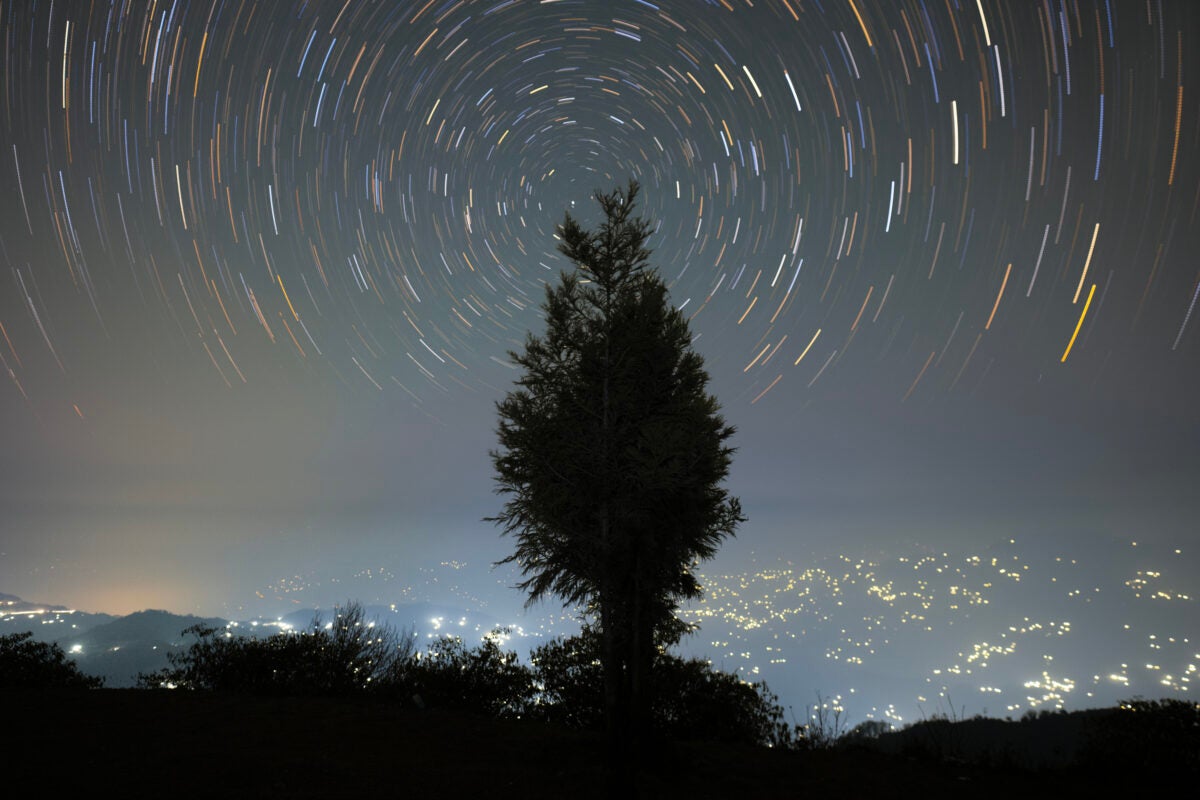
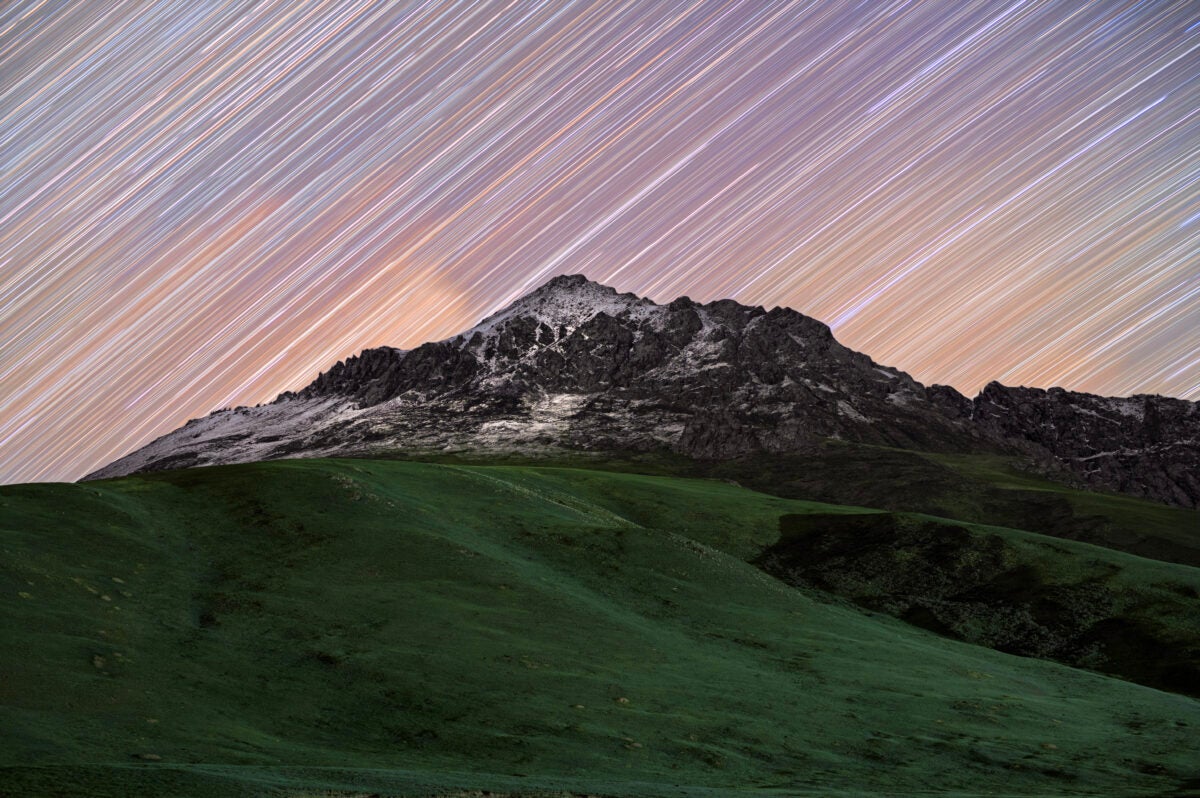
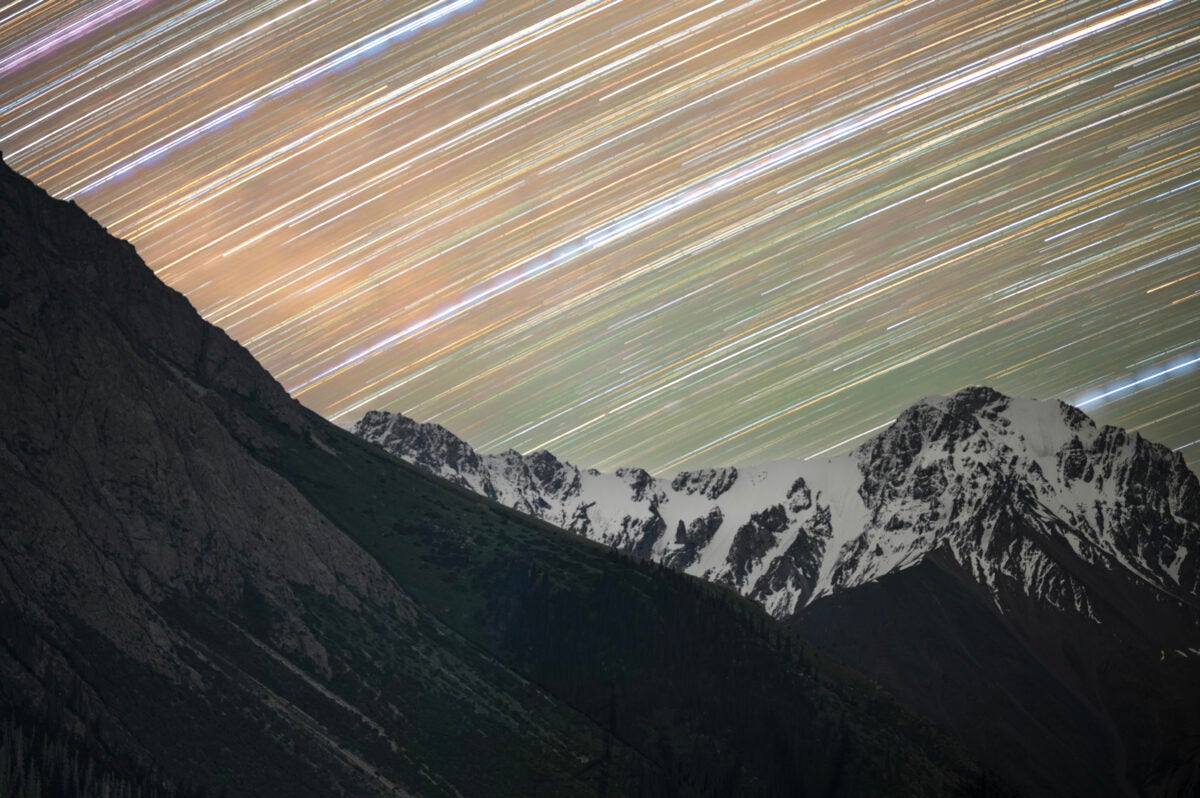
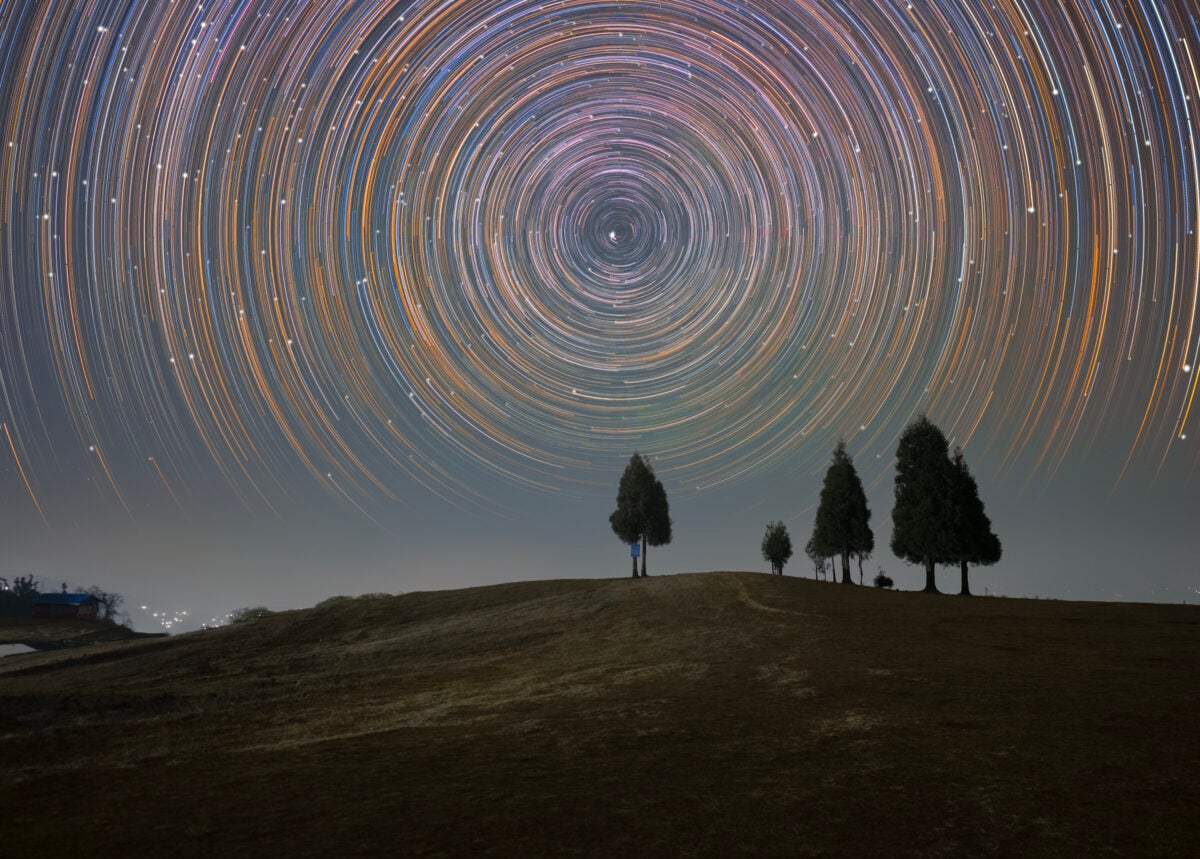
Experiment with longer focal lengths
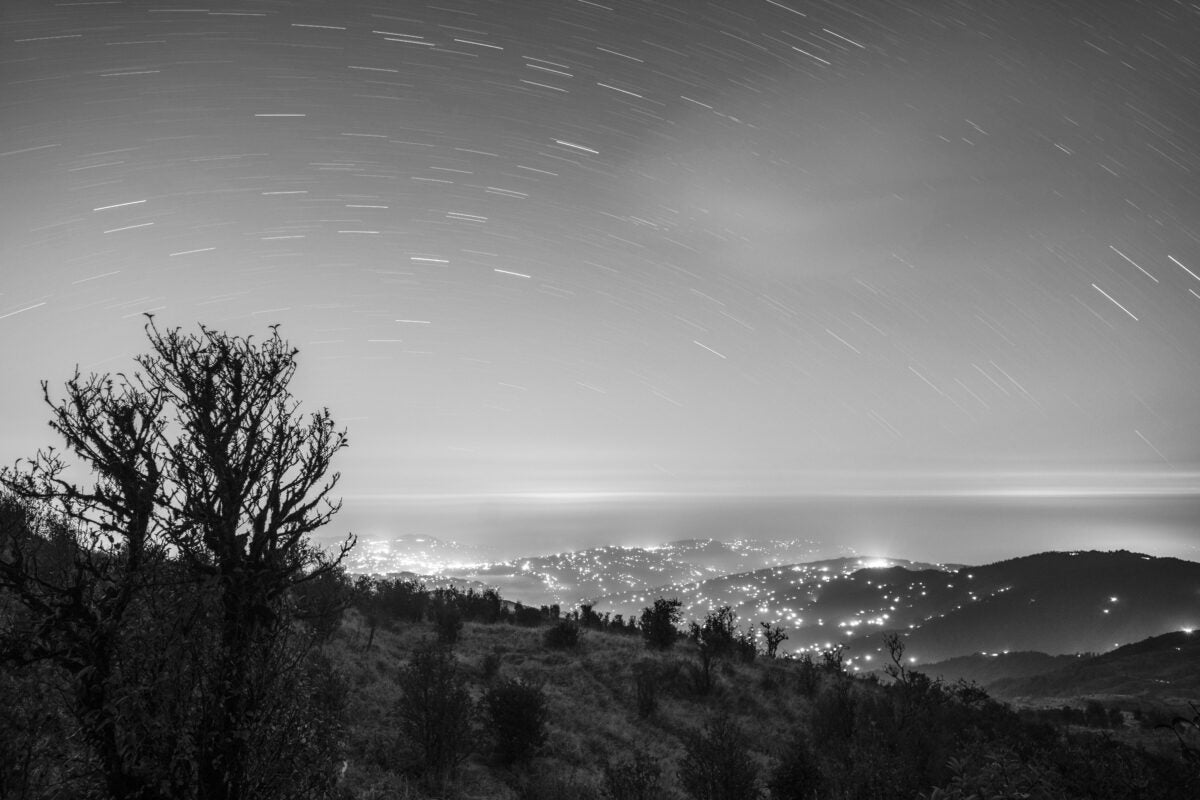
Traditionally, star trail photography is done with wide-angle lenses, those with focal lengths between 10mm and 24mm. However, longer focal lengths can be a great choice for star trail photography, too.
Focal lengths such as 50mm, 85mm, 135mm, and even 400mm can create some amazing results. If there is a distant object in the foreground, a longer focal length will help frame and isolate it. This will also help you create a different kind of star trail image. The focal length you choose depends on the foreground. Experiment!

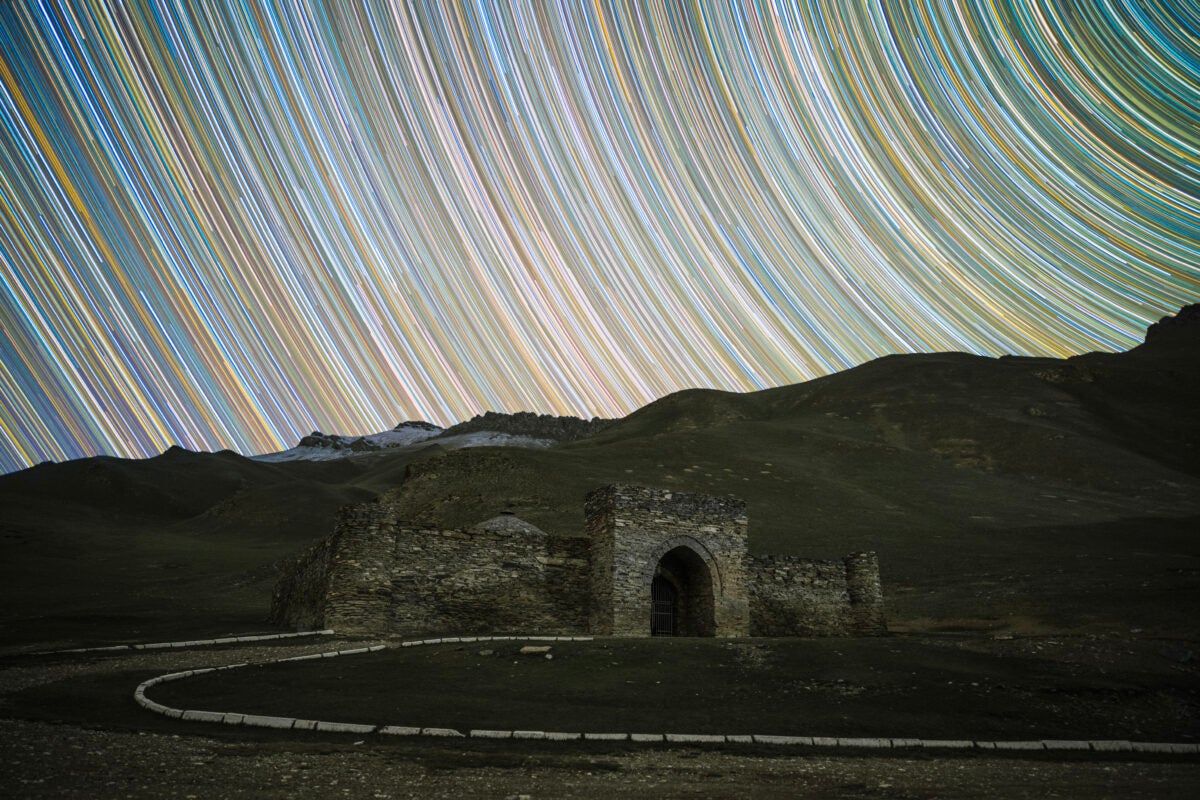
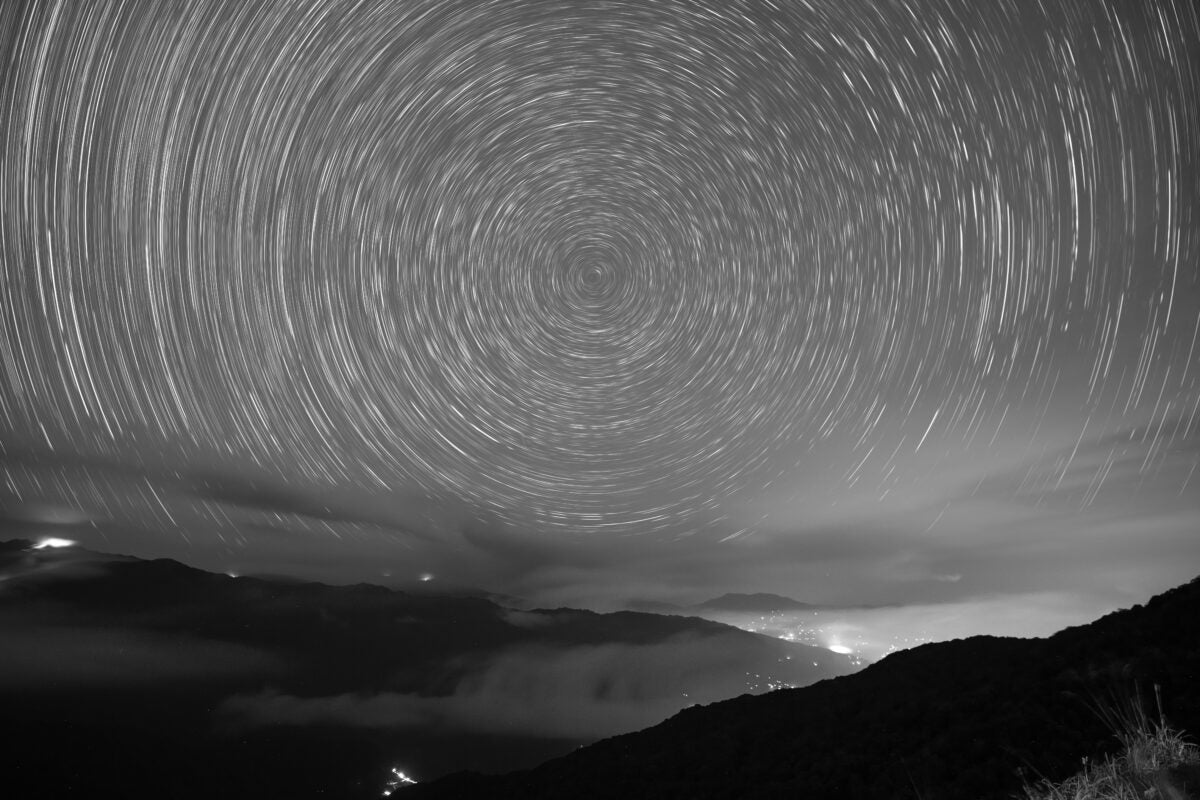
Make your star trails smoother
Have you ever seen those smooth and buttery star trails created by experts and wondered if you can create them, too? It’s not magic. Just add a step or two during your processing.
Three processes can help you achieve a smoother trail in Photoshop:
1) Gaussian Blur: Filter > Blur > Gaussian Blur
2 )Diffuse Filter: Filter > Stylize > Anisotropic
3) Oil Paint: Filter > Stylize > Oil Paint
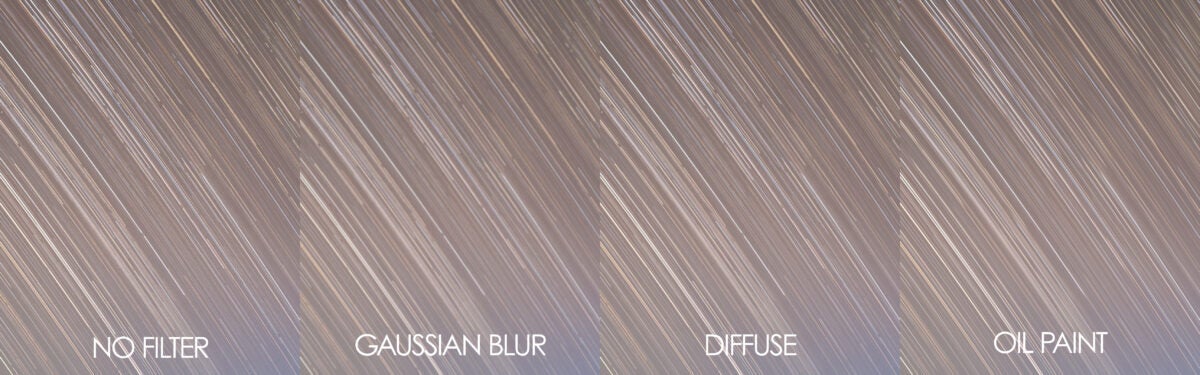
The choice of filters and their amount is your artistic choice. One or more of these filters can be used together. Apply them to the sky portion of the image, using a mask. But beware. It’s easy to go overboard with them. Try to retain the natural star trail effect as much as possible.
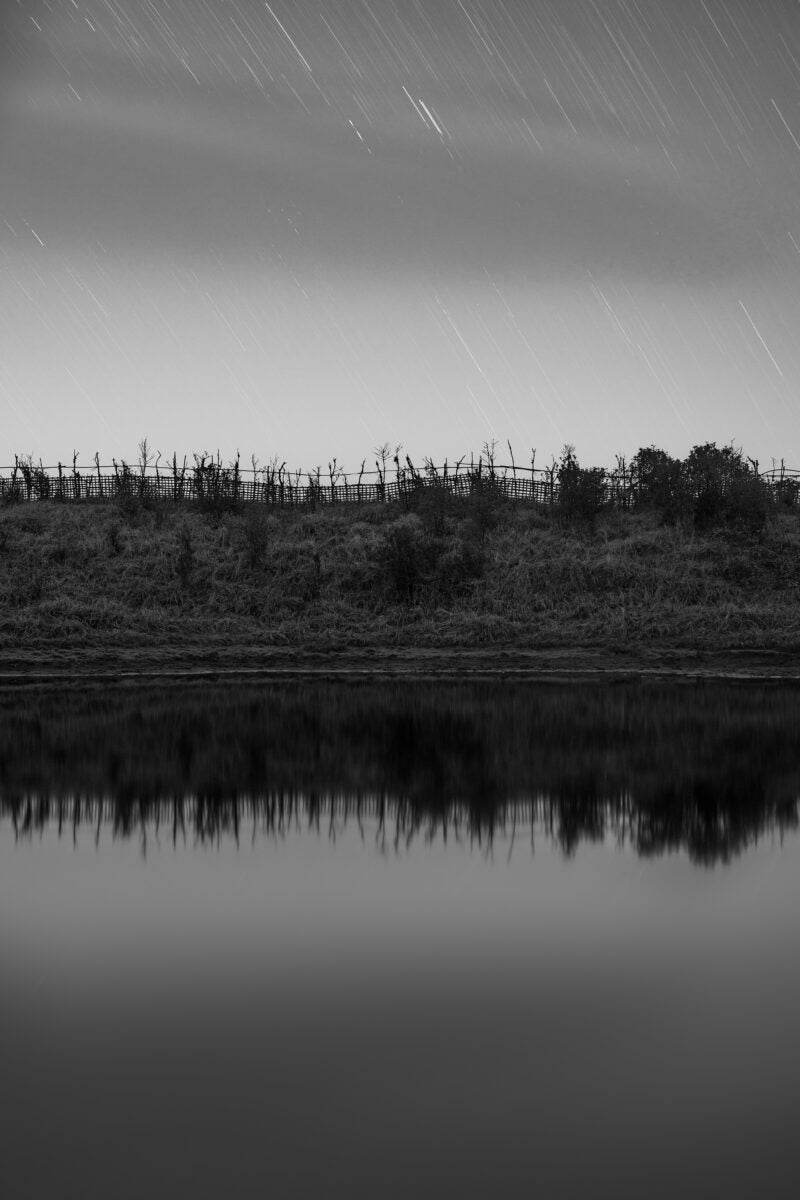
Single long exposure for star trails
Photographing star trails with a single long exposure is not common. One long exposure will make your sensor hot enough to introduce many hot and cold pixels in the image (the tiny red and blue dots). A single disturbance during the shooting period, from a car headlight or other light streak or a bump or other vibration to your tripod will be enough to ruin the image.
That said, it’s worth trying a single long exposure for a star trail. Theoretically, there’s no limit on how long it can be, but I recommend you start short (15 to 30 minutes) and gradually increase the exposure length. The best way to do this is with an external intervalometer.
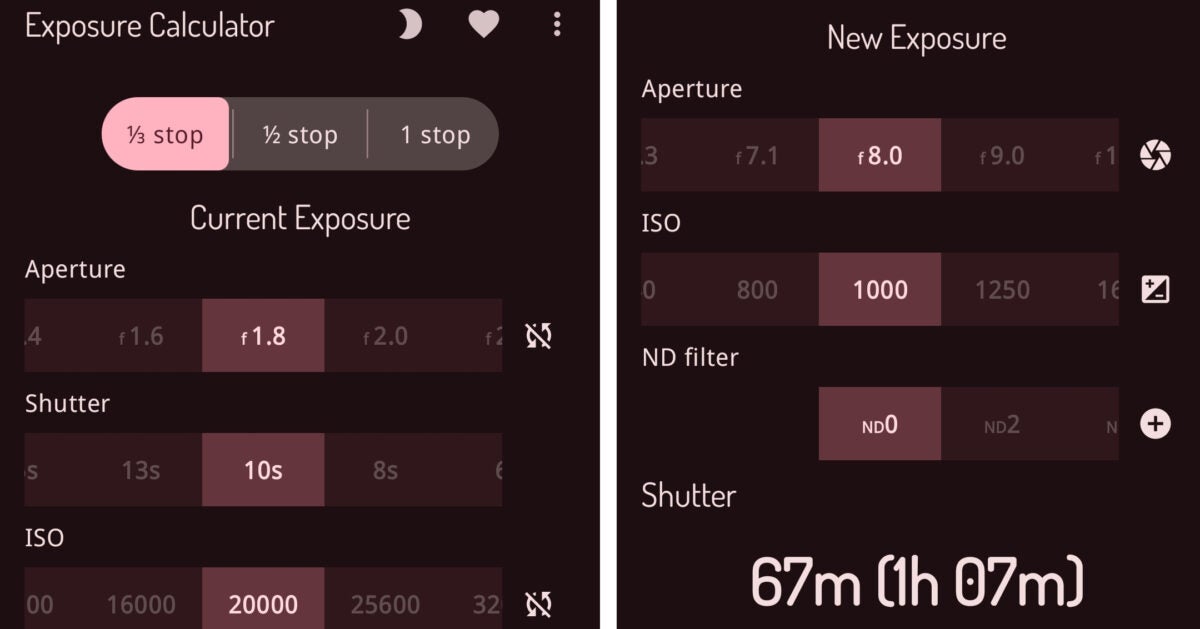
Deciding on the exposure settings is easier than you think. Choose a short exposure (10 to 15 seconds) with a high ISO and a wide open aperture to have a properly exposed image. Now open an exposure calculator app on your smartphone (there are many free ones available for both Android and iOS) and adjust the ISO and aperture to get the exposure you want.
All the methods mentioned above will help you get a result “different” from regular star trail images. Some of these may suit your desired outcome while some won’t. The key is to keep experimenting with different techniques until you decide on your final workflow.
If you have created a star trail image using any of these methods, send them to us at readergallery@astronomy.com. Clear skies!