Back in 2010, there were few commercially available astro-video camera choices, but that situation has changed. More recent cameras generally have filled specific roles, like cameras with high frame rates for solar system imaging, or those with high sensitivity and low noise for deep-sky work. But few were good at both. That is, until now.
Last year I had an opportunity to try out the Mallincam SkyRaider DS2.3 Plus. During the six months that I had the camera, I tested it on a variety of celestial targets, on a range of telescopes, and under both light-polluted and dark skies.
What’s in the box?
When I received it, the camera arrived in a sturdy cardboard box. The package included a rubber dust cap, a 1¼” nosepiece, a 15-foot-long (4.6 meters) USB cable, a 10-foot-long (3m) ST-4 guider cable, and an installation disk.
The DS2.3 Plus is a 2.3-megapixel one-shot color camera containing a Sony IMX302 Exmor CMOS sensor. The sensor measures 13.4mm diagonally and has pixel dimensions of 5.86 x 5.86 micrometers. Potential exposure times range from 25 microseconds to just over 16 minutes with a maximum frame rate of 30 per second.
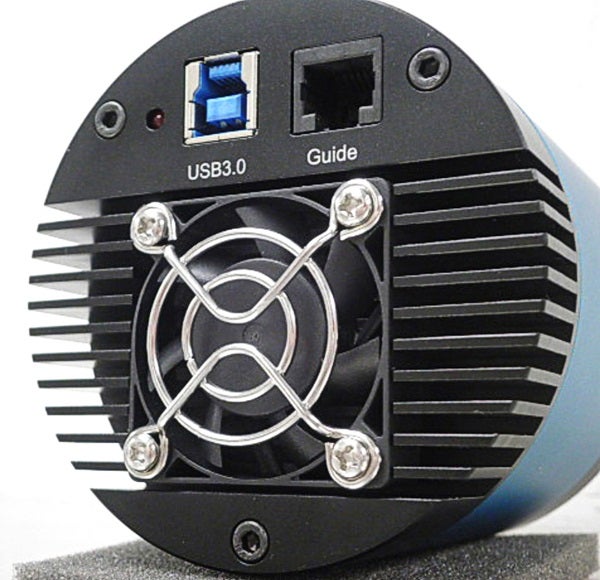
The camera body measures 80mm wide and 85mm long, and has an integrated fan-cooled heat sink to regulate its temperature. The camera has a standard T-mount interface but also comes with a C-mount adapter. The camera body with its C-mount adapter weighs just under 1 pound (430 grams).
The machining and finishing of the all-metal casing is of high quality, and the little details — such as a sealed sensor chamber, a robust USB 3.0 B-type connector, and a whisper-quiet cooling fan — combine to make a top-notch product.
To use the camera, I first installed the drivers and software on my computer. All files necessary were on the provided disk, but I also would have been able to download them from the Mallincam website. I then started the software and plugged the camera into my computer’s USB port. I found the software easy to use, with all the camera functions organized in expandable tool boxes along the left-hand side of the screen.
The software comes with a large assortment of features. These include gain and exposure controls, color and gamma adjustments, a histogram with adjustable black and white points, and adjustments for regions of interest, crosshairs, live stacking with star alignments, and dark field correction. The last feature lets you record a number of frames with the telescope covered and then subtract them from the live image.
Installing the camera on my telescope was as easy as slipping an eyepiece into the focuser. The 1¼” nosepiece turns it into essentially a big, fancy eyepiece. For those unfamiliar with video astronomy, scope alignment and focusing is normally a breeze, with the same being true using the DS2.3 Plus. I set the camera exposure to one second and gain at maximum, which gave me a view with plenty of stars visible and a fast refresh rate. This made it easy to focus and to navigate around the sky to perform my mount’s alignment routine.
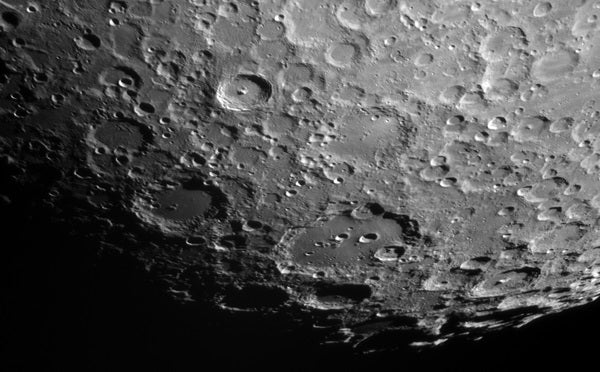
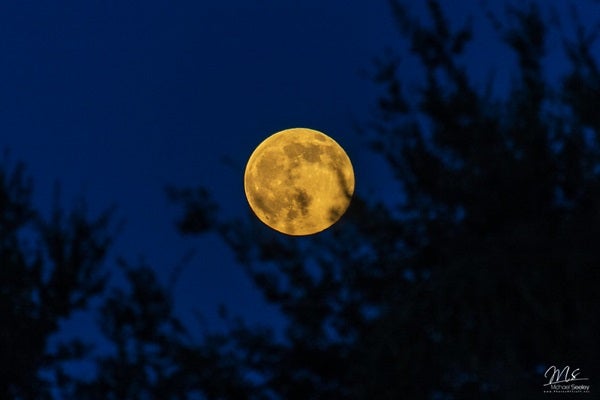
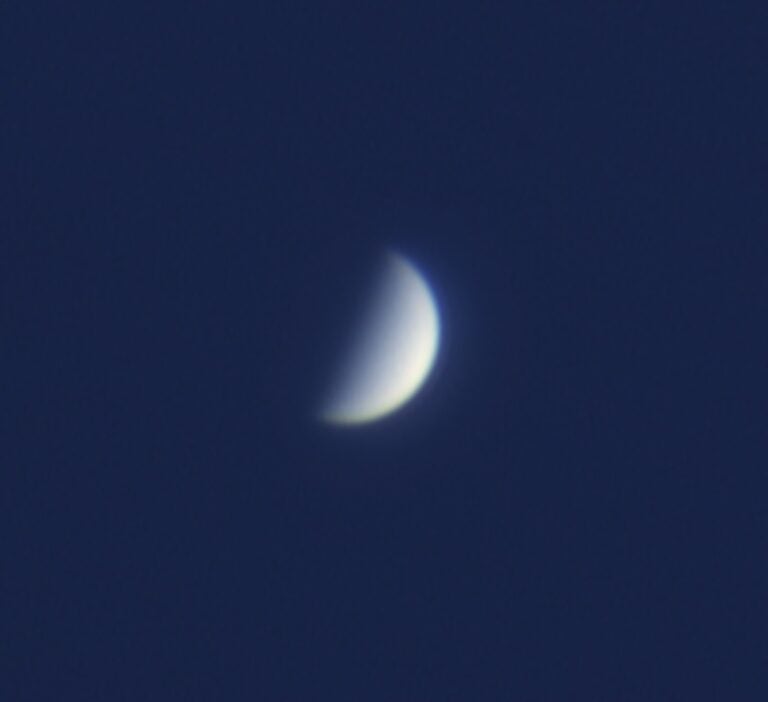
Mallincam doesn’t market the DS2.3 Plus as a solar system imager, but I decided to try it in that role nonetheless. First up was the Moon. I had some concerns that the moderately sized sensor pixels of the DS2.3 Plus would hurt its ability to capture fine detail and that I’d need more magnification. Typically that means longer exposure times, which in turn allows more atmospheric distortion.
In the end, I found that the high sensitivity of the IMX302 sensor allowed for generally low exposure times. This sensitivity extends well into the infrared, allowing for the use of an IR pass filter to further improve the image quality.
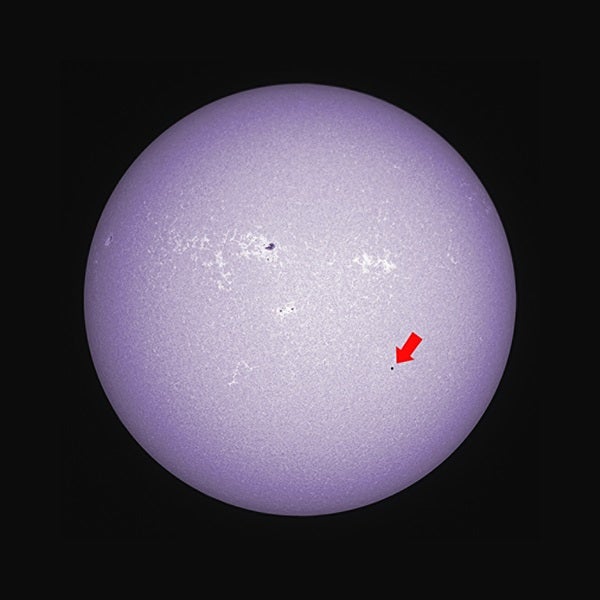
Finally, I observed the Sun with the DS2.3 Plus. I used it with white-light, Calcium-K, and Hydrogen-alpha filters. I also had a rare opportunity to use the DS2.3 Plus to observe the May 9, 2016, Mercury transit from the lawn in front of the Canadian Parliament buildings. It was quite an experience sharing my live view of the event with the public and a number of dignitaries, including retired Canadian astronaut Marc Garneau. In all cases, I found the camera worked well for solar imaging, again due to its high sensitivity, which allows short exposure times.
Deep-sky video observing
For many, the main attraction to the DS2.3 Plus is its ability to provide a live view of sky objects. I tested the camera in my light-polluted backyard and from the relatively dark skies at the family cottage. Most of my previous experience had been with an analog video camera with an 8mm sensor that produced a standard definition signal. Stepping up to the DS2.3 Plus gave me 7.5 times the resolution plus a 68 percent increase in field of view for the same scope and focal ratio. The result was a big improvement in image quality.
From my backyard, the DS2.3 Plus performed well on bright objects such as those in Messier’s catalog. Faint details were easier to see when I used the built-in live stacking function, and color was easy to adjust using the push-button white-balance tool. The histogram tool made it simple to fine-tune the image, and the gamma setting allowed me to brighten faint regions if I needed to.
My only complaint with this camera is that there’s a delay after you change settings in the software before you see the effect. User setting changes are not implemented until the next frame refresh. So, if your exposure time is 60 seconds, you’ll wait that long to see the impact of your change. This slows down imaging, especially when you use long exposure times.
Jack of all trades
All things considered, Mallincam’s DS2.3 Plus is a highly capable camera. I didn’t try the camera in a traditional astrophotography role, but there is no reason why you couldn’t use it for that. There may be a better-performing camera for doing only solar system imaging or only deep-sky observing, but if you are looking for a camera that gives good results at everything, the DS2.3 Plus is the one for you.