Pointing your telescope at the Sun should be easy, right? It’s the brightest object in the sky (by a long shot), and it’s huge.
The problem is that unless you’ve outfitted your telescope with an approved solar filter, it’s not safe to look through the scope to locate the Sun. And trying to find it with a filter attached can take a while. To compensate, observers have made makeshift filters for their finder scopes or tried the “minimized shadow” technique, where you align the scope to make the smallest shadow on the ground.
Recently, however, Sky-Watcher USA of Torrance, California, introduced its SolarQuest mount, which they claim is able to find and track the Sun with the push of a button. Needless to say, I was quite eager to test this product.
Arrival and setup
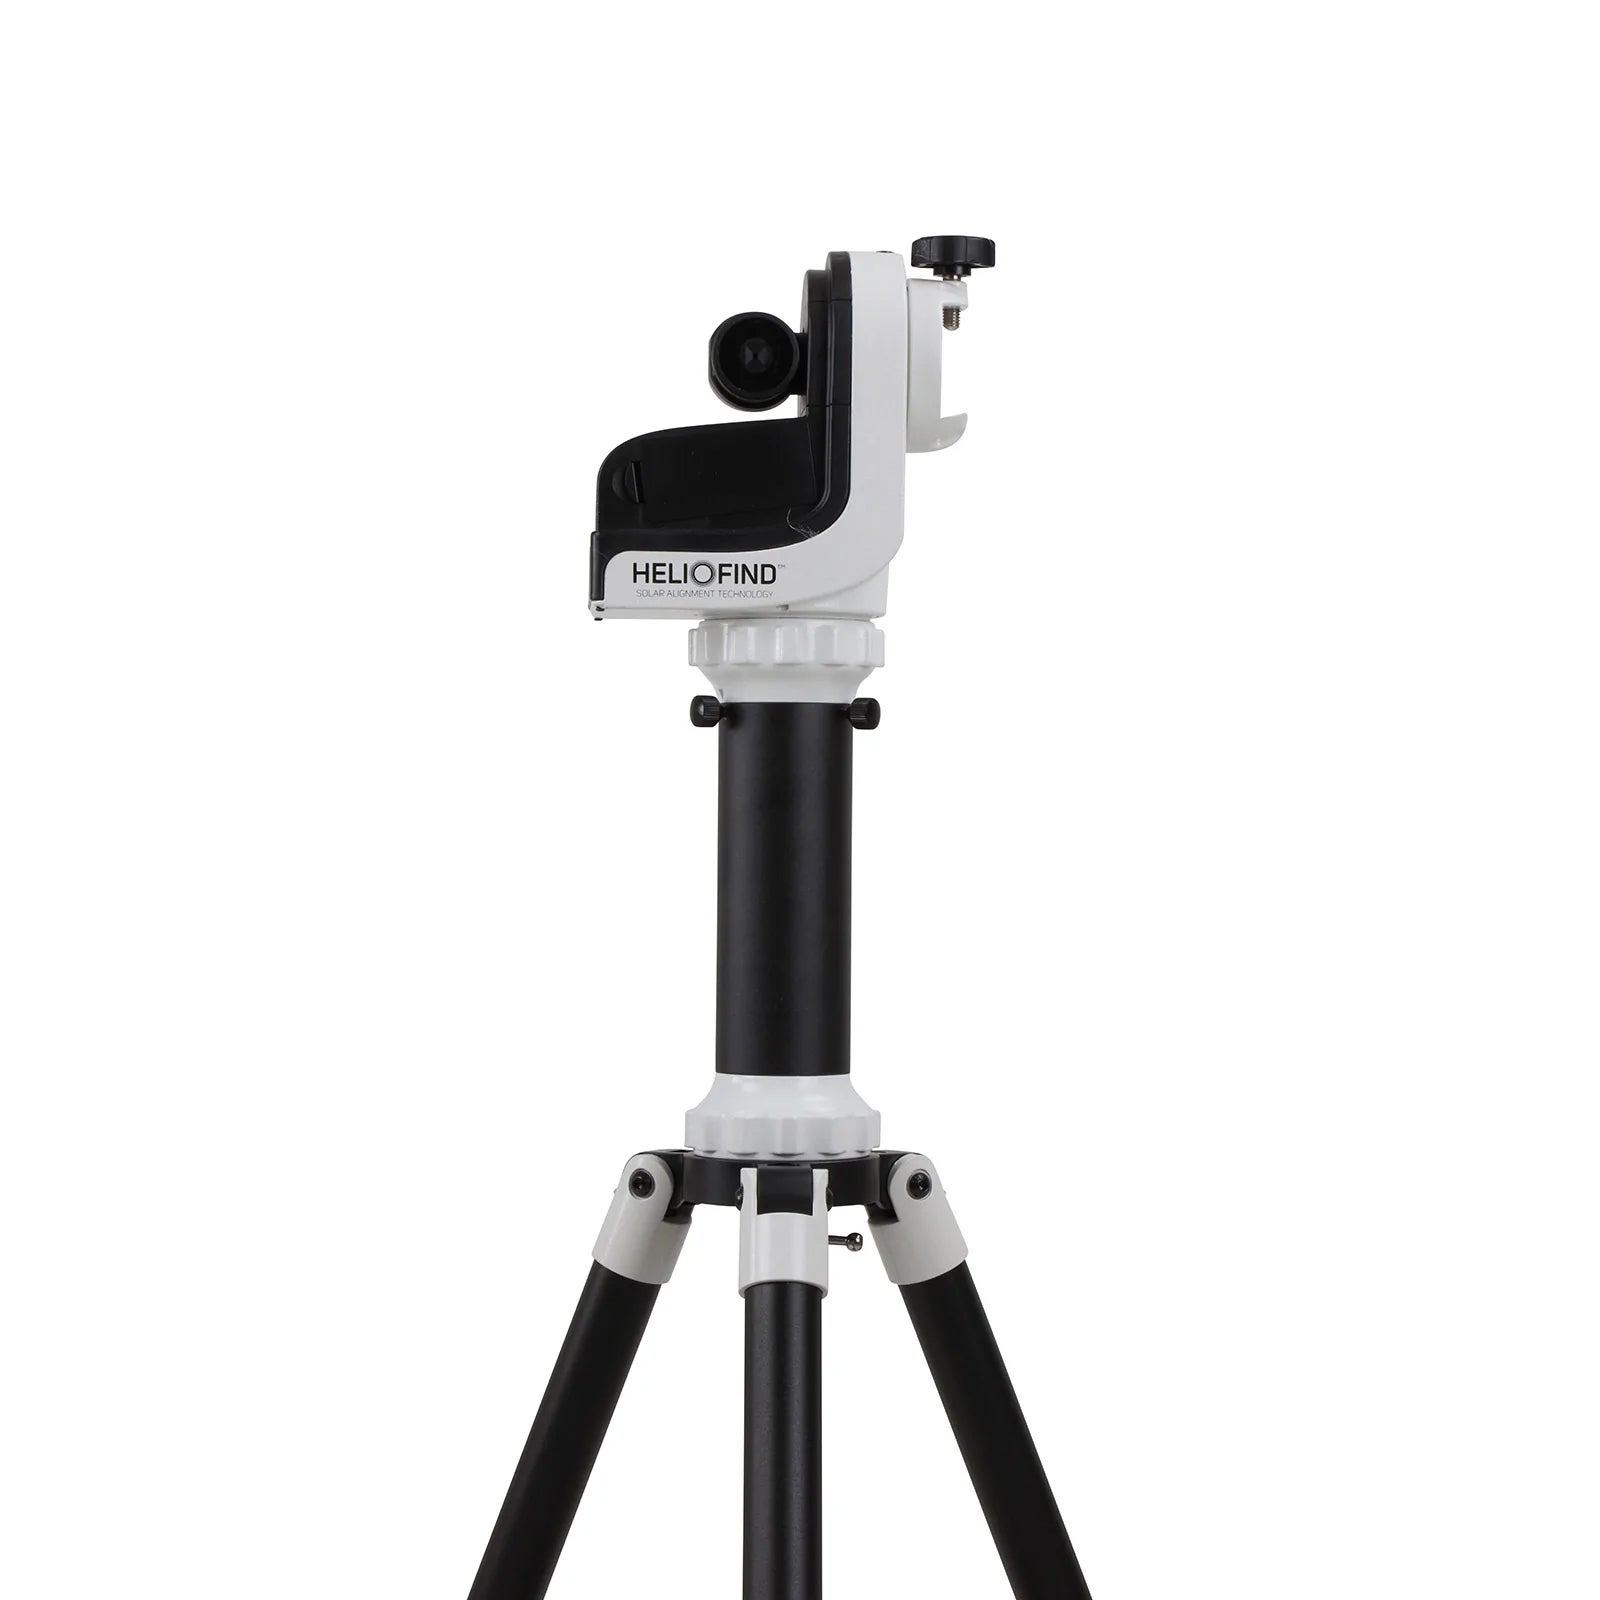
Sky-Watcher packs the SolarQuest in a single box. In it, I found the tripod, accessory tray, extension tube, mounting head, and the mount itself. To attach the accessory tray, rotate it until it clicks into place. This nicely locks the tripod’s legs, providing stability.
Once everything’s together, which takes perhaps five minutes, simply slide your telescope into the dovetail groove of the saddle and tighten the locking knob. At this point, you can load the required eight AA batteries (not included) into their compartment.
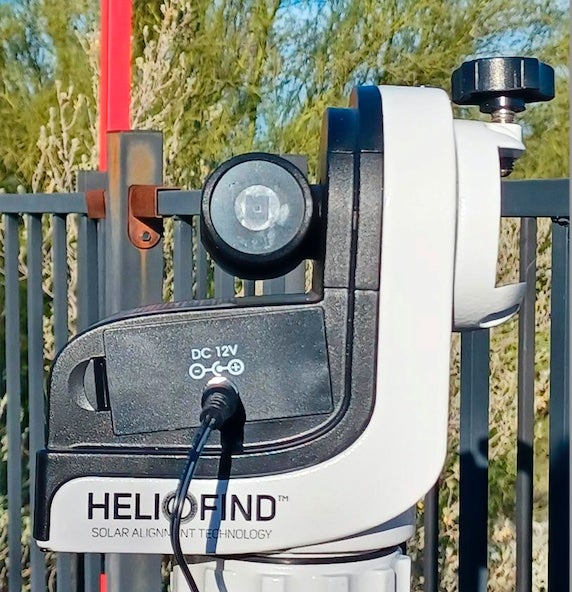
Alternatively, you can connect the included external AC adapter. To use it, remove the battery compartment cover and the battery holder and connect the AC adapter’s cover, which has the DC power input connector built in. Just remember to bring the original cover and holder — plus batteries — if you’ll be using the mount in the field.
Because the SolarQuest mount is calibrated in the factory to a solar telescope manufactured by Sky-Watcher, the telescope you connect to it might not immediately attain optimum alignment and tracking. To fix this, the company built in a way to correct the auto-pointing offset. After fine-tuning the pointing to center the Sun in the eyepiece, just double-click the power button and the correction for your specific scope will be saved.
How it works
When you press “Power,” the SolarQuest first levels the scope. It then acquires a GPS signal to determine its location and the time. Next, the mount points the scope to the Sun’s altitude and begins slewing clockwise in azimuth to find its target. It homes in on our daytime star with a technology Sky-Watcher calls HelioFind.
So, how did it do? After assembling the SolarQuest, I took it outside and mounted a small refractor with a visual solar filter on it. I plugged the SolarQuest in, pressed “Power,” and after about a minute spent acquiring the GPS signal, the mount began to move. When it stopped, I looked through the eyepiece and the Sun was just to the left of the center of the field of view.
After centering the Sun using the eight-way slide switch, and correcting the auto-pointing offset by pressing the “Power” button twice, I noted the time — 9:30 a.m. One hour later, I took another look through the scope. The Sun was dead center. I had a few projects to do during the day, so I didn’t check again until 3:30 p.m. To my utter surprise and delight, the Sun was still centered.
The SolarQuest is one of the coolest products I’ve ever tested because you simply plop it down and press one button to find the Sun. Sky-Watcher’s technology will make daytime solar observing for groups a lot easier. Now the observer conducting the session won’t have to realign the Sun manually after each person views it. And if you’re hosting a party at your home, you can leave your solar scope unattended and let visitors look through it whenever they want. I give it a 10 out of 10.
Product Information
Sky-Watcher SolarQuest
- Type: Motorized alt-azimuth mount
- Operation: Automatic alignment and tracking
- Weight: 9 pounds (4 kg)
- Height: 39.8 to 51.8 inches (101 to 132 cm)
- Payload: 11 pounds (5 kg)
- Power: Eight AA batteries or AC adapter
- Price: $530
- Contact: Sky-Watcher USA, 2835 Columbia Street. Torrance, CA 90503. Phone number: 855.327.1587 x306

