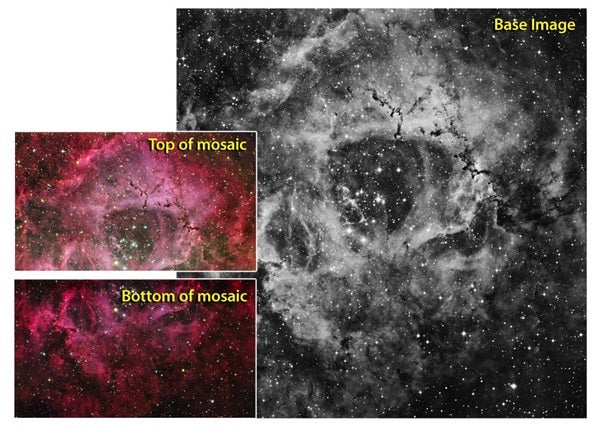
To begin, you must have the Windows-only software called RegiStar (available at www.aurigaimaging.com). You also need a wide-field image of the area. The image does not have to be high-resolution, but it must encompass everything you have separately imaged. And there’s one thing to remember when you take the images: You will need about a 20 percent overlap between each of your mosaic pieces.
Let’s say your mosaic images each measure 3,000 pixels wide and each takes up one half of the wide-field image. You will, therefore, need a 6,000-pixel-wide final image. So, in this example, you would resize the wide-field image to that size.
Next, import all three images into RegiStar. Make the wide-field image the base image on which you will build and align your two mosaic pieces. RegiStar will then morph the mosaic pieces — star by star — onto the wide-field image.
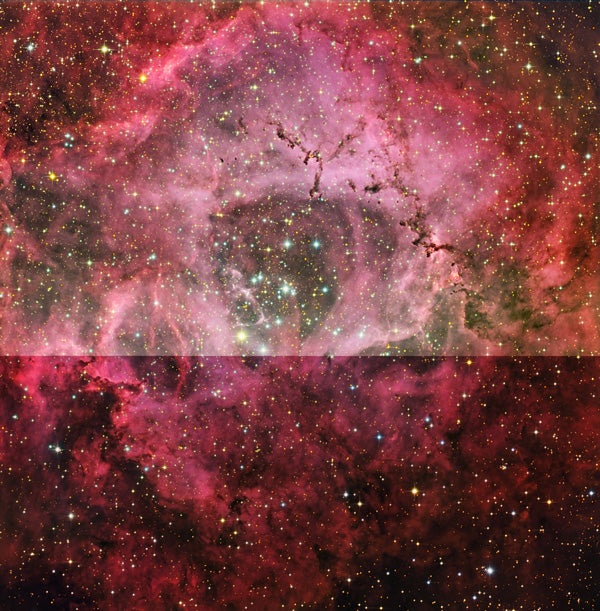
You want to use layers so you can adjust each mosaic piece’s density and color without disturbing its neighbor. This step is essential because it allows you to make the two images appear seamless — the mark of any successful mosaic. Select each layer and, using feathering, adjust the color and density of the edges until the images match.
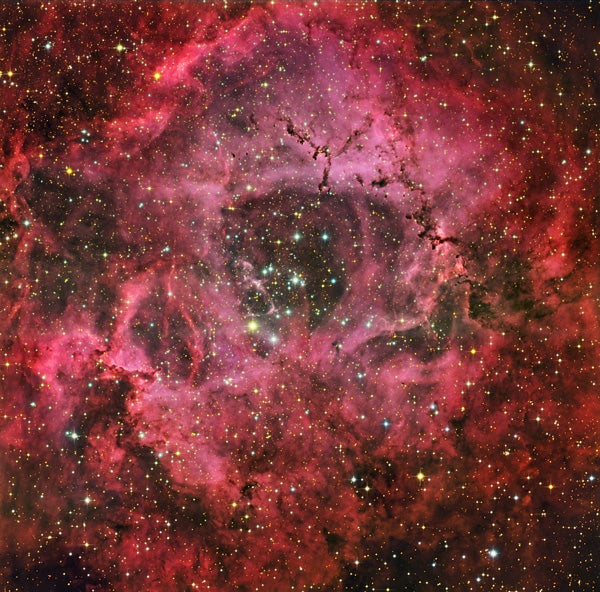
When the two mosaic pieces fit together to your satisfaction, flatten the image. The wide-field image will have disappeared underneath. Its job is done. If any remains, simply crop it out. You can expand this technique to any number of mosaic pieces as long as you have the wide-field image to assemble them on. Next month, we will take a more detailed look at RegiStar.


