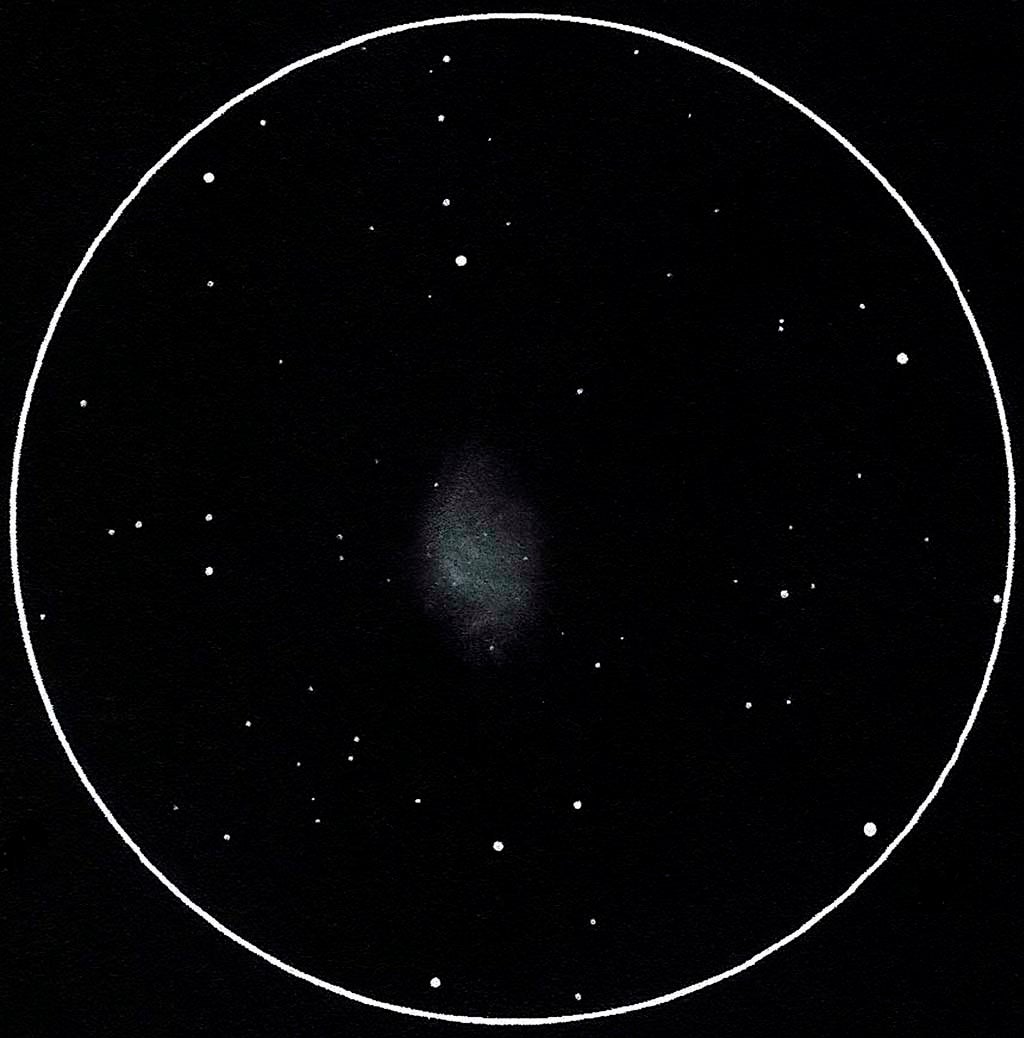
Through small apertures, M1 may seem mediocre — an ob-long hazy patch with a brighter center. With increased aperture, however, hints of filamentary detail with a few superimposed stars become apparent. You may even see the Crab Nebula’s pulsar (the rotating remnant of a high-mass star) through 18-inch or larger telescopes.
Comfort and patience are key factors in rendering a detailed eyepiece sketch. Take advantage of averted vision and slight telescope movement (as you lightly tap the tube) to detect faint stars and changes in surface contrast. Also, try different filters to enhance the view.
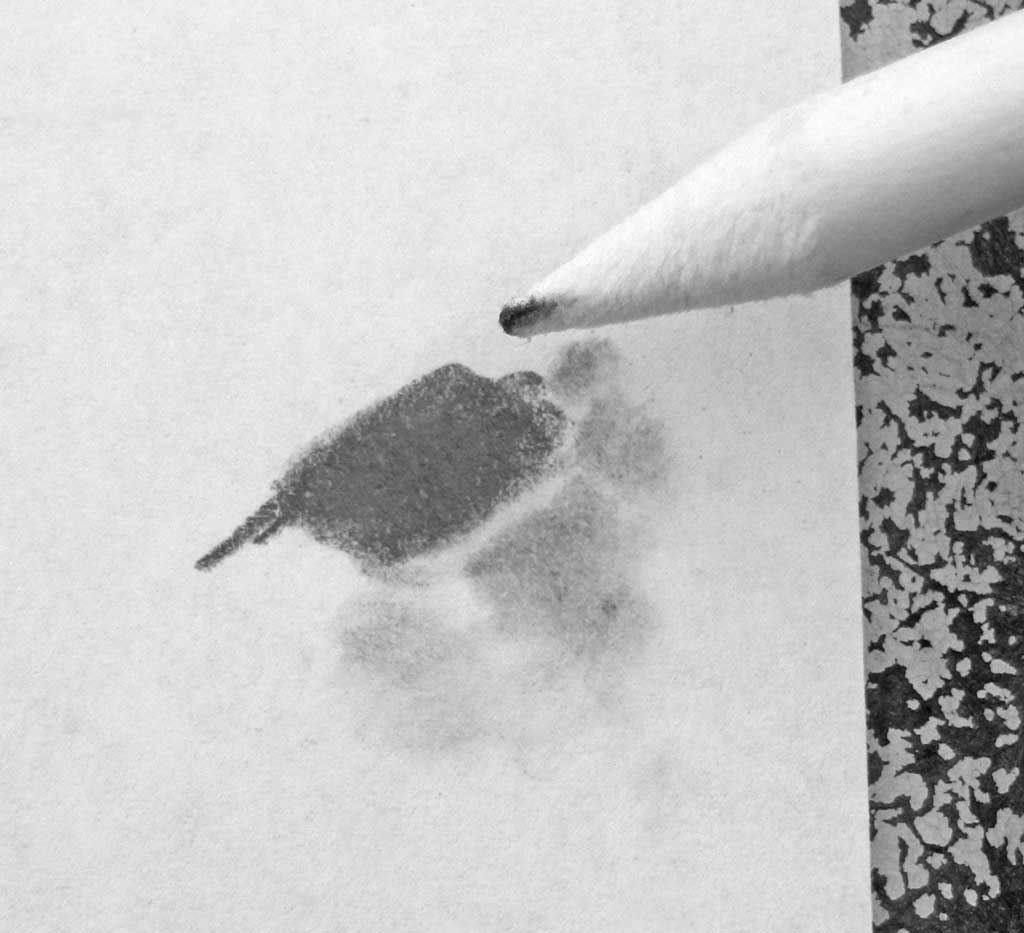
To get started, all you need is a clipboard, a soft red light with an even glow, a piece of white paper with a circle drawn on it to represent the field of view, a #2 pencil, and a blending stump. The latter is a cylindrical drawing tool made of rolled paper, tapered at the ends, used by artists to smudge drawings.
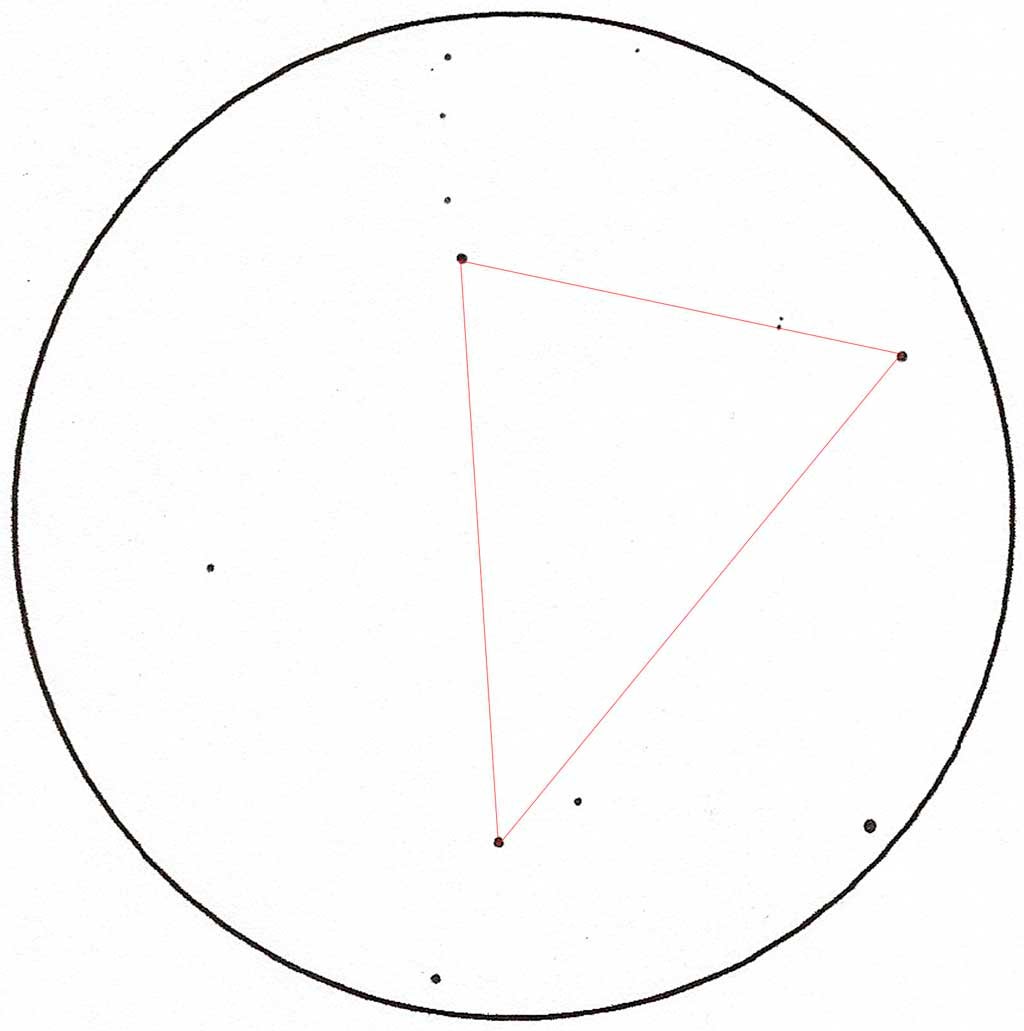
Begin by framing the star field and centering the target, adjusting magnification as needed. Record the brightest stars to the sketch by holding the pencil straight up and down on the paper while gently twisting it with slight pressure. You’ll use these initial stars, called anchors, as reference points for all other marks you place on the sketch. Visualize triangular patterns or curves that connect the stars. Render star magnitudes by the amount of twist and pressure of the pencil. The brighter the star, the higher the pressure you’ll need to apply.
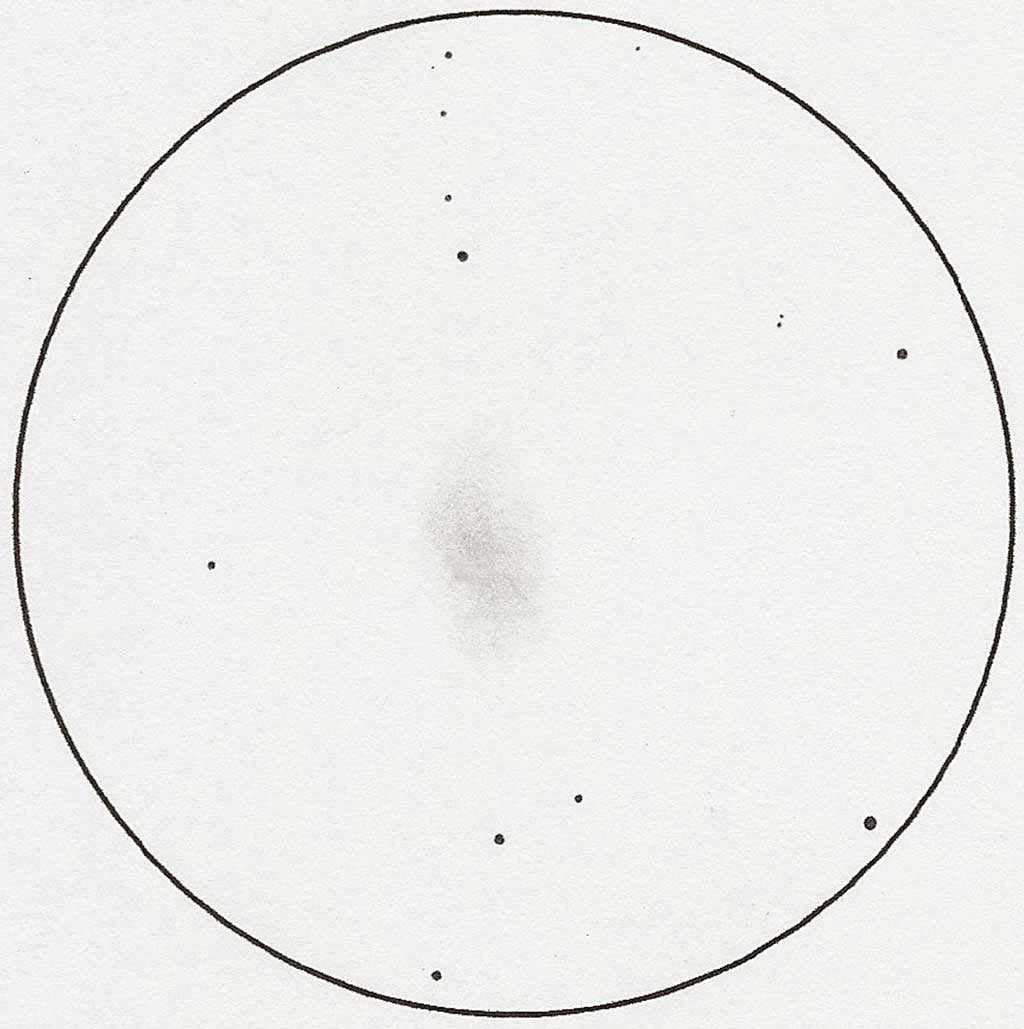
Draw the brightest area of the supernova remnant with the loaded blending stump. Lighten the pressure as you reach the diffuse edges. Reload your blending stump as needed and work in layers to build up additional contrast. As you peer through the eyepiece, look for variances in tonal contrast. One way I enhance these variances is by turning off or dimming my red light while viewing. Finish this part by carefully lifting any excess graphite off the sketch using a kneaded eraser.


